
Gexpress Is a Startup Dedicated to You. Shop With Confidence—Refunds Are Easy Through !

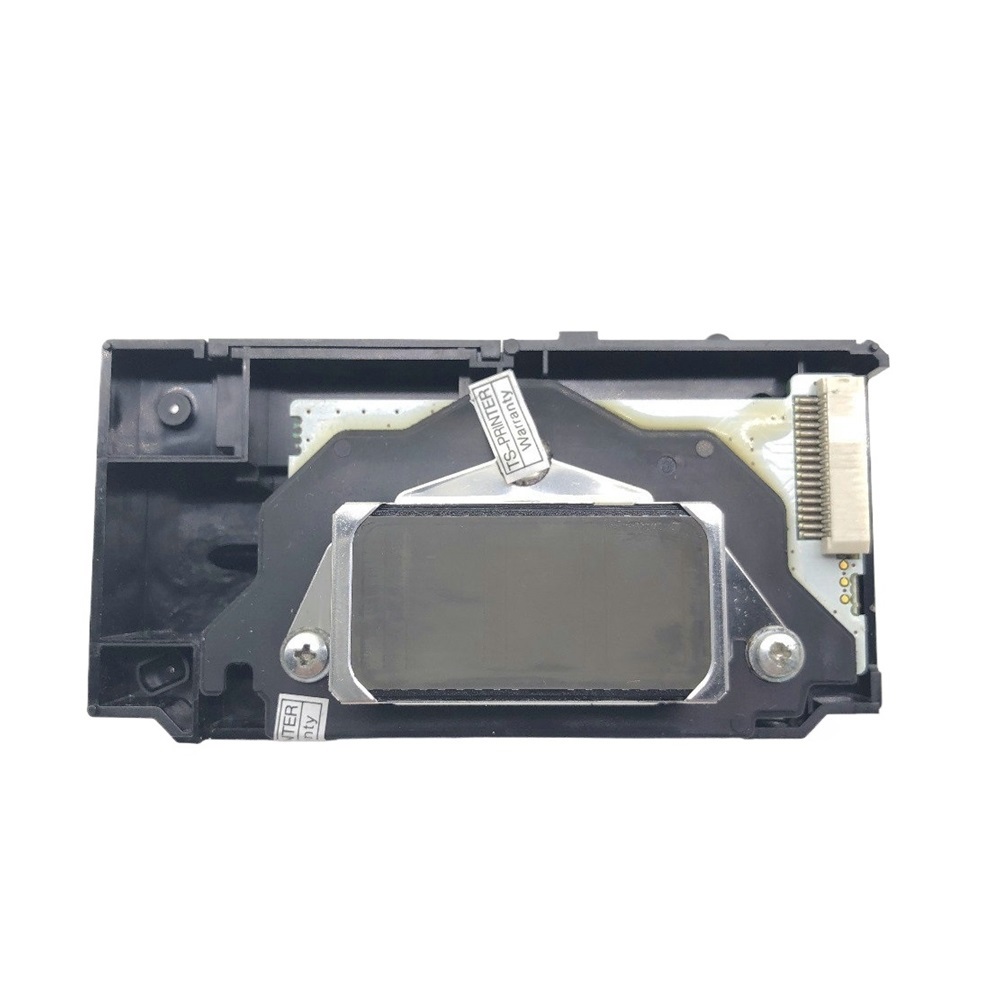
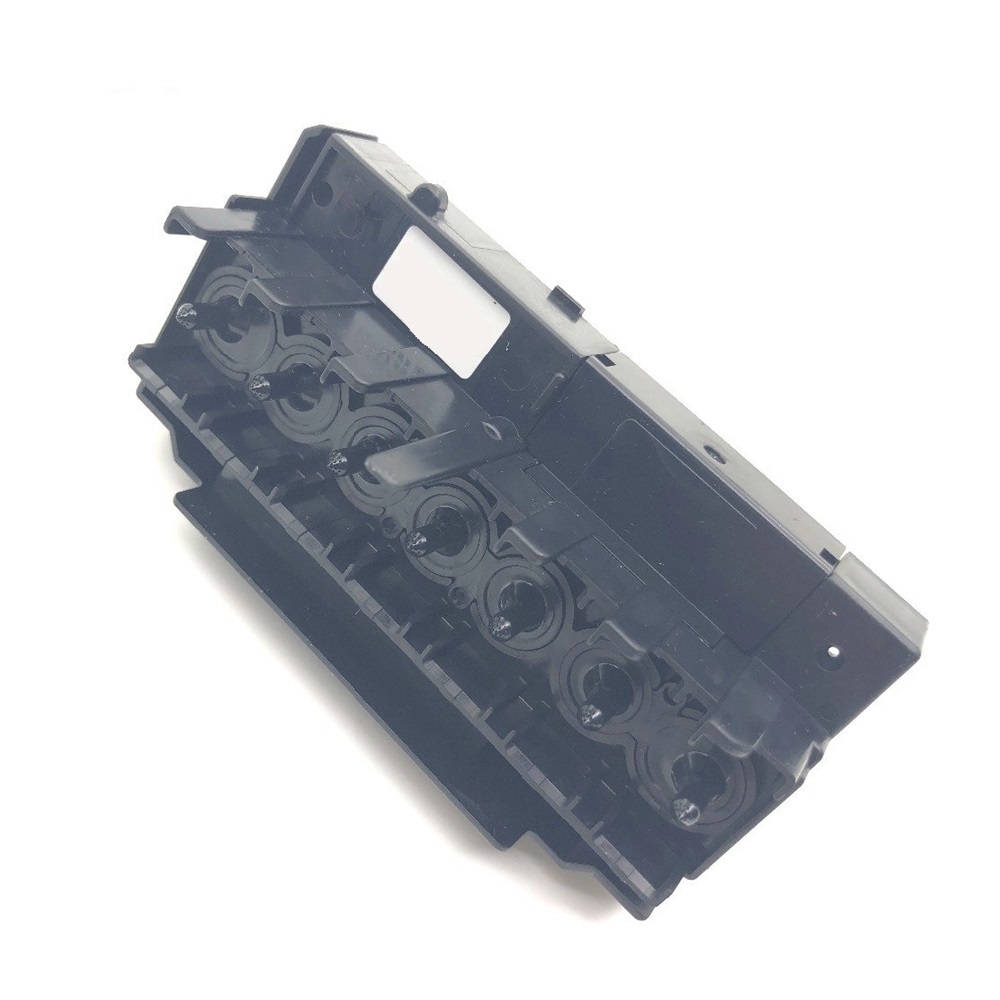
Printhead Replacement Installation Instructions for Compatible Stylus Photo Printers
Compatible Models:
- APAN 2100
- APAN 2200
- APAN 7600
- APAN 9600
- R2100
- R2200
-F138010 - F138020
- F138040
- F138050
Tools Required:
- Screwdriver (Philips or Flathead, depending on your printer model)
- Tweezers (optional, for handling small parts)
- Soft Cloth or Paper Towel (to protect the printer surface)
- Gloves (to avoid fingerprints on the printhead)
Installation Steps:
-
Power Off the Printer:
Ensure the printer is turned off and unplugged from the power source to prevent any electrical hazards during installation. -
Prepare the Work Area:
Find a clean, flat surface to work on. Lay down a soft cloth or paper towel to protect the printer and prevent scratches. -
Open the Printer Cover:
Gently lift the printer cover to access the printhead area. Refer to the printer manual if you're unsure how to do this. -
Remove the Old Printhead:
- Use the screwdriver to remove any screws securing the old printhead (if applicable).
- Carefully disconnect any cables attached to the old printhead.
- Using tweezers (if needed), gently pull out the old printhead from its slot.
-
Install the New Printhead:
- Take the new printhead out of its packaging, being careful not to touch the nozzles.
- Align the new printhead with the slot and gently insert it.
- Reconnect any cables that were removed and secure the printhead in place using screws, if necessary.
-
Close the Printer Cover:
Carefully lower the printer cover back into place, ensuring it clicks shut properly. -
Plug In and Power On:
Reconnect the power cable and turn the printer on. Allow the printer to go through its initialization process. -
Test the Printhead:
Print a test page to ensure the new printhead is functioning correctly and the colors are vibrant.
Maintenance Tips:
- Regularly clean the printhead using the printer’s built-in maintenance features to ensure optimal performance.
- Store the printer in a cool, dry area to prolong the life of the printhead.
Thank you for choosing our printhead replacement. Enjoy high-quality printing!

