
Gexpress Is a Startup Dedicated to You. Shop With Confidence—Refunds Are Easy Through !


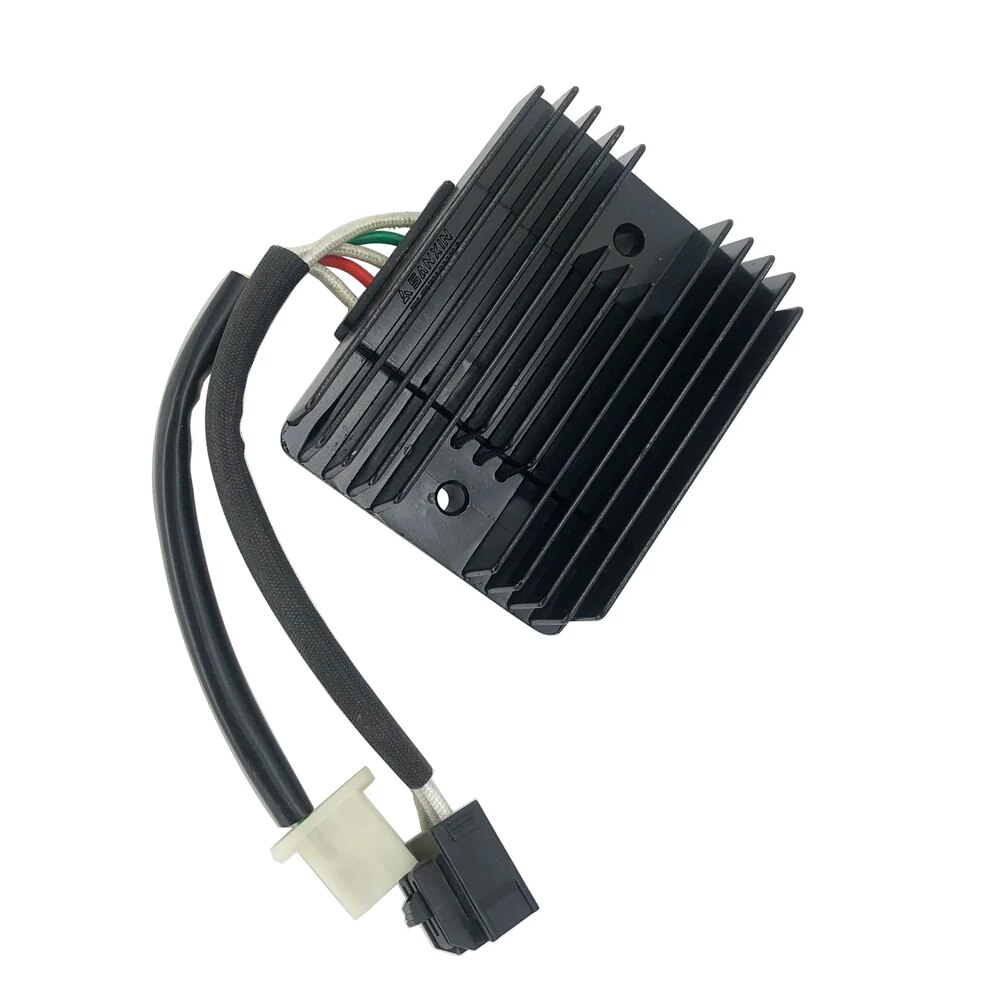
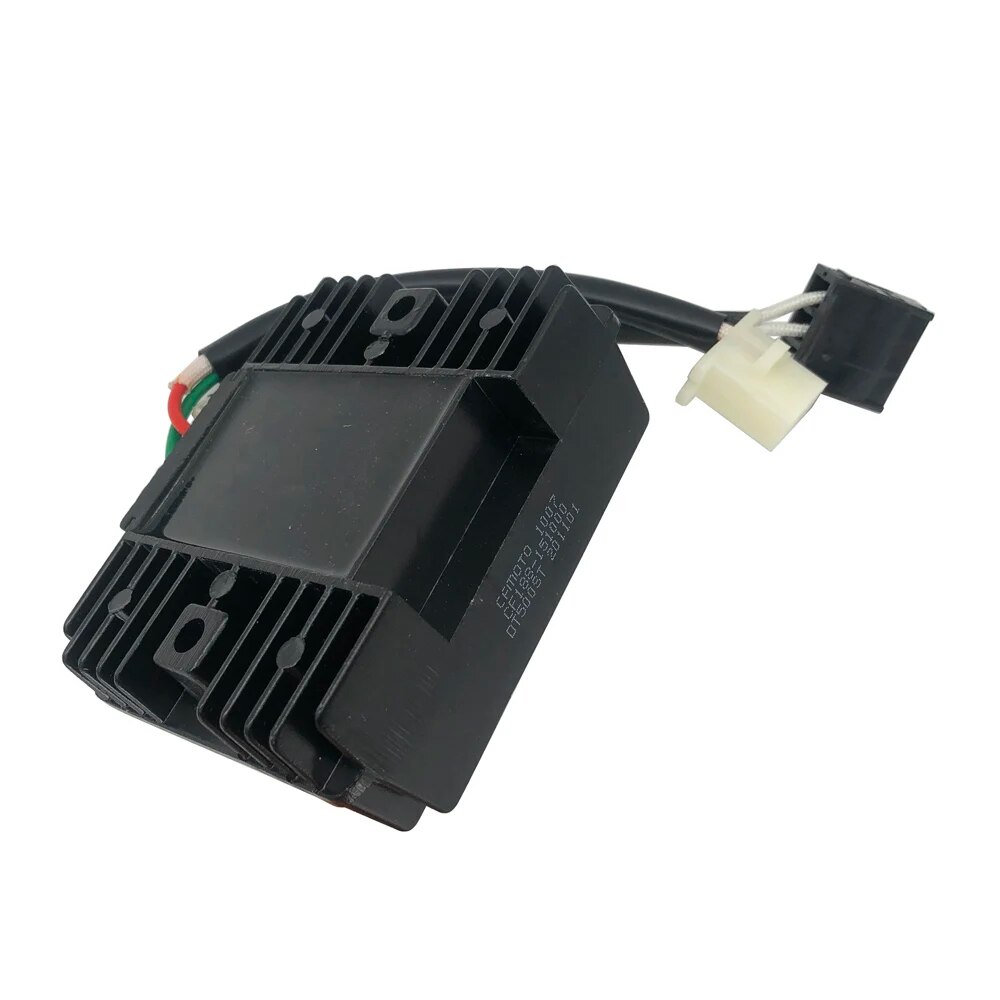
Installation Instructions for Voltage Regulator Rectifier for 500CC UTV ATV Go Kart Quads Model CF188-151000 12V
Tools Needed:
- Socket Wrench Set - For removing and tightening bolts.
- Screwdriver Set - Both Phillips and Flathead to accommodate different screws.
- Wire Strippers - For preparing and connecting wires.
- Multimeter - To check voltage and ensure proper connections.
- Pliers - For gripping and bending wires if necessary.
- Electrical Tape or Heat Shrink Tubing - For insulating connections.
- Safety Goggles - To protect your eyes during the installation process.
- Gloves - To keep your hands clean and safe.
Installation Steps:
-
Safety First: Ensure that the vehicle is turned off and the battery is disconnected to avoid any electrical hazards.
-
Locate the Old Voltage Regulator Rectifier: Identify where the existing unit is located on your UTV/ATV/Go Kart/Quad.
-
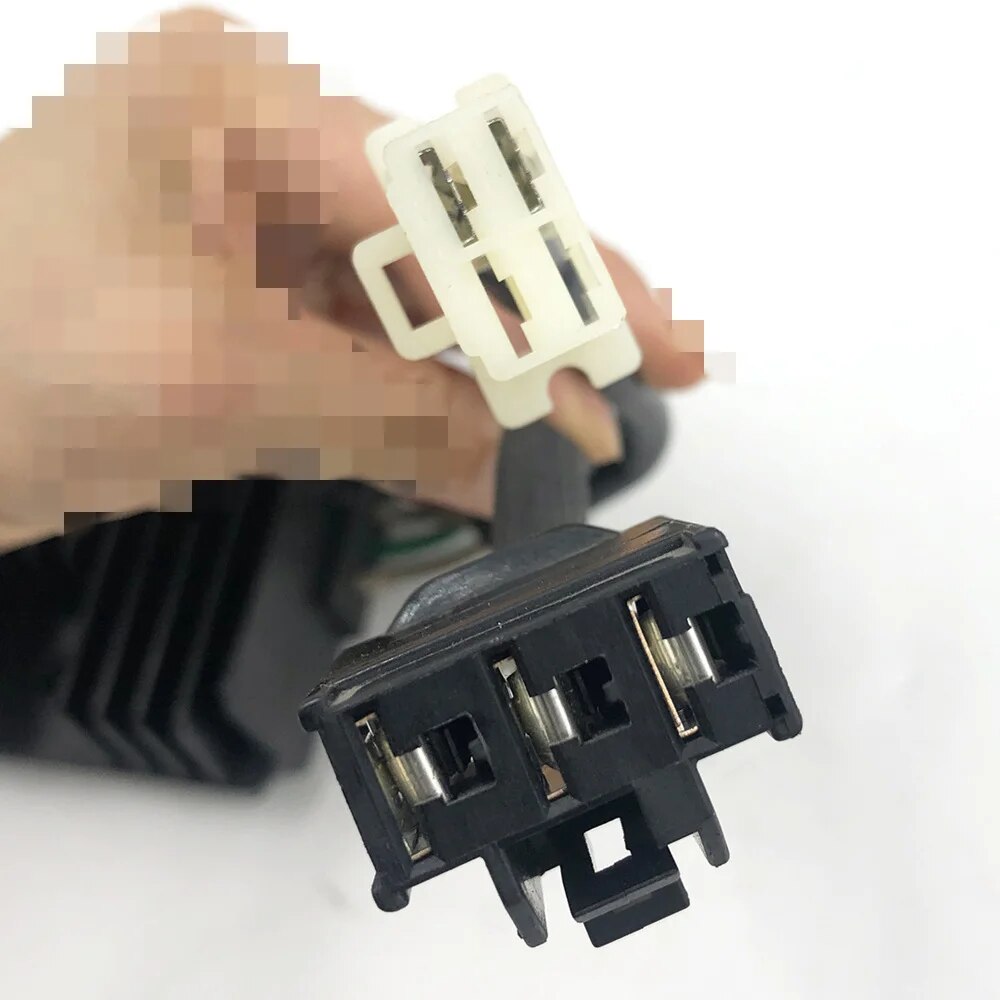
Disconnect the Old Unit: Carefully remove the wiring connectors from the old voltage regulator rectifier. If necessary, use a multimeter to check for any voltage before disconnecting.
-
Remove Mounting Bolts: Use the socket wrench to remove the bolts holding the old regulator in place.
-
Install the New Voltage Regulator Rectifier: Place the new rectifier in the same position as the old one and secure it with the mounting bolts.
-
Connect the Wires: Reattach the wiring connectors to the new unit. If necessary, use wire strippers to prepare any wires that may need to be spliced or connected.
-
Insulate Connections: Use electrical tape or heat shrink tubing to secure and insulate all connections to prevent any short circuits.
-
Reconnect the Battery: Once everything is securely connected and insulated, reconnect the battery.
-
Test the Installation: Start your vehicle and use a multimeter to test the output from the new regulator rectifier to ensure it is functioning correctly.
-
Final Check: After confirming the proper operation, tidy up any loose wires and ensure everything is secured.
Conclusion:
Your new Voltage Regulator Rectifier is now installed! Enjoy the improved performance and reliability of your UTV, ATV, Go Kart, or Quad. If you encounter any issues during installation, refer to the detailed user manual or consult a professional.

