
Gexpress Is a Startup Dedicated to You. Shop With Confidence—Refunds Are Easy Through !

Motorcycle and light motorcycle accessories
US /en/
USD
Hello, Sign In
Account & Lists
Cart
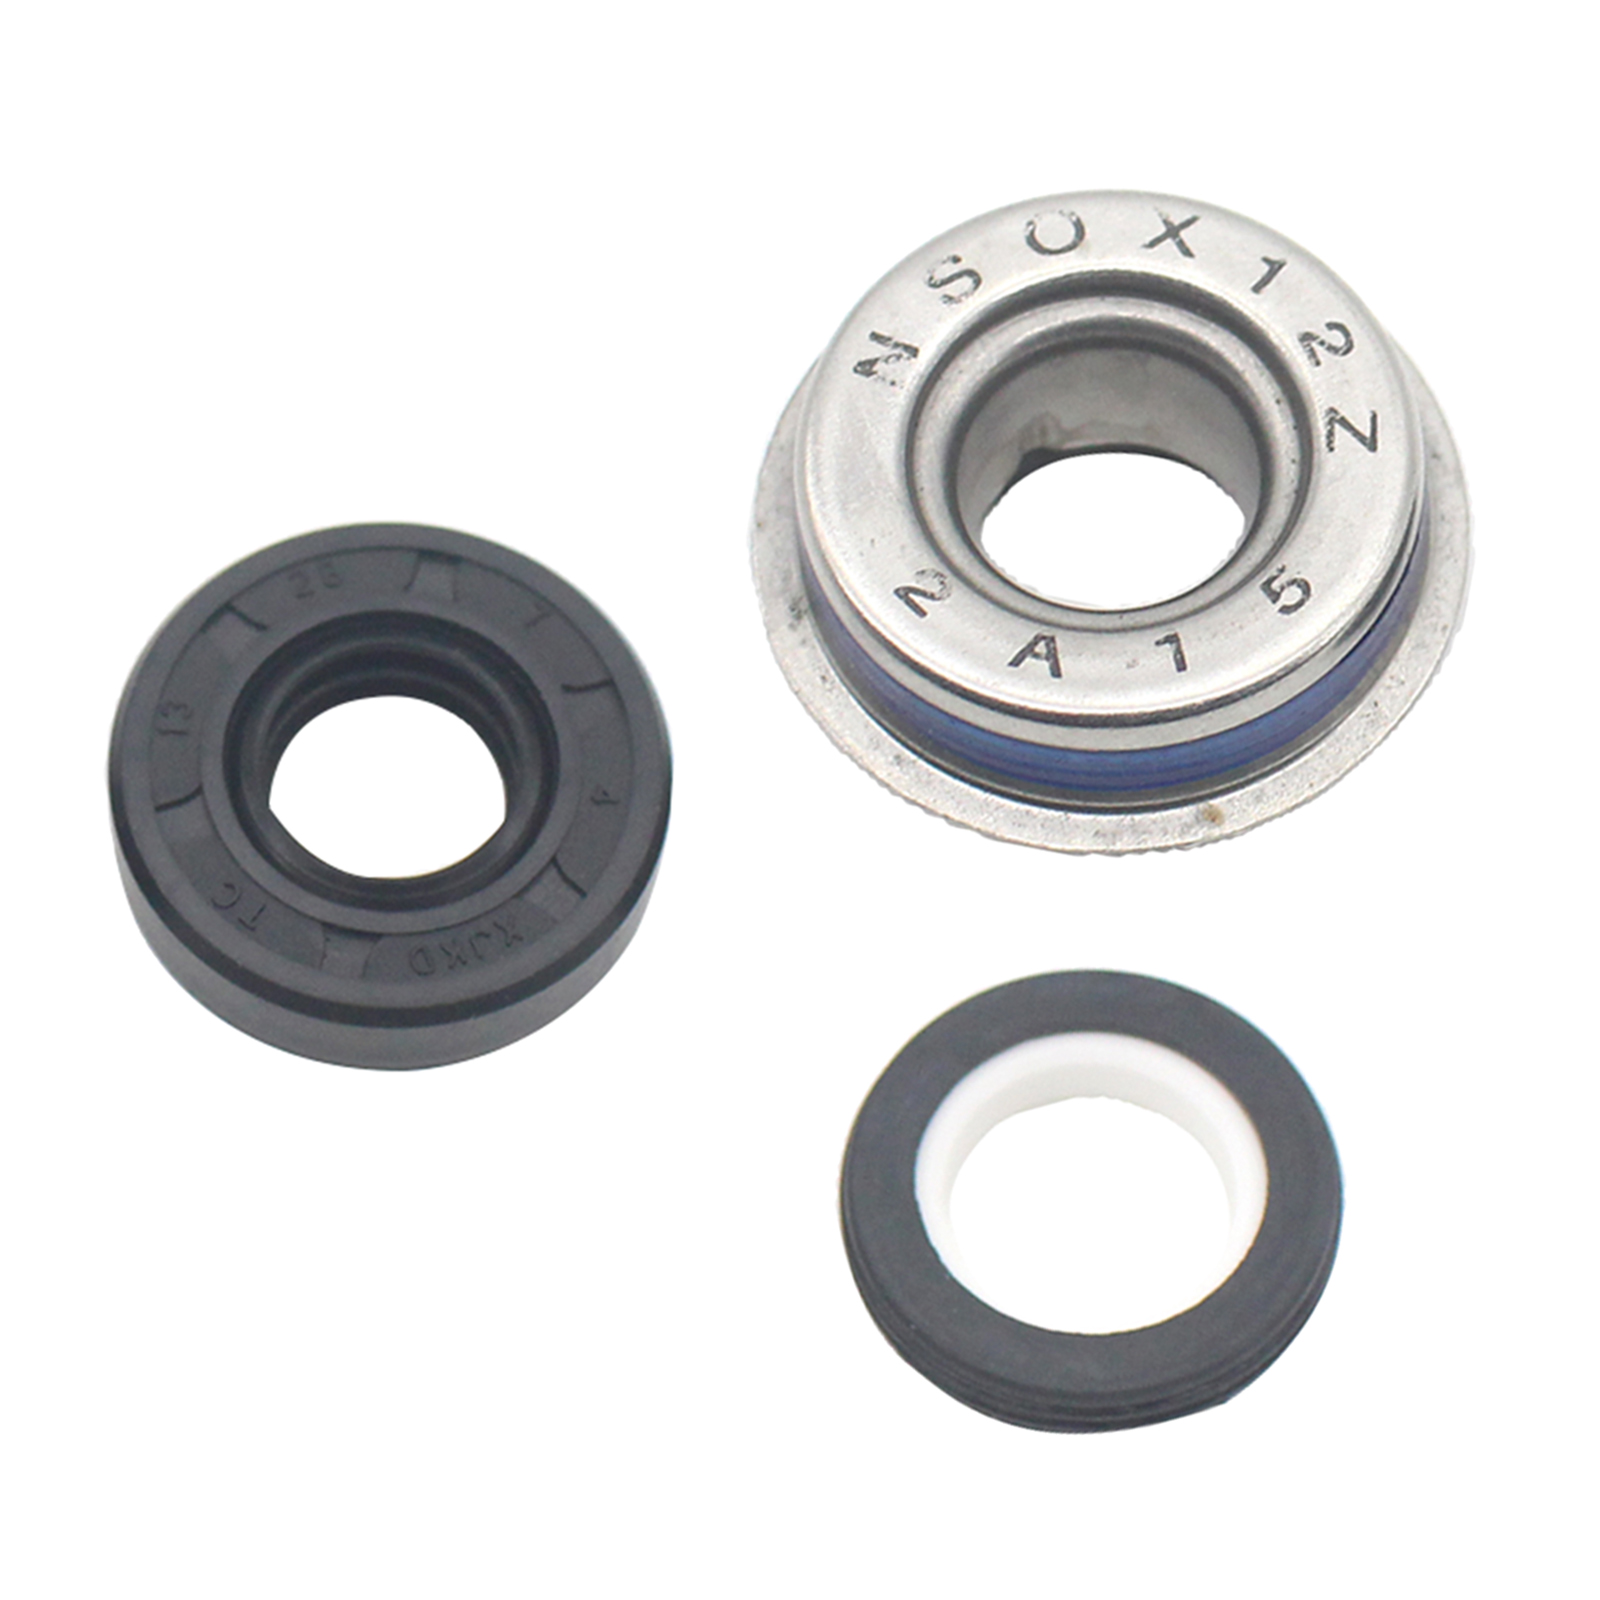
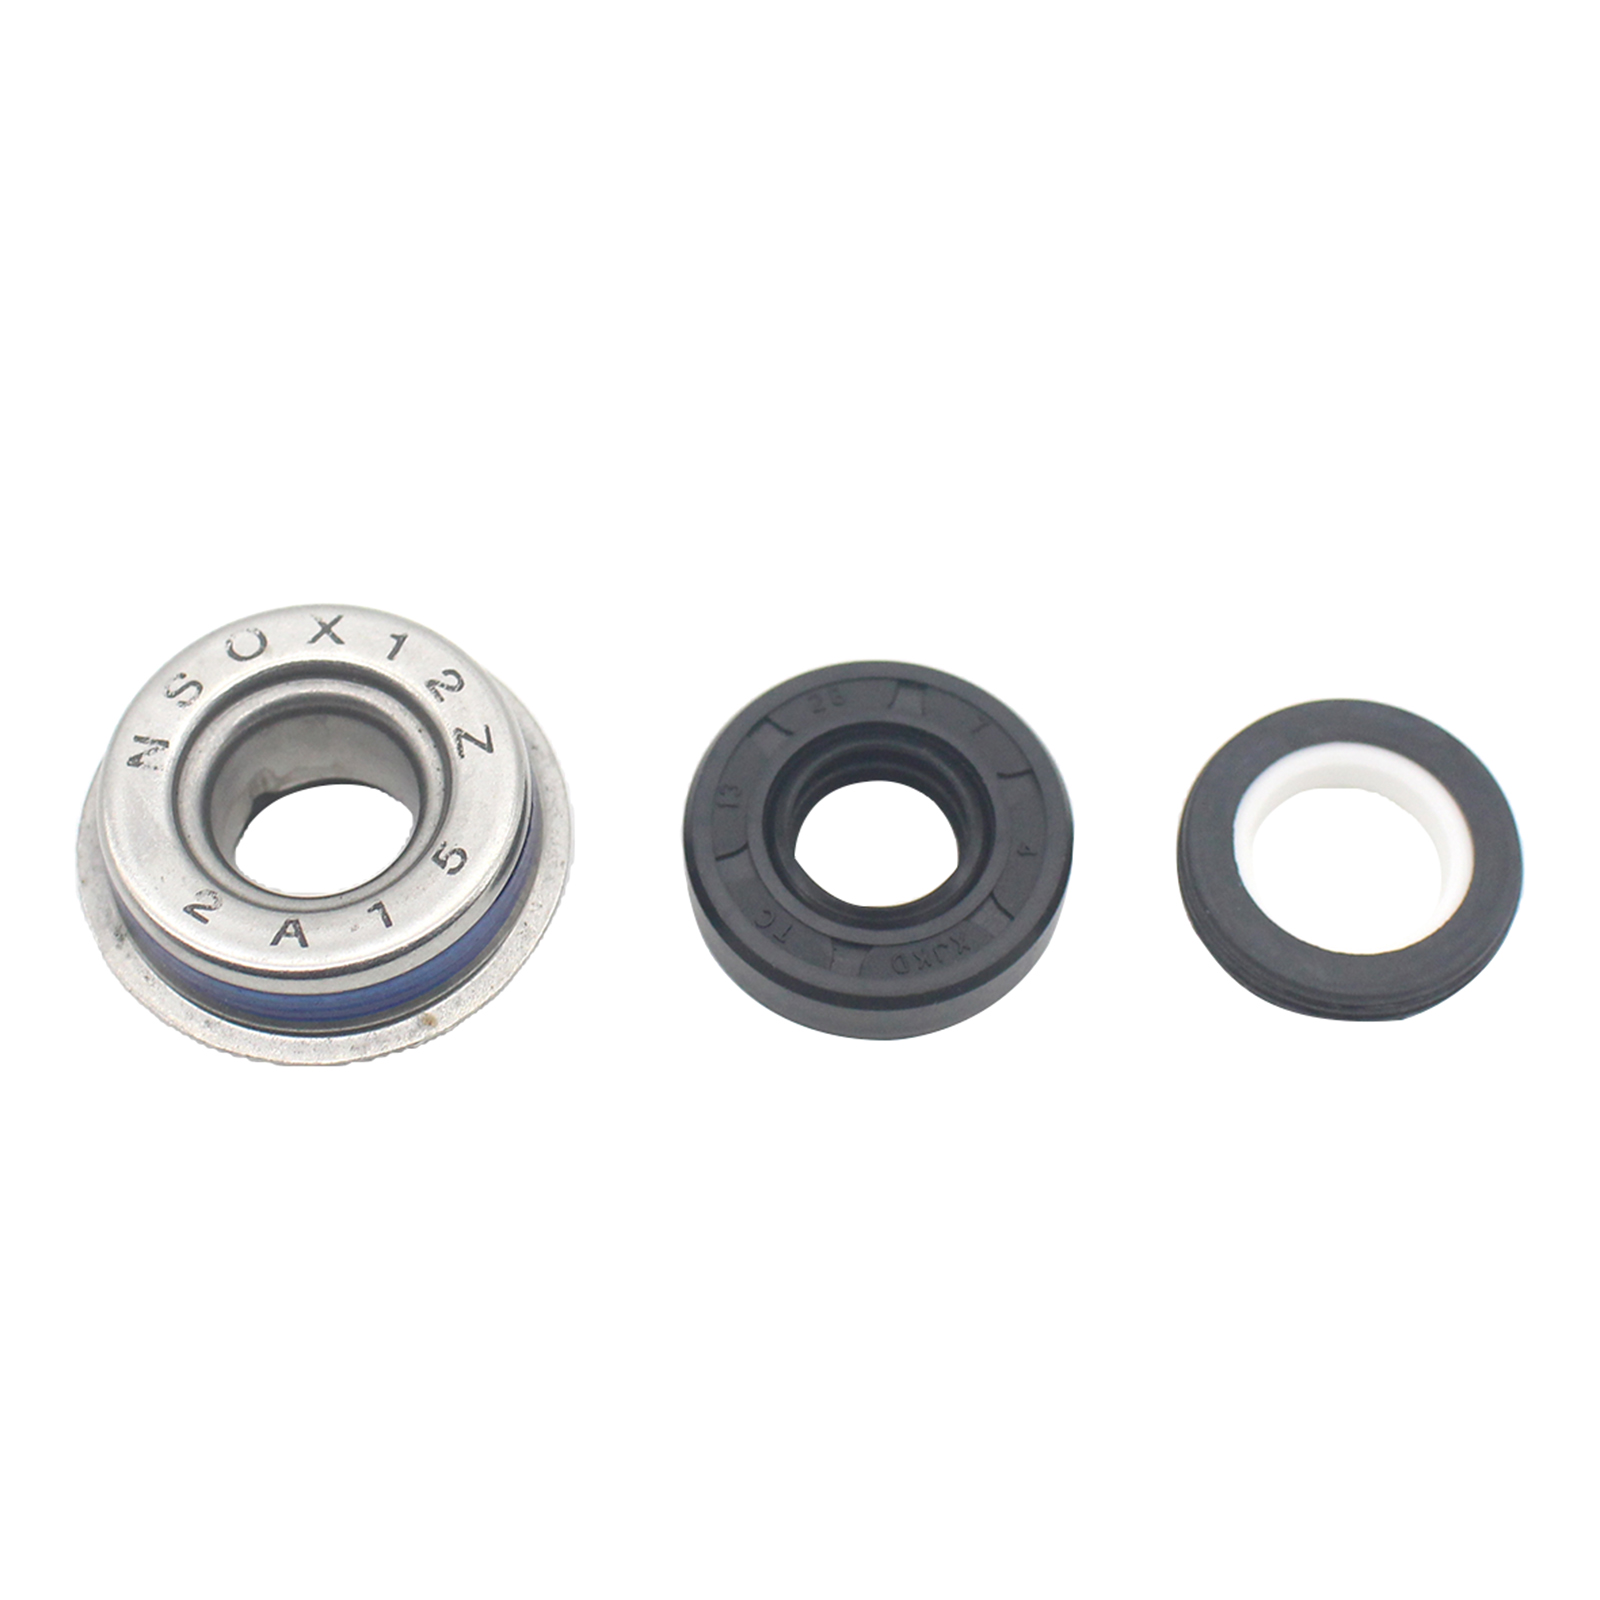
water pump oil seal repair kit for 1992-1993 n SR150RN SR125 FN NX250 ax-1 compatible set available in Amazon store
157 Sold
USD 4.91USD5.05
86% Limited Time
About This Item
Strong adaptability: specially designed for 1992-1993 NSR150R, NSR125, FN, NX250 and AX-1 models to ensure a perfect fit.
Easy installation: Equipped with detailed instructions, you can easily complete the installation without professional tools.
Durable materials: Made of premium materials, designed to extend the service life and reliability of the oil seal.
Complete Repair Kit: Contains a range of necessary parts to help you quickly repair your water pump and restore equipment performance.
Affordable: Compared to purchasing a new water pump, this repair kit provides a more economical solution.
Sold To
United States
USD 5.01
Delivery: 7-15 Business Days
Fast Delivery
Refund If Package Lost
Refund If Items Damaged
Refund If No Delivery in 30 Days
Quantity
1
Installation Instructions


Installation Instructions for the Water Pump Oil Seal Repair Kit
Compatibility:
This repair kit is specifically designed for the following models:
- 1992-1993 NSR150R
- NSR125
-FN - NX250
-AX-1
Tools Required:
Before you begin installation, please gather the following tools:
- Screwdriver set (Philips and flathead)
- Allen wrench or hex key set
-Socket wrench set
-Torque wrench
-Pliers
-Clean cloths - Oil seal removal tool (optional but recommended)
- Grease or silicone lubricant (for seals)
Installation Steps:
-
Preparation:
- Ensure the engine is cold and the motorcycle is placed on a stable surface.
- Disconnect the battery to prevent any electrical issues during the process.
- Drain the coolant from the water pump to avoid spills.
-
Remove the Water Pump Cover:
- Using the appropriate screwdrivers and sockets, carefully remove the screws or bolts securing the water pump cover.
- Gently lift the cover off and set it aside, taking care not to damage the gasket.
-
Extract the Old Oil Seal:
- Use the oil seal removal tool (or pliers) to carefully pull out the old oil seal. Be cautious not to scratch the housing.
-
Clean the Area:
- Thoroughly clean the housing and surrounding area to ensure proper sealing. Remove any old gasket material and dirt using a clean cloth.
-
Install the New Oil Seal:
- Apply a small amount of grease or silicone lubricant to the outside of the new oil seal. This will help it slide into place more easily.
- Gently press the new oil seal into the housing until it is seated flush.
-
Reassemble the Water Pump:
- Replace the water pump cover and secure it using the screws or bolts you removed earlier.
- Use a torque wrench to ensure all fasteners are tightened to the manufacturer’s specifications.
-
Refill Coolant:
- Refill the coolant system and check for leaks around the newly installed oil seal.
-
Reconnect Battery:
- Reconnect the battery to complete your installation.
-
Test the Repair:
- Start the engine and let it run for a few minutes. Check for any leaks and ensure that the water pump is functioning properly.
Conclusion:
With this installation kit and following these instructions, you can effectively repair your water pump and restore your vehicle's performance. Enjoy your ride!
Description
Material: Metal+Rubber
Size: Approx. 35mm/1.37inch
Package Includes: 3pcs/set Water Pump Seals
TAG:
Motorcycle and light motorcycle accessories
Related Items

