
Gexpress Is a Startup Dedicated to You. Shop With Confidence—Refunds Are Easy Through !

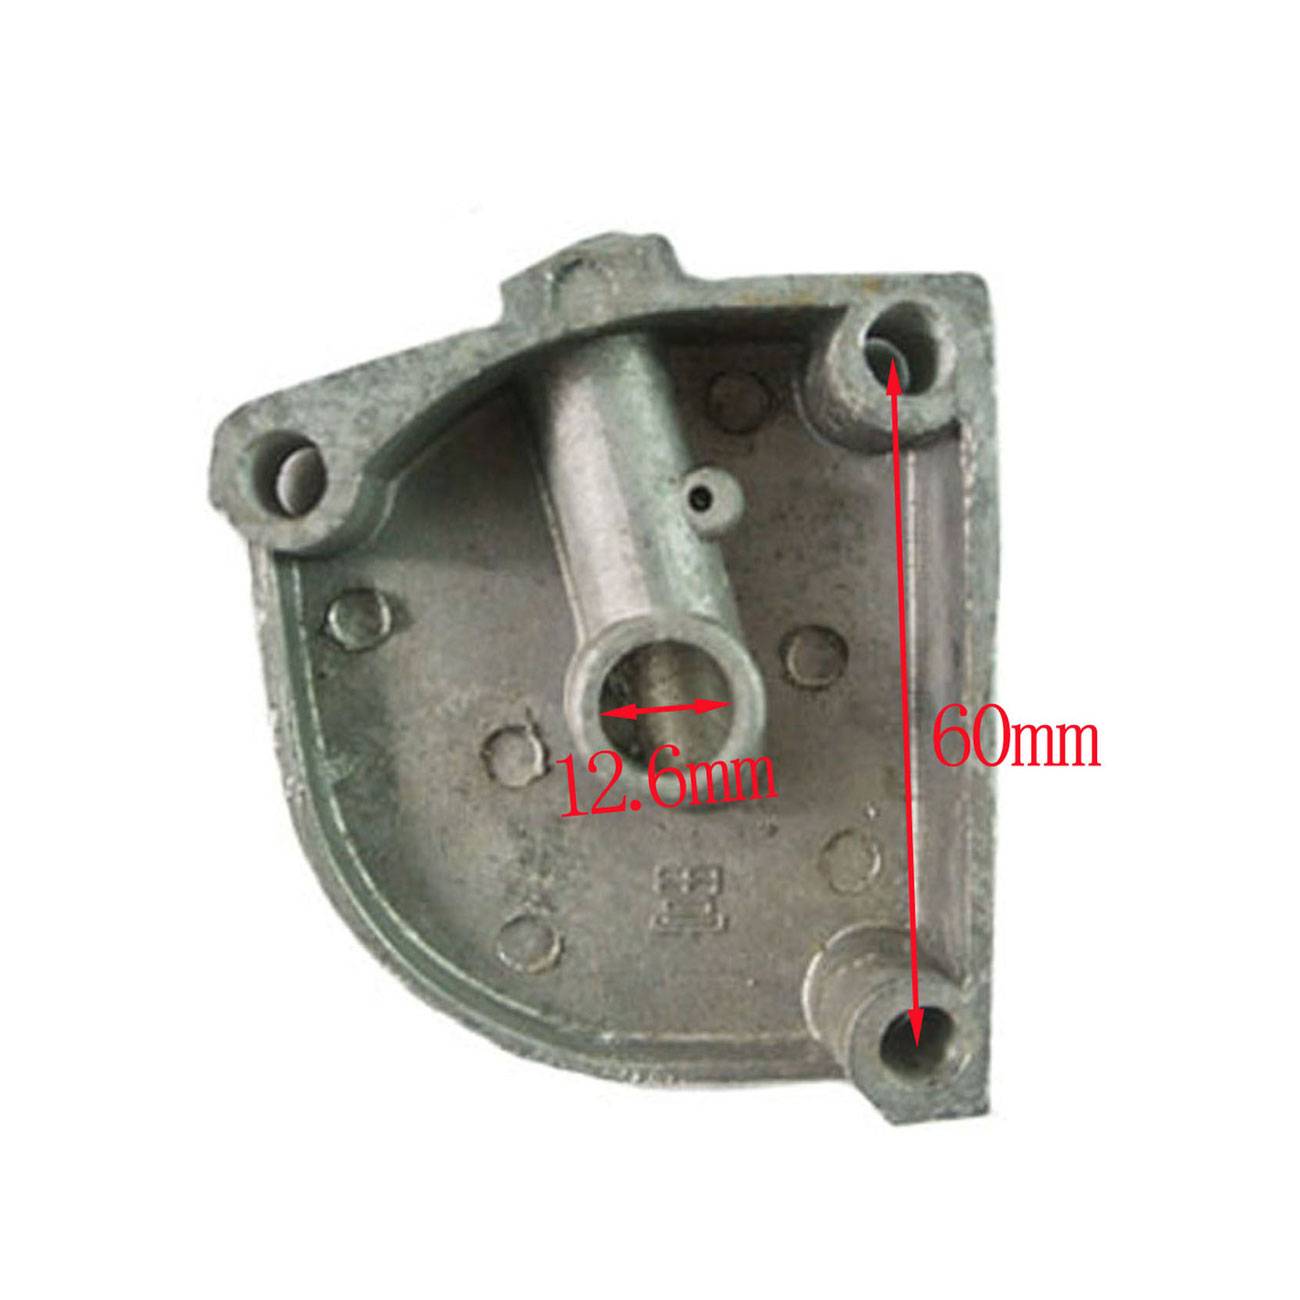
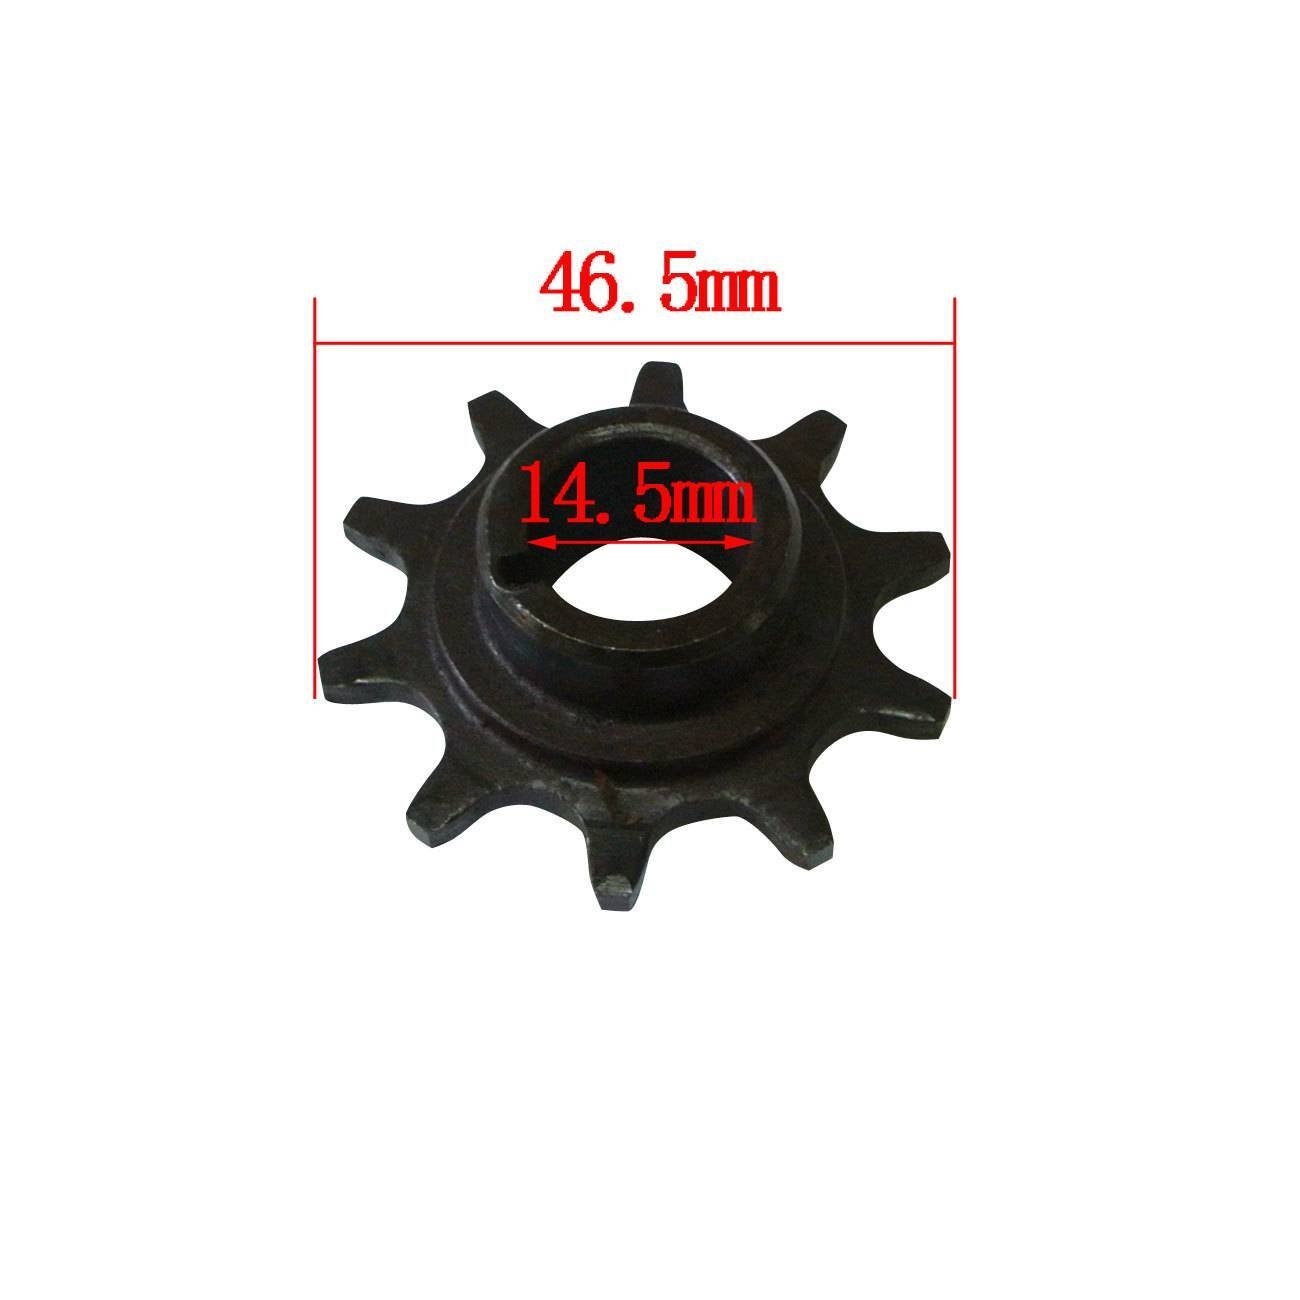
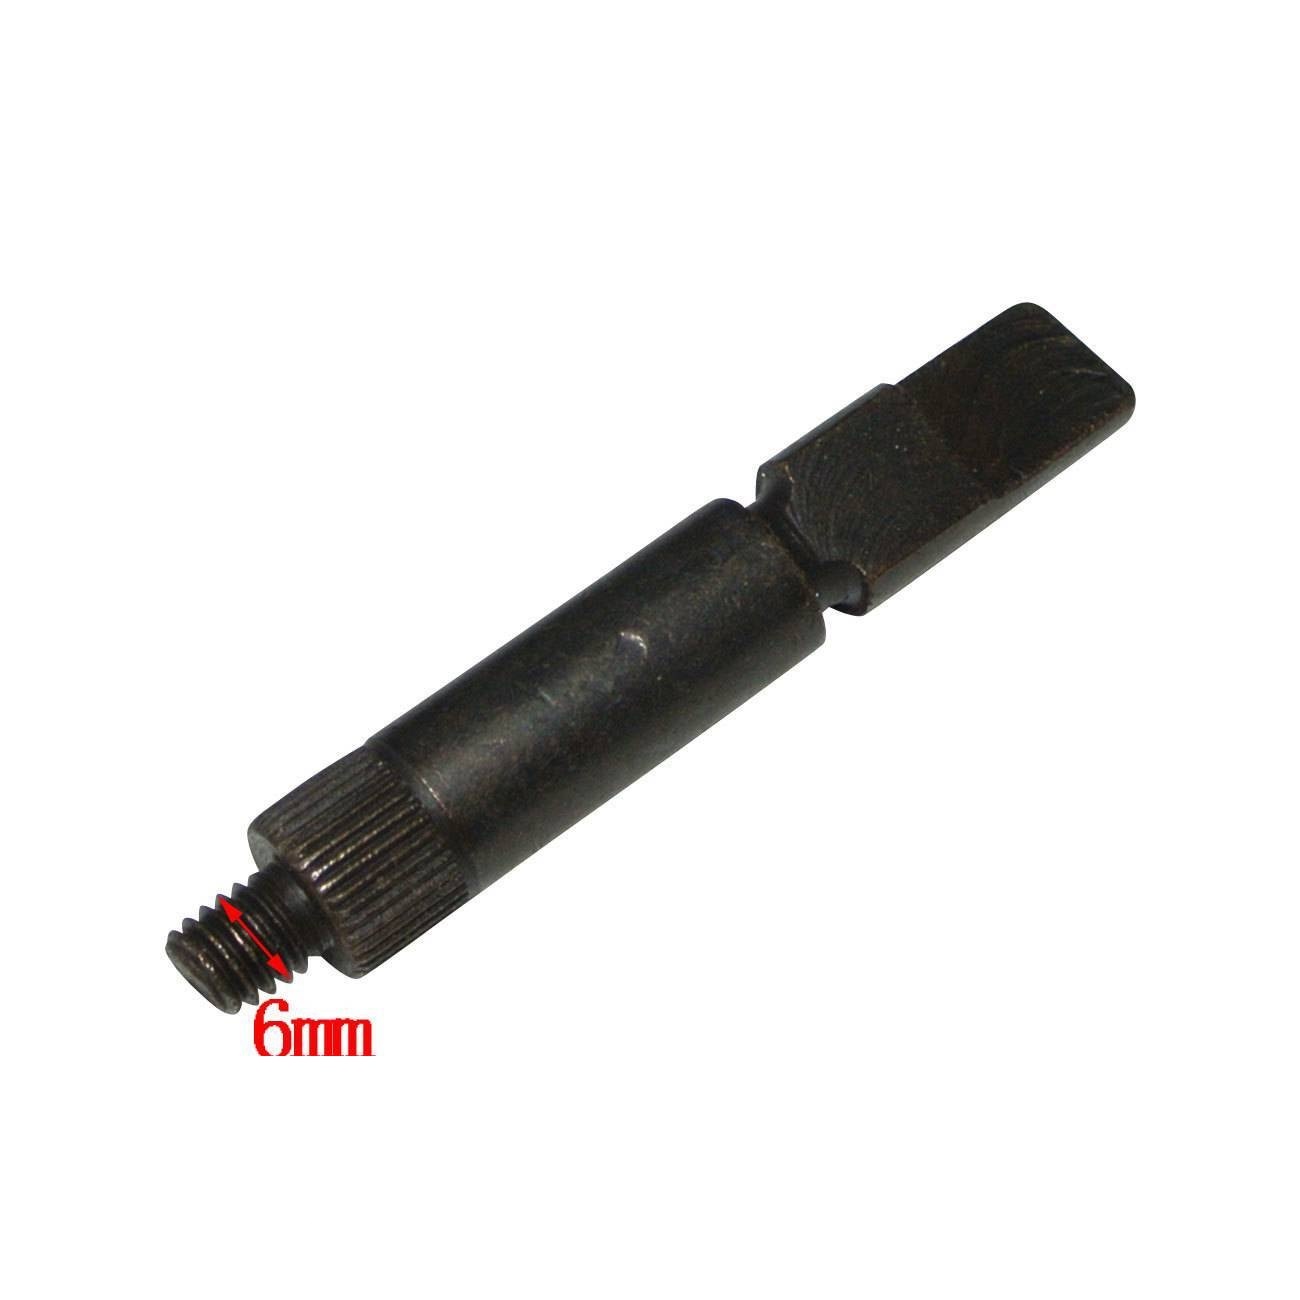
Product Installation Instructions for Clutch Cover for 10-Tooth Drive Sprocket
Compatibility:
This clutch cover is compatible with a variety of engine models, including 49cc, 60cc, 66cc, and 80cc motorized bicycles, ensuring broad compatibility and efficiency of use.
Installation Tools Required:
Before beginning the installation, ensure you have the following tools on hand:
- Socket Wrench Set (8mm and 10mm sockets recommended)
- Screwdriver Set (Phillips and flathead)
- Pliers
- Torque Wrench (optional, for precise tightening)
- Clean Cloth (for cleaning surfaces)
- Grease (for lubrication, optional)
Installation Steps:
-
Preparation:
Ensure the bicycle is on a flat surface and secure. Remove any obstructions that may hinder access to the clutch area. -
Remove the Existing Clutch Cover:
Use the socket wrench to remove the screws or bolts securing the existing clutch cover. Keep the fasteners in a safe place for later use. -
Clean the Area:
Wipe down the surface where the clutch cover attaches to remove any dirt or old grease. This ensures a proper seal. -
Position the New Clutch Cover:
Align the new clutch cover with the mounting holes on the engine. Ensure that the holes on the cover match perfectly with those on the engine. -
Secure the Clutch Cover:
Using the socket wrench, gently fasten the screws or bolts back into place. Tighten them evenly to ensure a proper fit. If using a torque wrench, refer to the manufacturer’s specifications for the proper torque setting. -
Final Inspection:
Double-check that all screws and bolts are securely fastened. Ensure there are no obstructions and that the chain runs freely. -
Test Ride:
After installation, take a short test ride to verify that everything is functioning correctly. Listen for any unusual noises and check for proper performance.
Note:
This product is designed for ease of installation, thanks to its 3-hole design which facilitates a quick and seamless setup on your motorized bicycle. The durable construction improves wear resistance and corrosion resistance, ensuring long-lasting use. Enjoy your enhanced riding experience!

