
Gexpress Is a Startup Dedicated to You. Shop With Confidence—Refunds Are Easy Through !

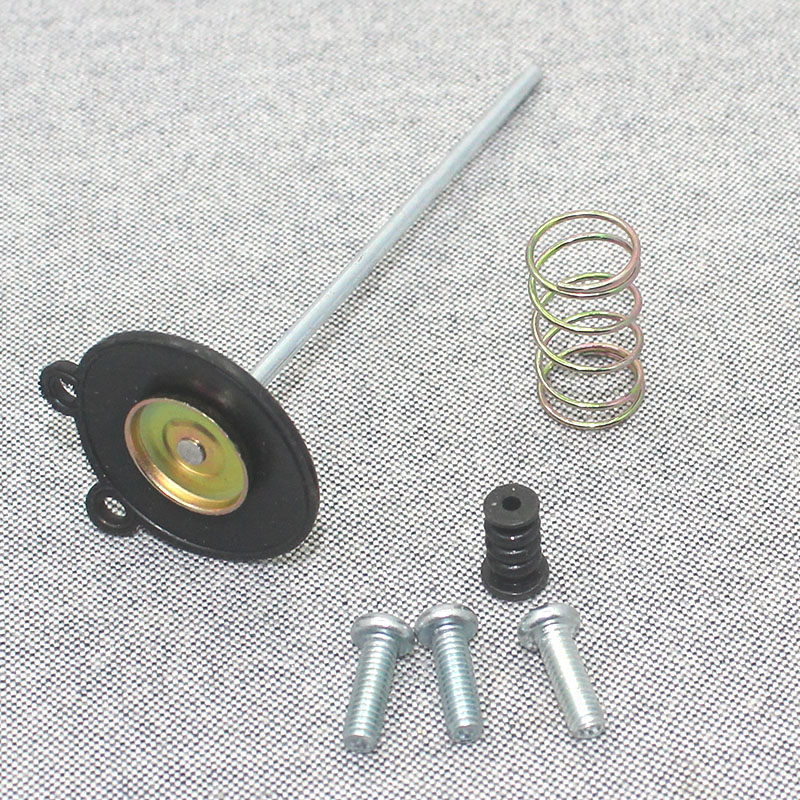
Installation Instructions for Versatile Air Cut-off Valve Diaphragm Carburetor Repair Kit
Thank you for purchasing the Versatile Air Cut-off Valve Diaphragm Carburetor Repair Kit. To ensure a successful installation, please follow the steps below.
Tools Required:
- Screwdriver Set (Phillips and flathead)
- Wrench Set (appropriate sizes for your motorcycle)
- Pliers (for gripping and holding components)
- Clean Rags (for cleaning and wiping off excess fuel)
- Carburetor Cleaner (optional, for cleaning the carburetor)
- Safety Goggles (to protect your eyes during installation)
- Gloves (to keep your hands clean)
Installation Steps:
-
Preparation
- Ensure the motorcycle is turned off and cool down before starting.
- Disconnect the battery to avoid any electrical mishaps.
-
Remove the Carburetor
- Use the appropriate screwdriver and wrench to detach the carburetor from the motorcycle. Take care not to damage any surrounding components.
-
Disassemble the Carburetor
- Refer to your motorcycle’s manual for specifics on disassembling the carburetor. Keep track of all parts and screws.
-
Clean the Carburetor
- If required, spray carburetor cleaner inside the carburetor and wipe it down with a clean rag to remove any debris or buildup.
-
Replace the Diaphragm and Components
- Using the provided components from the repair kit, replace the diaphragm and any other necessary parts. Ensure each component fits well and matches the original.
-
Reassemble the Carburetor
- Carefully reassemble the carburetor, following the steps in reverse. Make sure all screws are tightened to the manufacturer’s specifications.
-
Reinstall the Carburetor
- Position the carburetor back onto the motorcycle and reconnect it securely.
-
Reconnect the Battery
- Attach the battery cables back together.
-
Test the Motorcycle
- Start the motorcycle and let it run for a few minutes. Check for any leaks or irregularities and ensure it runs smoothly.
Note:
Always refer to your motorcycle's service manual for specific instructions related to your model. If you encounter difficulties or are unsure about any steps, it is advised to seek assistance from a professional mechanic.
Enjoy the improved performance of your motorcycle with the new carburetor components!

