
Gexpress Is a Startup Dedicated to You. Shop With Confidence—Refunds Are Easy Through !

Computer
laptop and peripheral accessories
computer hostgeneral accessories
Gardenoutdoor power equipment and accessories
Motorcycle and light motorcycle accessories
Drones
model aircraft and RC vehicles
RC vehicle accessories
Ship and maritime accessories
engines and related accessories
General Motors Small AccessoriesTools
Auto parts
small generator and general small engine accessories
general generator ignition coil
Printers and office equipment parts
lawn mowers
edge trimmers
chain saws and other garden tool accessories
carburetor repair bags
Computers
laptops and peripheral accessories
UAVs
UAV complete aircraft and accessories
US /en/
USD
Hello, Sign In
Account & Lists
Cart
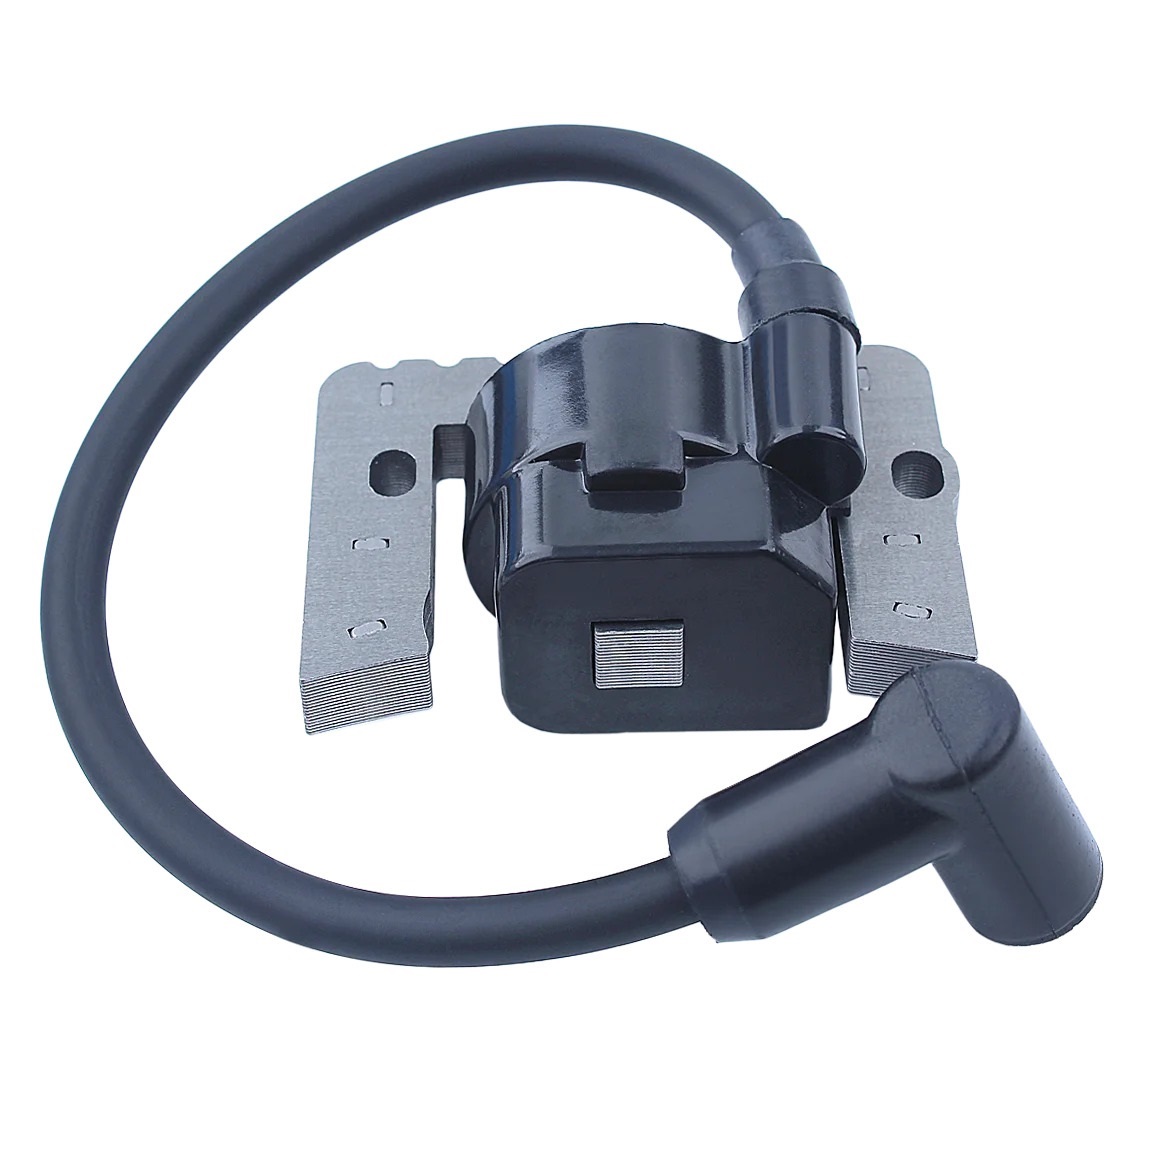
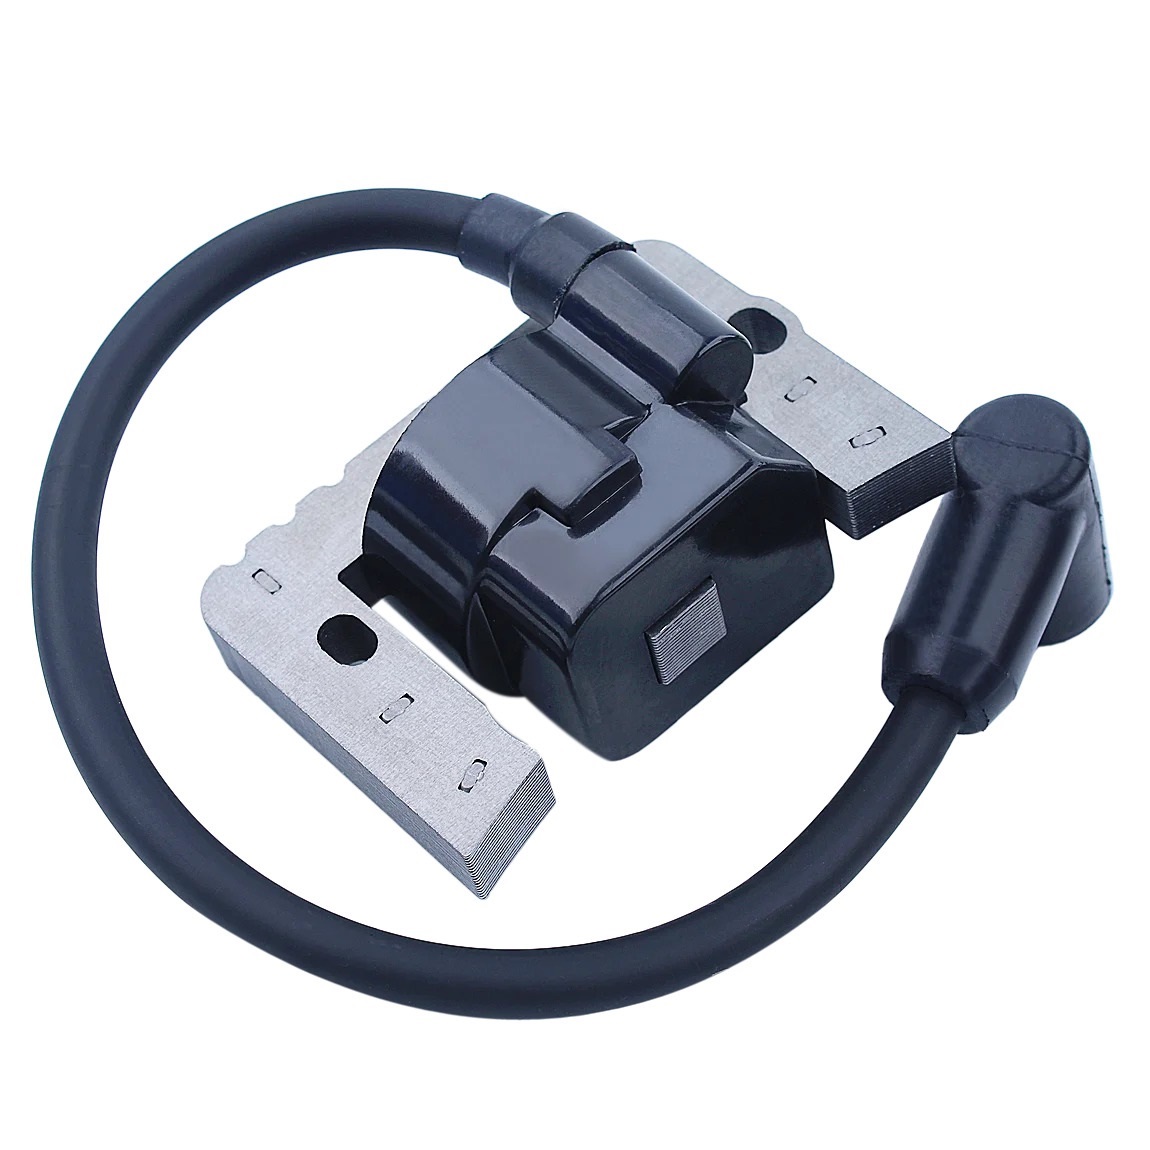
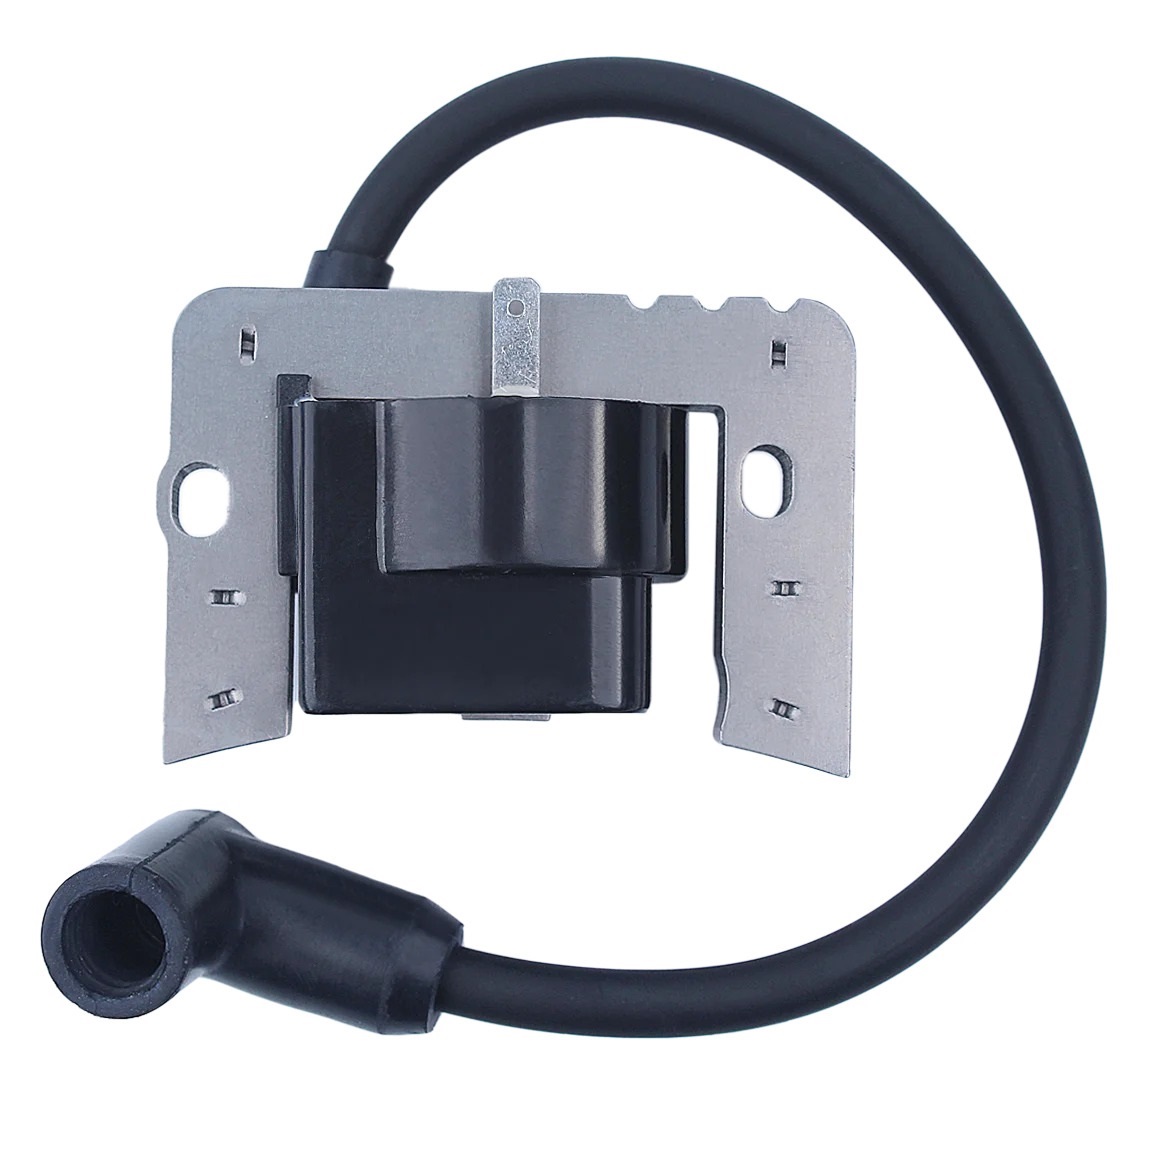
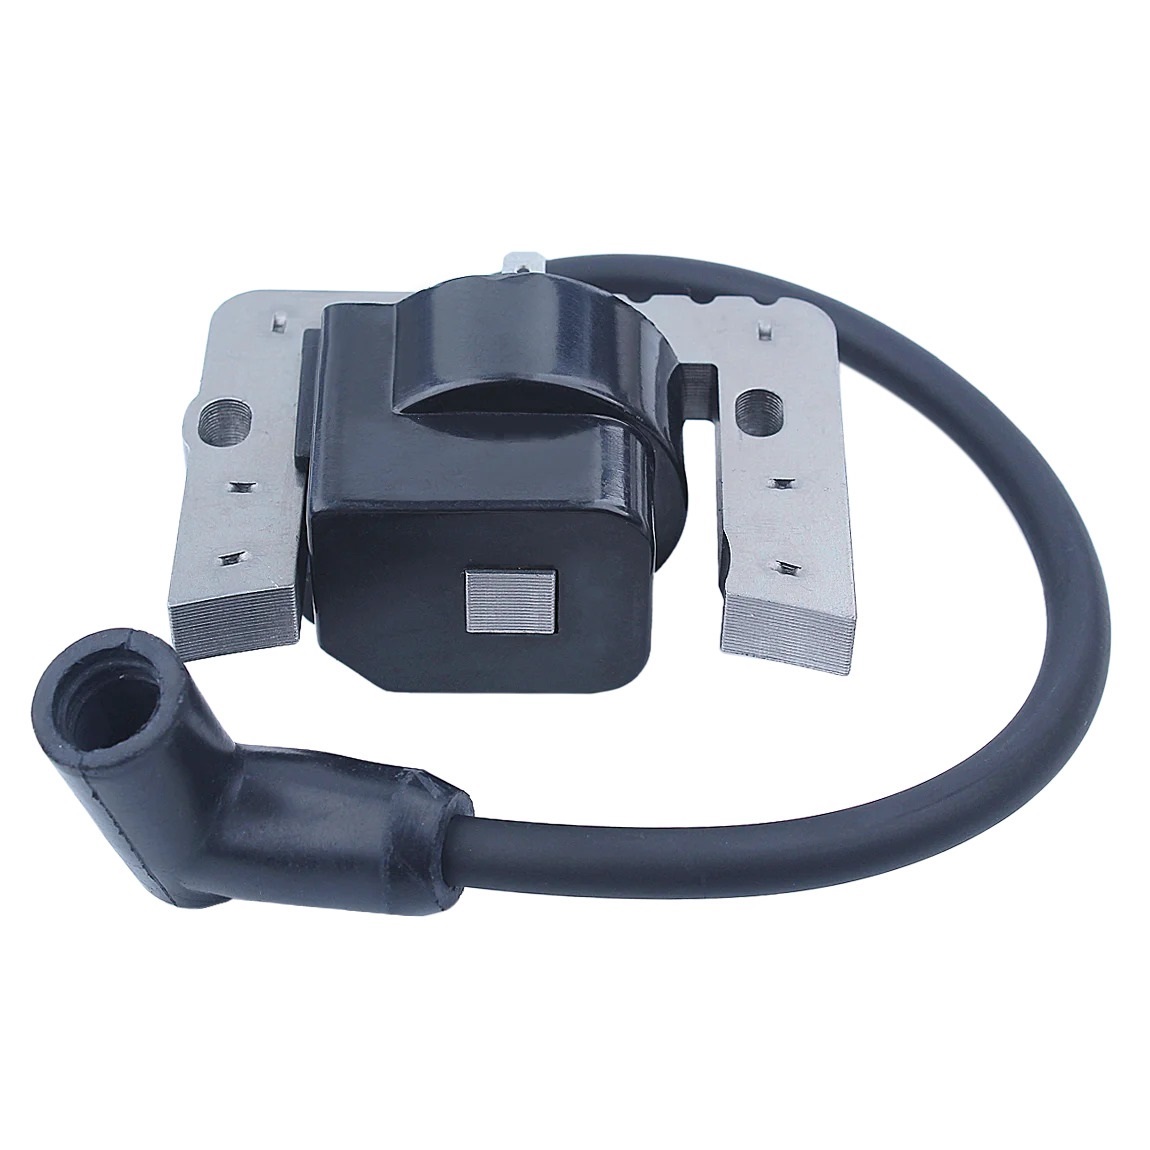
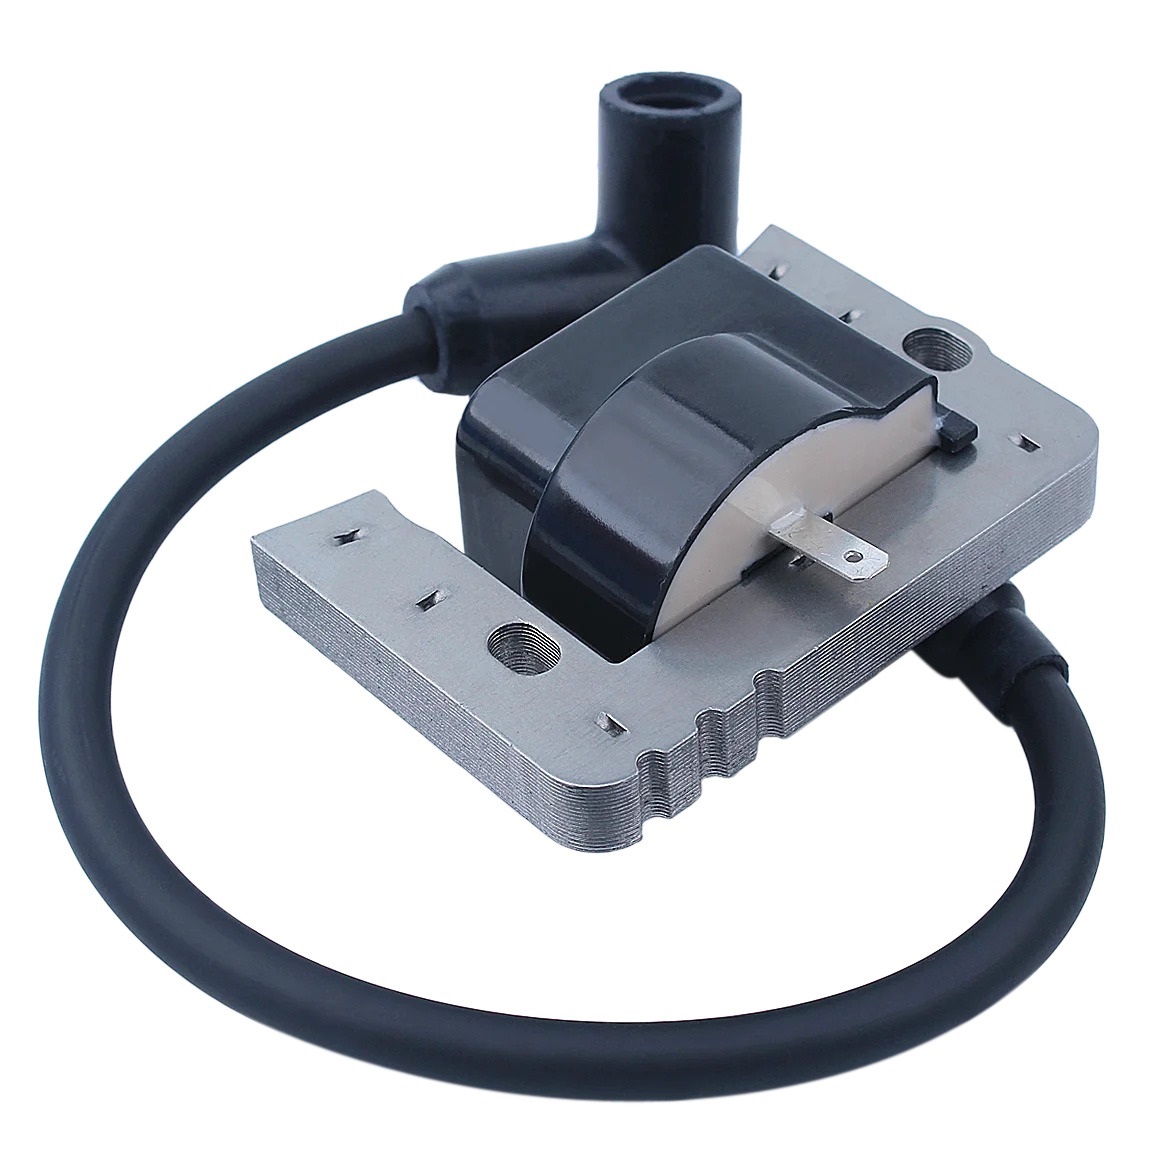
compatible ignition coil module for 37395 o V691EA o V691EP TVT691 v TX691
165 Sold
USD 37.33USD38.44
97% Limited Time
About This Item
Strong compatibility: This ignition coil module is perfectly matched with 37395, OV691EA, OV691EP and other models to ensure seamless replacement.
Easy installation: Designed with user needs in mind, the installation process is fast and simple, no professional skills are required, and it is suitable for DIY enthusiasts.
Improve performance: Effectively improve engine ignition efficiency, optimize fuel combustion, and help improve the overall power performance of the vehicle.
Durable materials: Made of high-temperature-resistant and corrosion-resistant materials to extend product service life and reduce replacement frequency.
Wide application: Applicable to a variety of car models and engine types, providing car owners with more options and protection.
Sold To
United States
USD 10.00
Delivery: 7-15 Business Days
Fast Delivery
Refund If Package Lost
Refund If Items Damaged
Refund If No Delivery in 30 Days
Quantity
1
Installation Instructions
Here is a product installation guide in English:
Installation Guide for Compatible Ignition Coil Module
Required Tools:
- Torx screwdriver (T20 or T25)
- Phillips screwdriver
- Socket wrench or ratchet and socket (10mm or 12mm)
- Pliers or wire strippers
- Safety glasses and gloves (recommended)
- Cleaning cloth and lubricant (optional)
Pre-Installation Checklist:
- Ensure you have purchased the correct ignition coil module for your vehicle make and model.
- Consult your vehicle's owner's manual for specific instructions and precautions.
- Wear protective gear, including safety glasses and gloves, to prevent injury.
Step 1: Disconnect the Negative Battery Cable
- Locate the negative battery cable and loosen the nut using a socket wrench or ratchet and socket.
- Remove the cable from the battery post.
Step 2: Remove the Old Ignition Coil Module
- Locate the ignition coil module and remove the Torx screws using a Torx screwdriver.
- Gently pull the module away from the engine block.
- Disconnect the electrical connector from the module.
Step 3: Install the New Ignition Coil Module
- Connect the electrical connector to the new module.
- Align the module with the engine block and secure it with the Torx screws.
- Tighten the screws in a star pattern to ensure even pressure.
Step 4: Reconnect the Negative Battery Cable
- Replace the negative battery cable and tighten the nut securely.
- Start the engine and check for any unusual noises or vibrations.
Post-Installation Checklist:
- Check the ignition coil module for any signs of damage or malfunction.
- Verify that all connections are secure and tight.
- Drive the vehicle for a short distance to test the new module.
Tips and Precautions:
- Make sure to dispose of the old ignition coil module responsibly.
- Avoid touching electrical components with your bare hands to prevent damage.
- If you encounter any issues during installation, consult a professional mechanic for assistance.
- Regularly check and maintain your vehicle's ignition system to ensure optimal performance.
Description
1 x Ignition Coil
Manufacturer Part Number: Compatible with OHV14 thru OHV17, OHV110 thru OHV180
TAG:
Automotive accessories
ignition and electrical systems
ignition coils (COP modules)
Related Items

