
Gexpress Is a Startup Dedicated to You. Shop With Confidence—Refunds Are Easy Through !

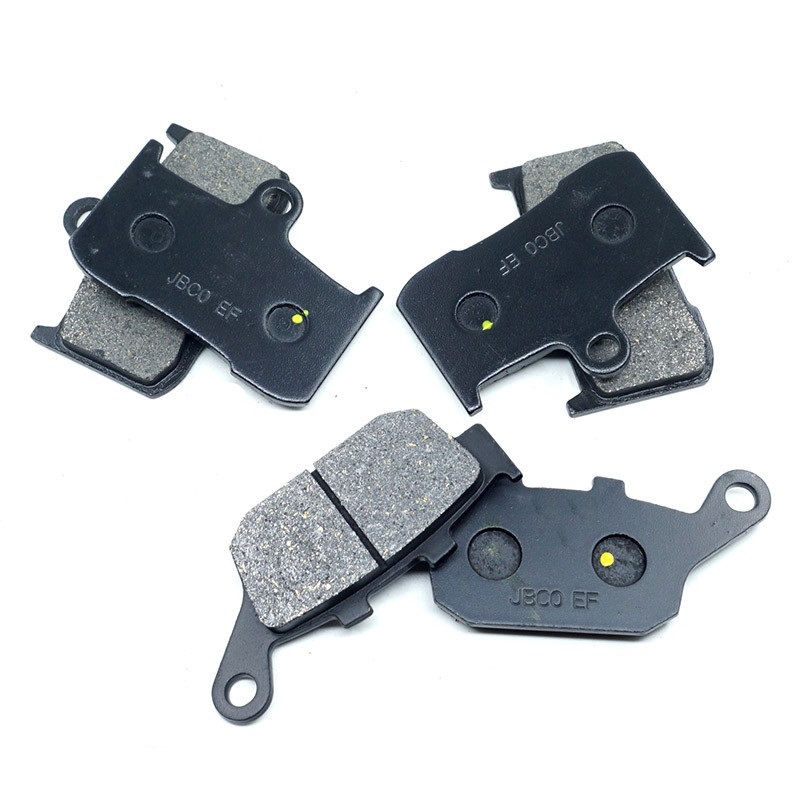
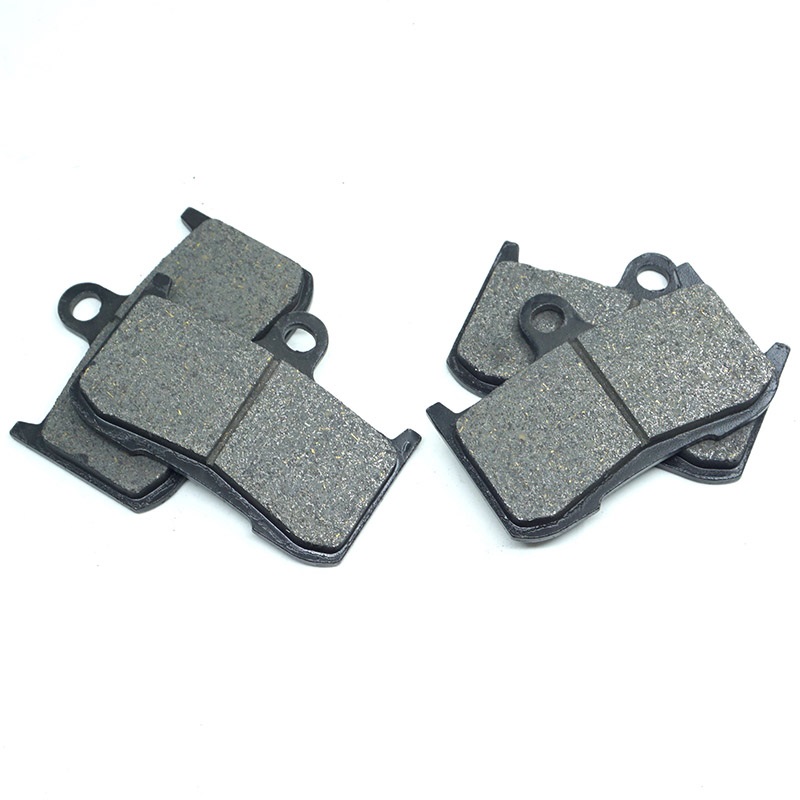
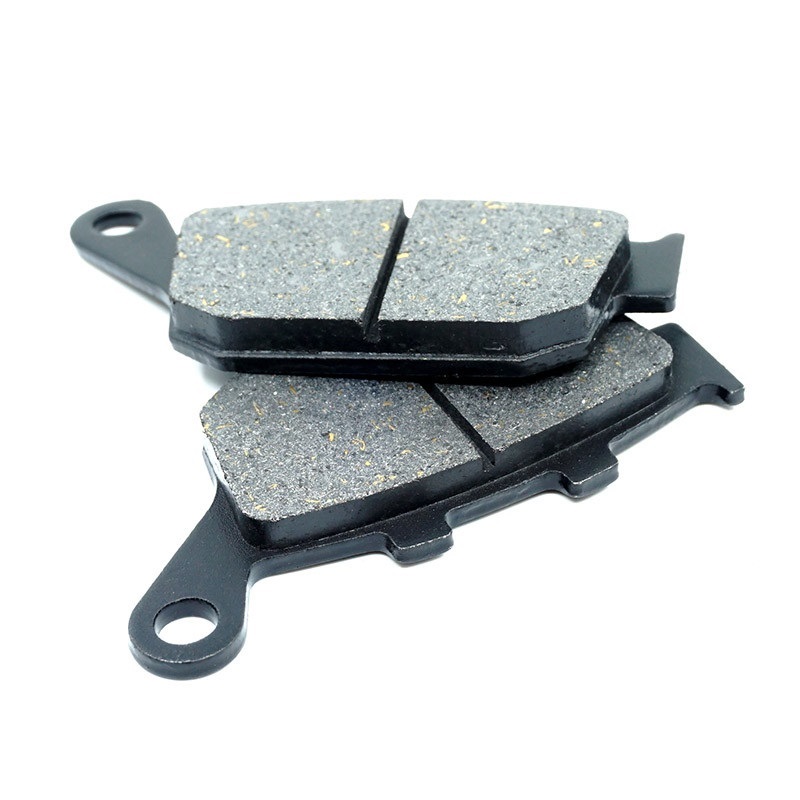
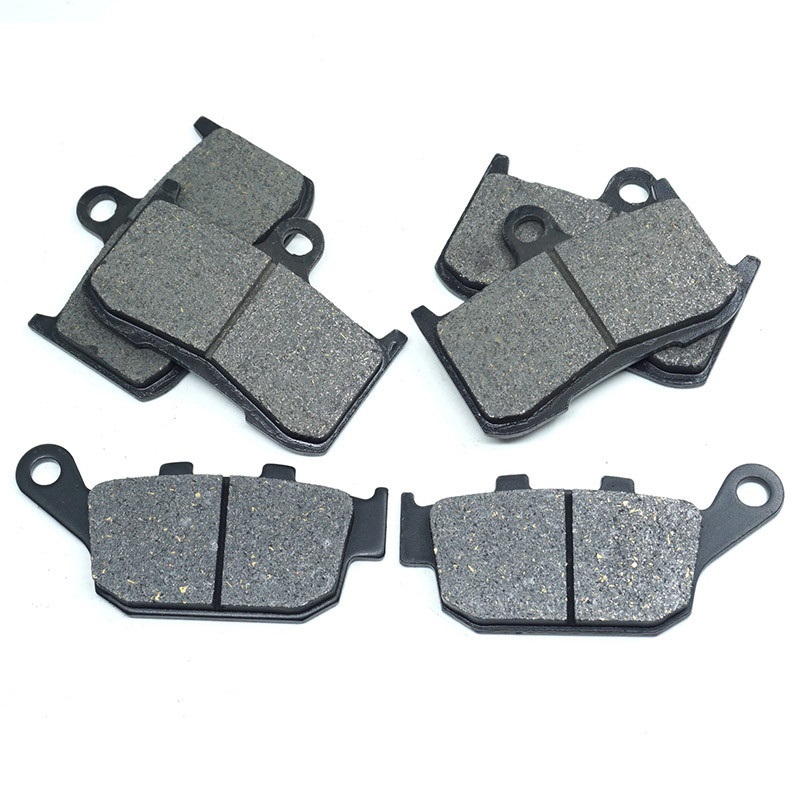
Product Installation Instructions for Front and Rear Brake Pads Set
Compatibility:
- K Z800 (2013-2016)
- K Z800e ABS (2013-2016)
- Z900 (2018-2022)
Tools Needed:
- Socket Wrench Set - To remove and install caliper bolts.
- Torque Wrench - For proper tightening of bolts to manufacturer specifications.
- Pliers - To help with removing any retaining pins or clips.
- Screwdriver Set - For any minor adjustments or to remove securing screws.
- C-Clamp or Brake Caliper Tool - To compress the brake caliper piston for installation.
- Brake Cleaner - To clean the brake components before installation.
- Rags or Shop Towels - For cleaning and wiping down parts.
- Safety Glasses - To protect your eyes while working.
- Gloves - To keep your hands clean and protected.
- Optional: Impact Wrench - For quicker removal of stubborn bolts (if available).
Installation Steps:
-
Preparation: Before beginning, ensure the motorcycle is on a stable surface and securely supported on a stand.
-
Remove the Wheel: Use the socket wrench to loosen and remove the wheel axle nut. Carefully take off the wheel to access the brake calipers.
-
Access the Brake Caliper: Locate the brake caliper and use a socket wrench to remove the caliper bolts. Carefully slide the caliper off the brake rotor.
-
Remove Old Brake Pads: Take note of how the old pads are installed before removing them. Use pliers if necessary to remove retaining pins or clips.
-
Compress Caliper Piston: Use a C-clamp or brake caliper tool to gently push the piston back into the caliper housing. This step is essential to make room for the new brake pads.
-
Install New Brake Pads: Place the new brake pads into the caliper bracket in the same orientation as the old pads. Ensure they fit snugly and securely.
-
Reattach the Caliper: Carefully slide the caliper back over the rotor and align it with the mounting holes. Reinstall and tighten the caliper bolts using the torque wrench to the recommended specifications.
-
Reinstall the Wheel: Place the wheel back onto the fork and secure the axle nut using the socket wrench.
-
Test the Brake: Before riding, pump the brake lever several times to seat the new pads and ensure a firm feel. Check the brake fluid level and top off if necessary.
-
Clean Up: Wipe down any excess brake cleaner and ensure that all tools are accounted for before taking the motorcycle for a test ride.
Safety First:
Always refer to the motorcycle owner's manual for specific instructions and torque specifications. If you are unsure of any steps, consider seeking help from a professional mechanic.
Enjoy your enhanced braking performance and ride safely!

