
Gexpress Is a Startup Dedicated to You. Shop With Confidence—Refunds Are Easy Through !

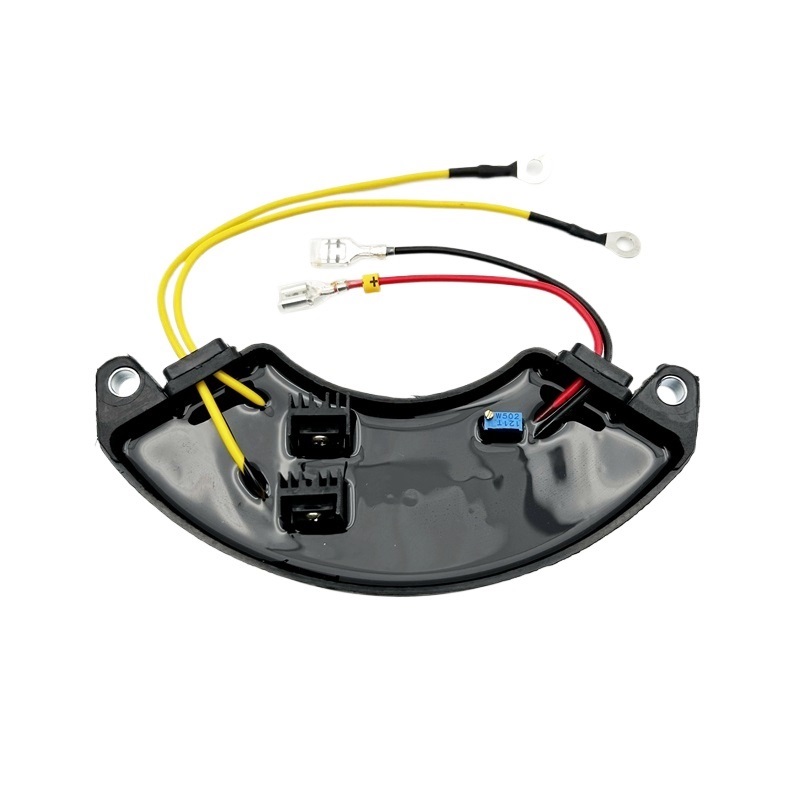
Installation Instructions for Brushless Generator AVR GFC7-1D2A Automatic Voltage Regulator
Tools Required:
- Screwdriver Set - A flat-head and Phillips screwdriver for securing connections.
- Wrench Set - To loosen or tighten any bolts or nuts if required.
- Wire Cutters/Strippers - For trimming and preparing wires for connection.
- Multimeter - To test voltage levels and ensure proper installation.
- Electrical Tape - For securing any exposed wires and connections.
- Safety Gloves - To protect your hands during installation.
- Safety Goggles - To protect your eyes from potential hazards.
- User Manual - For reference throughout the installation process.
Installation Steps:
-
Safety Precautions: Before starting, ensure the generator is turned off and disconnected from any power source. Wear safety gloves and goggles for protection.
-
Locate the Old AVR: Open the generator cover to access the existing Automatic Voltage Regulator. Take note of how the wires are connected for reference.
-
Disconnect the Old AVR: Carefully disconnect the wires from the old AVR, using the screwdriver and wrench as needed. Make sure to keep track of where each wire connects.
-
Prepare the New AVR: Unpack the GFC7-1D2A Automatic Voltage Regulator. Inspect it for any visible damage and familiarize yourself with the connection points.
-
Connect the New AVR: Following your notes from the previous AVR, connect the wires to the corresponding terminals on the new AVR. Ensure that the connections are secure, and use electrical tape to cover any exposed wires.
-
Secure the AVR: Once all connections are made, securely mount the new AVR in the same location as the old one using the screws provided.
-
Test the Connections: Before closing the generator cover, use the multimeter to check the voltage levels and ensure that everything is functioning properly.
-
Close the Generator Cover: Once confirmed that all connections are correct and secure, close the generator cover carefully.
-
Power On the Generator: Start the generator and monitor the voltage output to ensure that the new AVR is regulating the voltage correctly.
-
Final Check: Make a final inspection of all connections and ensure that there are no loose wires or potential hazards.
Your Brushless Generator AVR GFC7-1D2A is now installed and ready for use! Enjoy stable voltage output and enhanced generator performance.

