
Gexpress Is a Startup Dedicated to You. Shop With Confidence—Refunds Are Easy Through !

Printer and office equipment parts
laser printer parts
US /en/
USD
Hello, Sign In
Account & Lists
Cart
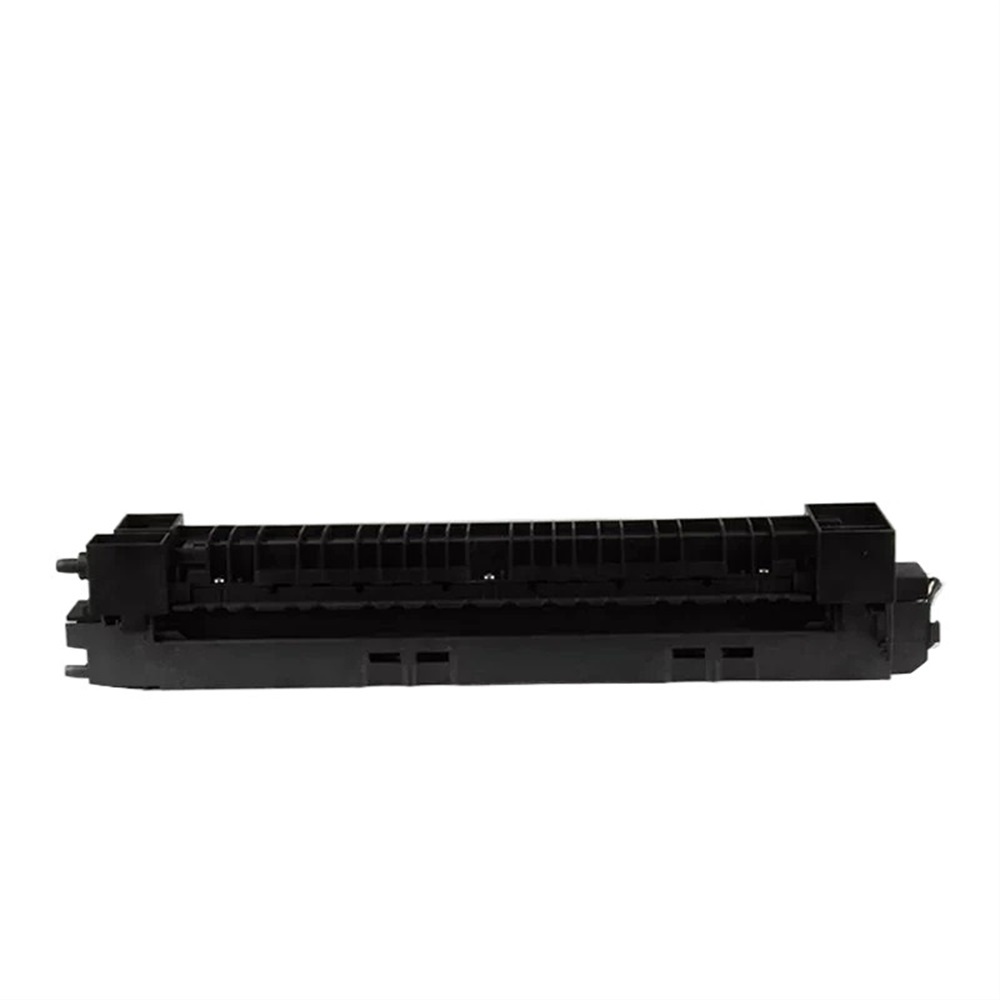
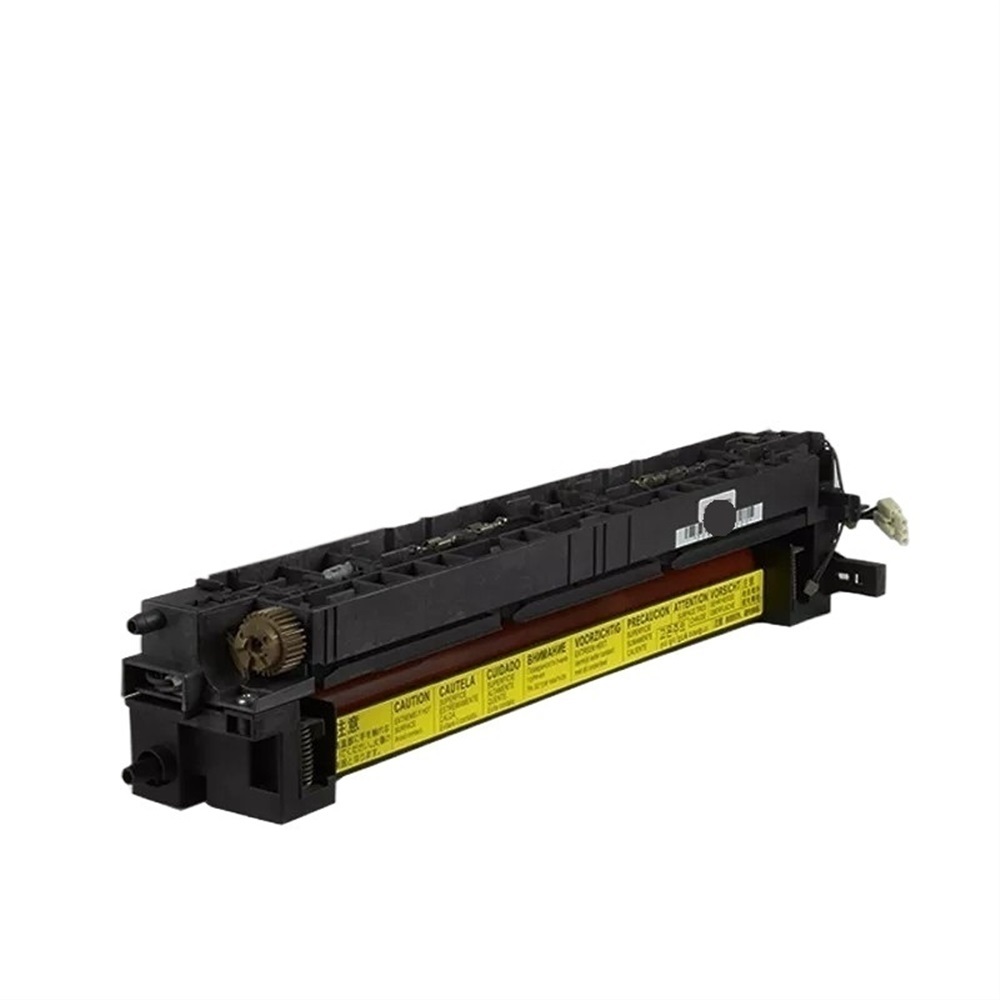
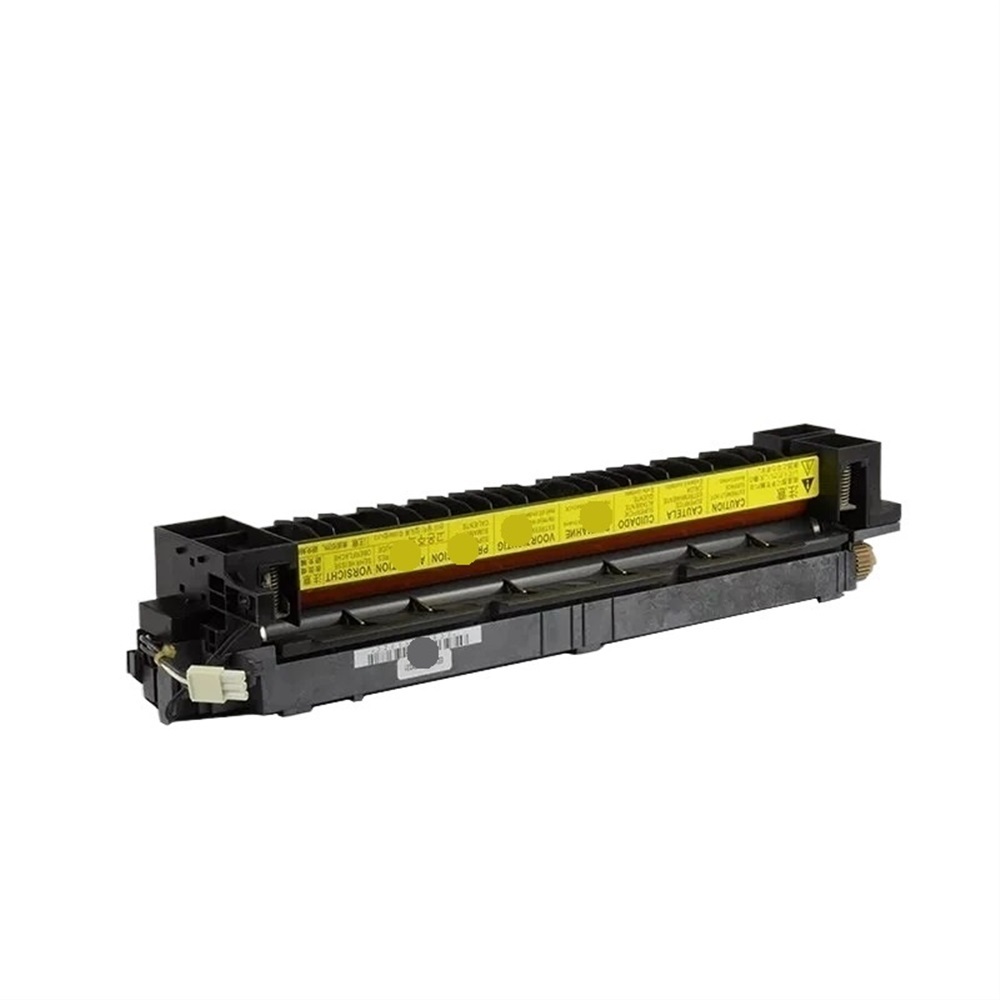
F user unit Assembly compatible with 180 181 220 221 copier replacement parts for efficient printing solutions
51 Sold
USD 198.45USD204.40
97% Limited Time
About This Item
High-efficiency printing: Fuser Unit Assembly is designed for 180, 181, 220, and 221 model copiers to ensure stable and smooth print output.
Easy installation: Adopt user-friendly design to simplify the installation steps, saving time and energy.
Durable materials: Use heat-resistant and wear-resistant materials to extend service life and reduce replacement frequency.
Strong compatibility: Perfectly compatible with a variety of copier models, ensuring seamless connection of equipment and providing convenience for office work.
Cost Savings: Reduce paper waste through efficient operations and provide affordable printing solutions.
Sold To
United States
USD 6.00
Delivery: 7-15 Business Days
Fast Delivery
Refund If Package Lost
Refund If Items Damaged
Refund If No Delivery in 30 Days
Quantity
1
Installation Instructions
Fuser Unit Assembly Installation Guide
Required Tools:
- Torx screwdriver: A Torx screwdriver is required to remove the old fuser unit and install the new one.
- Phillips screwdriver: A Phillips screwdriver may be needed to remove any additional screws that hold the printer's cover or other components in place.
- Wrench or socket wrench: A wrench or socket wrench may be required to remove any bolts or screws that hold the fuser unit in place.
- Teflon tape: Teflon tape may be needed to ensure a secure connection between the fuser unit and the printer.
- Cleaning cloth: A cleaning cloth is recommended to wipe away any dust or debris from the printer's interior before installation.
- New fuser unit: The Fuser Unit Assembly Compatible with 180, 181, 220, 221 Copier Replacement Parts.
Step-by-Step Installation Instructions:
- Turn off the printer: Make sure the printer is turned off and unplugged from the power source before starting the installation process.
- Remove the printer's cover: Remove the printer's cover to access the interior components.
- Disconnect any cables: Disconnect any cables or wires connected to the old fuser unit.
- Remove the old fuser unit: Use a Torx screwdriver to remove the screws that hold the old fuser unit in place. Gently pull the old fuser unit out of the printer.
- Inspect and clean the area: Inspect the area where the new fuser unit will be installed and clean it with a cleaning cloth to ensure a smooth installation process.
- Install the new fuser unit: Place the new fuser unit into the printer and secure it with the screws provided.
- Reconnect any cables: Reconnect any cables or wires that were disconnected earlier.
- Reassemble the printer: Reassemble the printer's cover and any other components that were removed during the installation process.
- Turn on the printer: Turn on the printer and test it to ensure that it is functioning properly.
Tips and Precautions:
- Make sure to handle the new fuser unit with care to avoid damaging it.
- Use a Torx screwdriver to avoid stripping any screws.
- Ensure that all cables and wires are securely connected to prevent any electrical shock or damage to the printer.
- If you are not comfortable with this installation, it is recommended to consult a professional for assistance.
Description
This fuser unit assembly is designed to fit copier models 180, 181, 220, and 221. It provides an easy installation and serves as a durable replacement for worn-out or damaged fuser units.
TAG:
Printer and office equipment parts
laser printer parts
Related Items

