
Gexpress Is a Startup Dedicated to You. Shop With Confidence—Refunds Are Easy Through !


Product Installation Instructions for Friction Driven Steel Plates Kit for Clutch Compatible with Various Motorcycles (1998-2006)
Tools Required:
- Socket Wrench Set - To remove the bolts securing the clutch cover and the clutch assembly.
- Torque Wrench - For properly torquing the bolts back to the manufacturer's specifications.
- Screwdrivers - A flathead and Phillips screwdriver for various screws in the assembly.
- Pliers - To help with the removal and installation of components if necessary.
- Clutch Tool (if applicable) - Some models may require a special tool for holding or releasing pressure on the clutch.
- Shop Rag - For cleaning up any oil spills and wiping down components.
- Oil Drain Pan - To catch any oil that may spill during the removal of the clutch cover.
- Torque Specifications Chart - Refer to your motorcycle’s manual for the specific torque settings.
Installation Steps:
-
Prepare Your Workspace: Ensure you have a clean, well-lit area to work on your motorcycle. Gather all the necessary tools listed above.
-
Drain the Oil: Use the oil drain pan to catch any oil from the engine before starting the installation.
-
Remove the Clutch Cover: Use the socket wrench to undo the bolts securing the clutch cover. Keep track of any small parts or screws you remove.
-
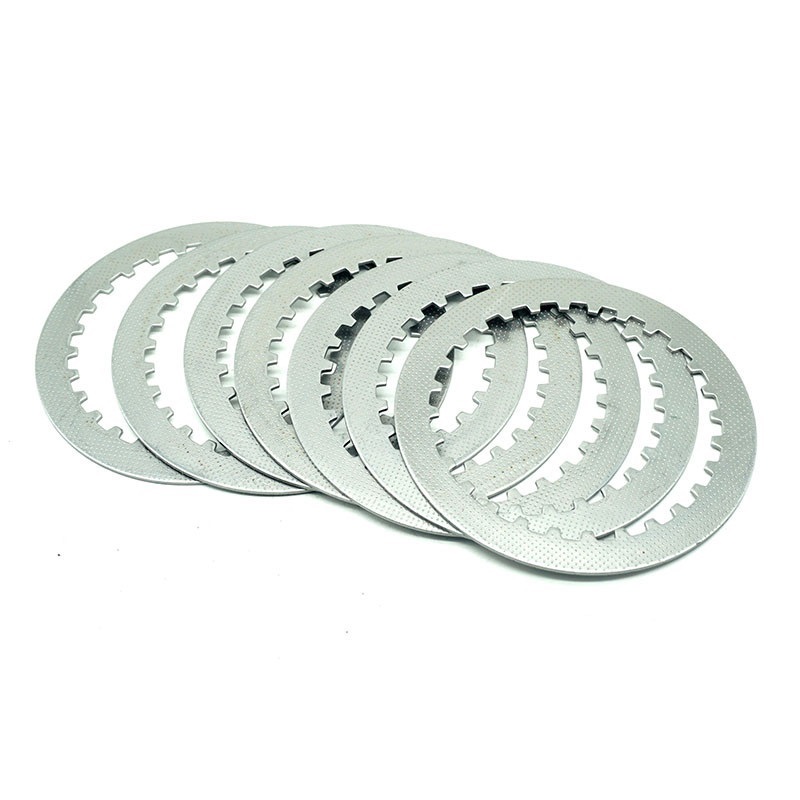
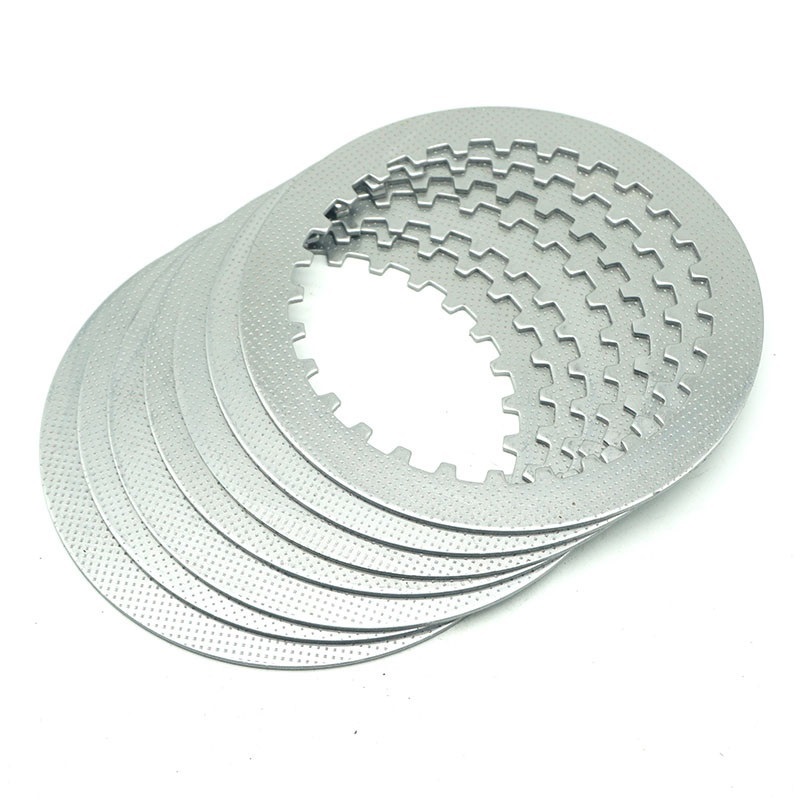
Take Out the Old Clutch Components: Carefully remove the old clutch plates and steel plates. Check for wear and tear on these components.
-
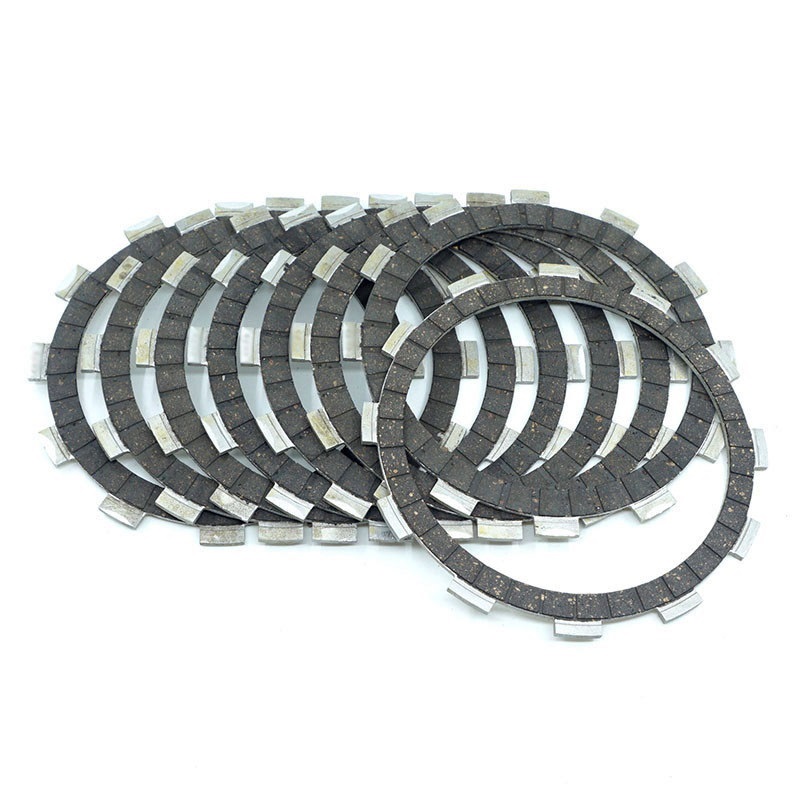
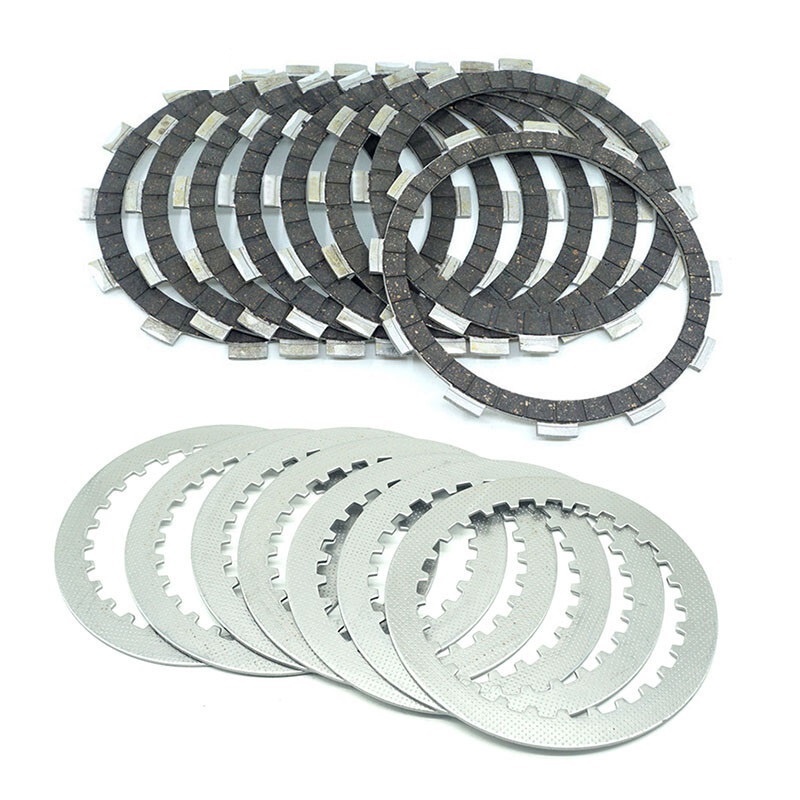
Install the New Friction Driven Steel Plates: Place the new friction driven steel plates and the cork-based materials into the clutch basket, following the specific order recommended in your motorcycle's manual.
-
Reassemble the Clutch: Once the new plates are in place, carefully replace the cover and secure it using the torque wrench according to the specified torque clutch settings.
-
Refill the Engine Oil: Refill the engine oil as per your motorcycle’s requirements, ensuring you use the appropriate type of oil.
-
Test the Clutch: Start your motorcycle and test the clutch lever for proper engagement and operation.
Final Checks: After installation, take a short test ride to ensure everything is functioning smoothly.
Maintenance Tips: Regularly check your clutch performance and maintain the oil levels to ensure longevity and optimal performance.
Feel free to reach out to a professional if you have any uncertainties during the installation process. Happy riding!

