
Gexpress Is a Startup Dedicated to You. Shop With Confidence—Refunds Are Easy Through !

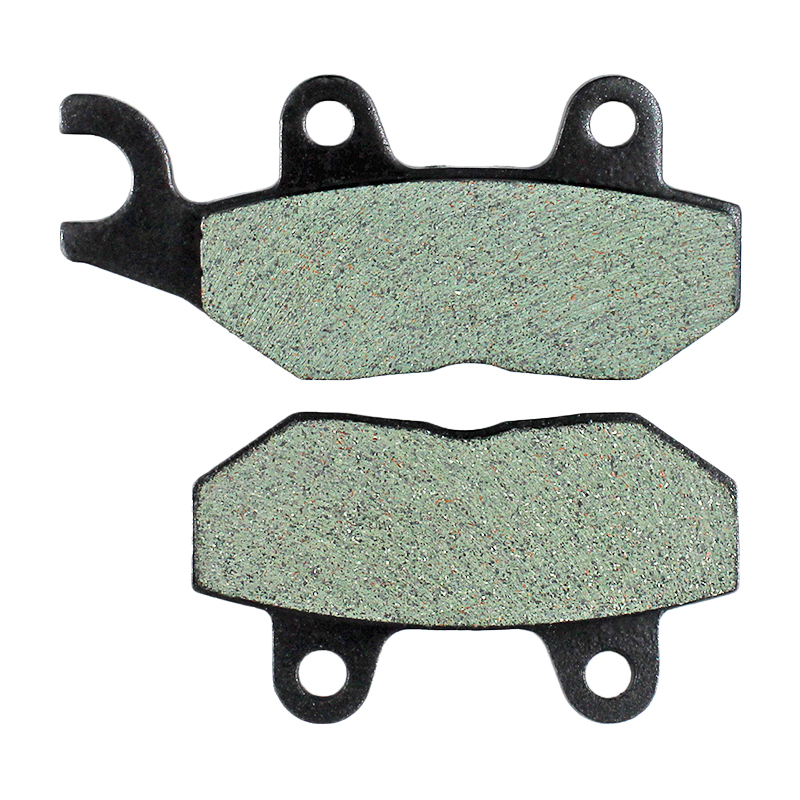

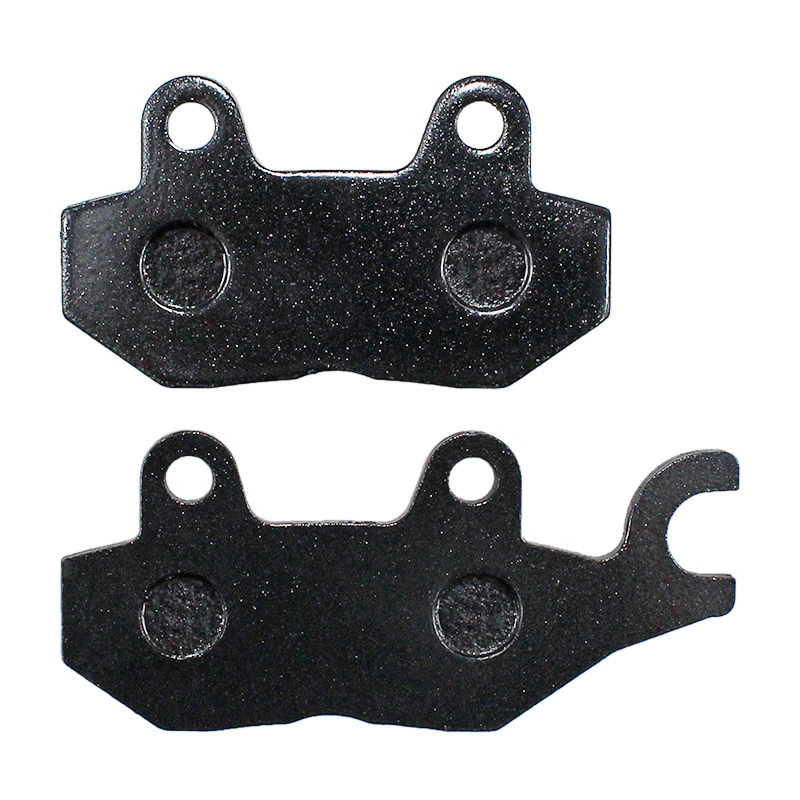
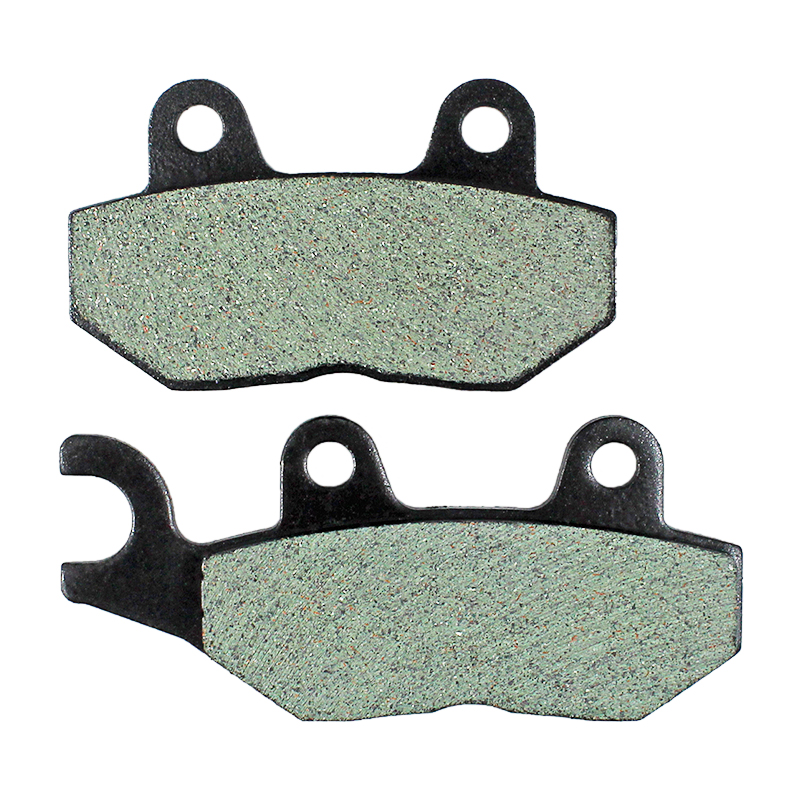
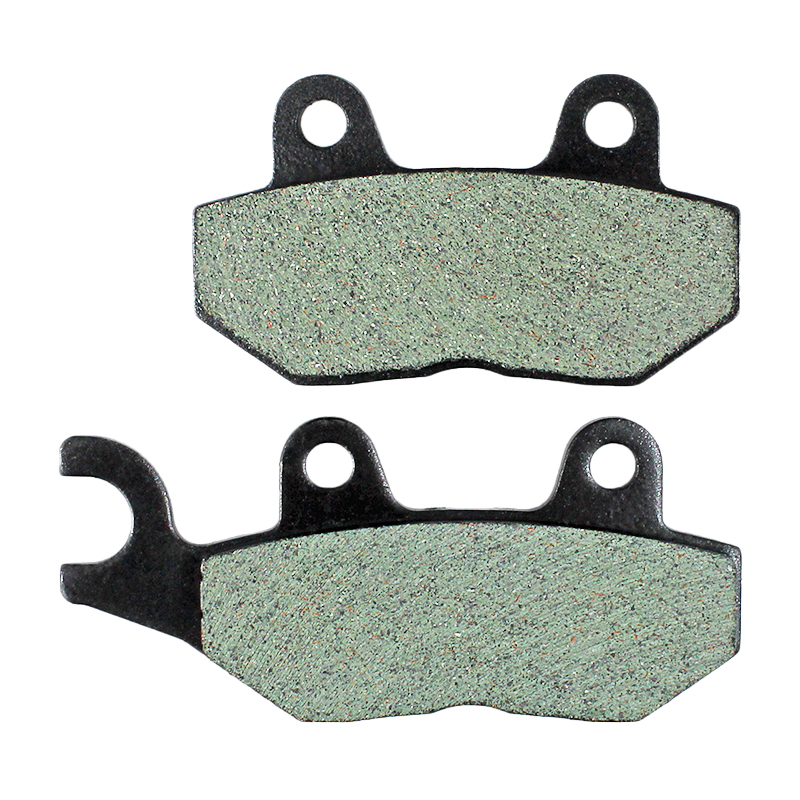
Product Installation Instructions for Rear Brake Pads Compatible with America Bonneville SE, T100, T120, D, T595, and Speedmaster 800 & 865
Tools Needed:
- Socket Wrench Set - To remove and install the caliper bolts.
- Torque Wrench - To ensure proper tightness of bolts according to manufacturer's specifications.
- Flathead Screwdriver - To aid in prying and adjusting as needed during installation.
- Pliers - For handling any clips or retaining pins.
- Cleaning Cloth - To clean the brake components before installation.
- Brake Cleaner - To properly clean the brake area and pads.
- Gloves - To keep your hands clean during installation.
- Safety Goggles - To protect your eyes from debris.
Installation Steps:
-
Preparation: Begin by gathering all necessary tools and materials.
-
Safety First: Ensure the motorcycle is parked on a level surface, and the ignition is turned off. Use the gloves and safety goggles for protection.
-
Remove the Wheel: If necessary, follow your motorcycle's manual to remove the rear wheel to access the brake caliper.
-
Access the Brake Caliper: Use the socket wrench to remove the caliper mounting bolts. Carefully slide the caliper off the rotor.
-
Remove Old Brake Pads: Slide out the old brake pads from the caliper. Check the caliper for any wear or damage.
-
Clean the Caliper: Use brake cleaner and a cleaning cloth to clean the caliper, rotor, and surrounding area.
-
Install New Brake Pads: Place the new brake pads into the caliper, ensuring they are properly aligned.
-
Reattach the Caliper: Carefully slide the caliper back onto the rotor and secure it in place with the mounting bolts. Use the torque wrench to tighten the bolts to the manufacturer's specifications.
-
Reinstall the Wheel: If you removed the wheel, carefully reinstall it following the manufacturer's instructions.
-
Test Brake Function: Before riding, pump the brake lever a few times to ensure the pads seat properly against the rotor and check for any unusual sounds.
-
Final Check: Inspect the installation and make sure everything is secure and properly aligned.
Conclusion: With these instructions, you can efficiently install the rear brake pads on your motorcycle, enhancing your riding safety and performance. Enjoy your ride!
No Data

