
Gexpress Is a Startup Dedicated to You. Shop With Confidence—Refunds Are Easy Through !

UAVs
model aircraft and RC vehicles
UAV complete aircraft and accessories
Motorcycle and light motorcycle accessories
Gardenoutdoor power equipment and accessories
Auto parts
General Motors Small AccessoriesTools
Power tools and accessories
US /en/
USD
Hello, Sign In
Account & Lists
Cart
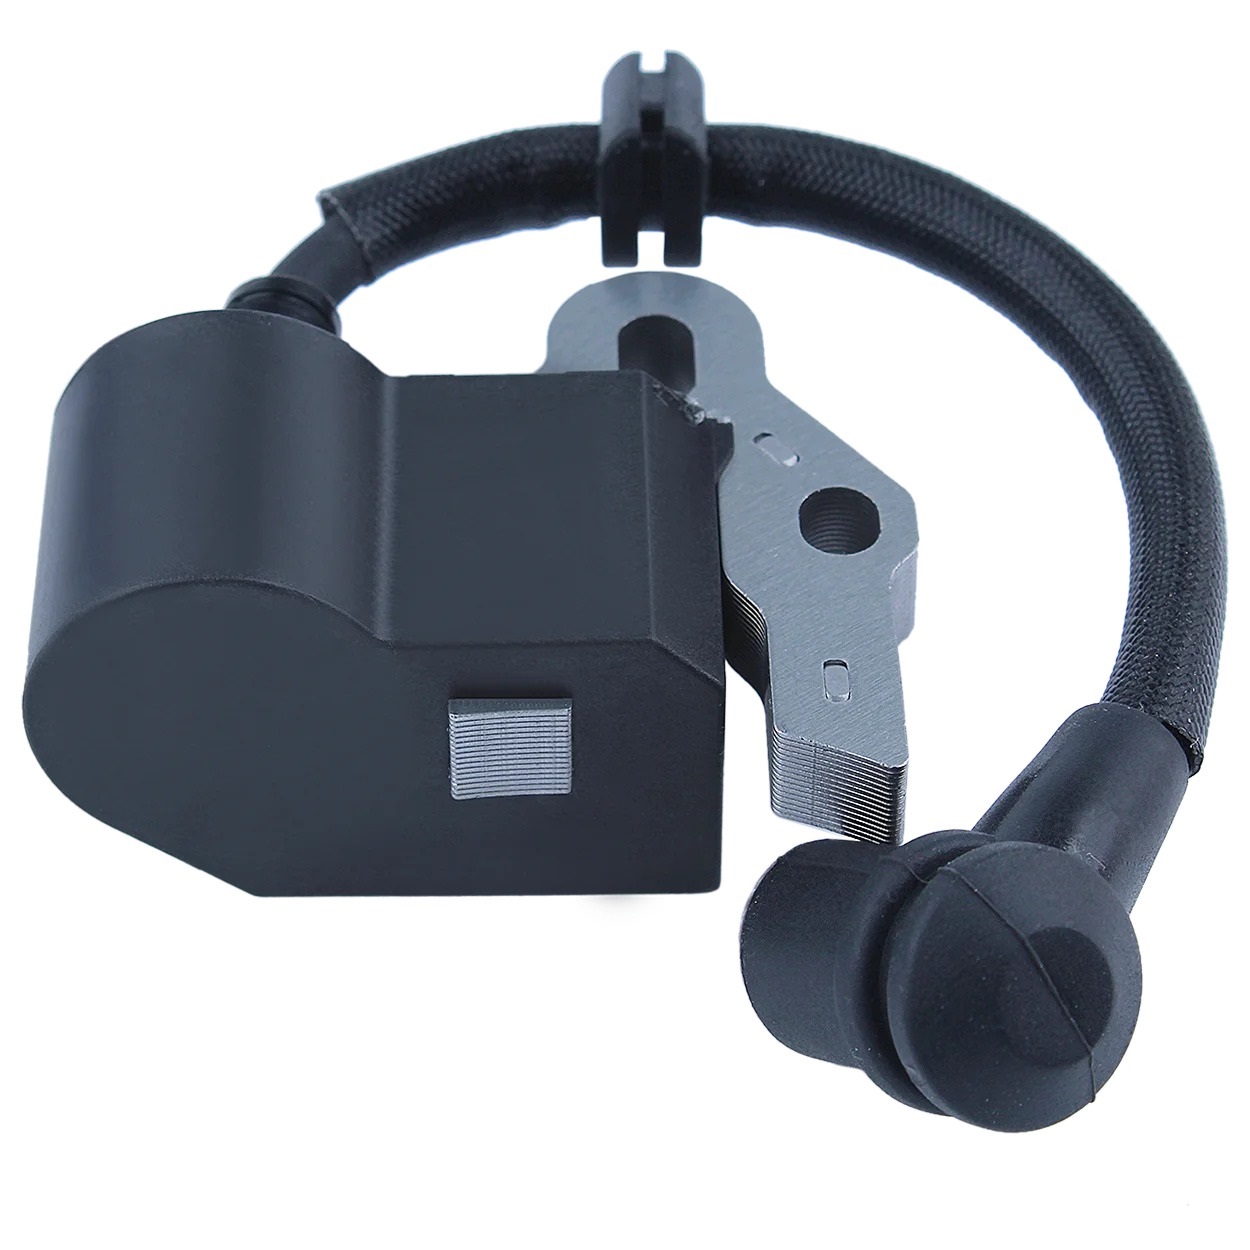
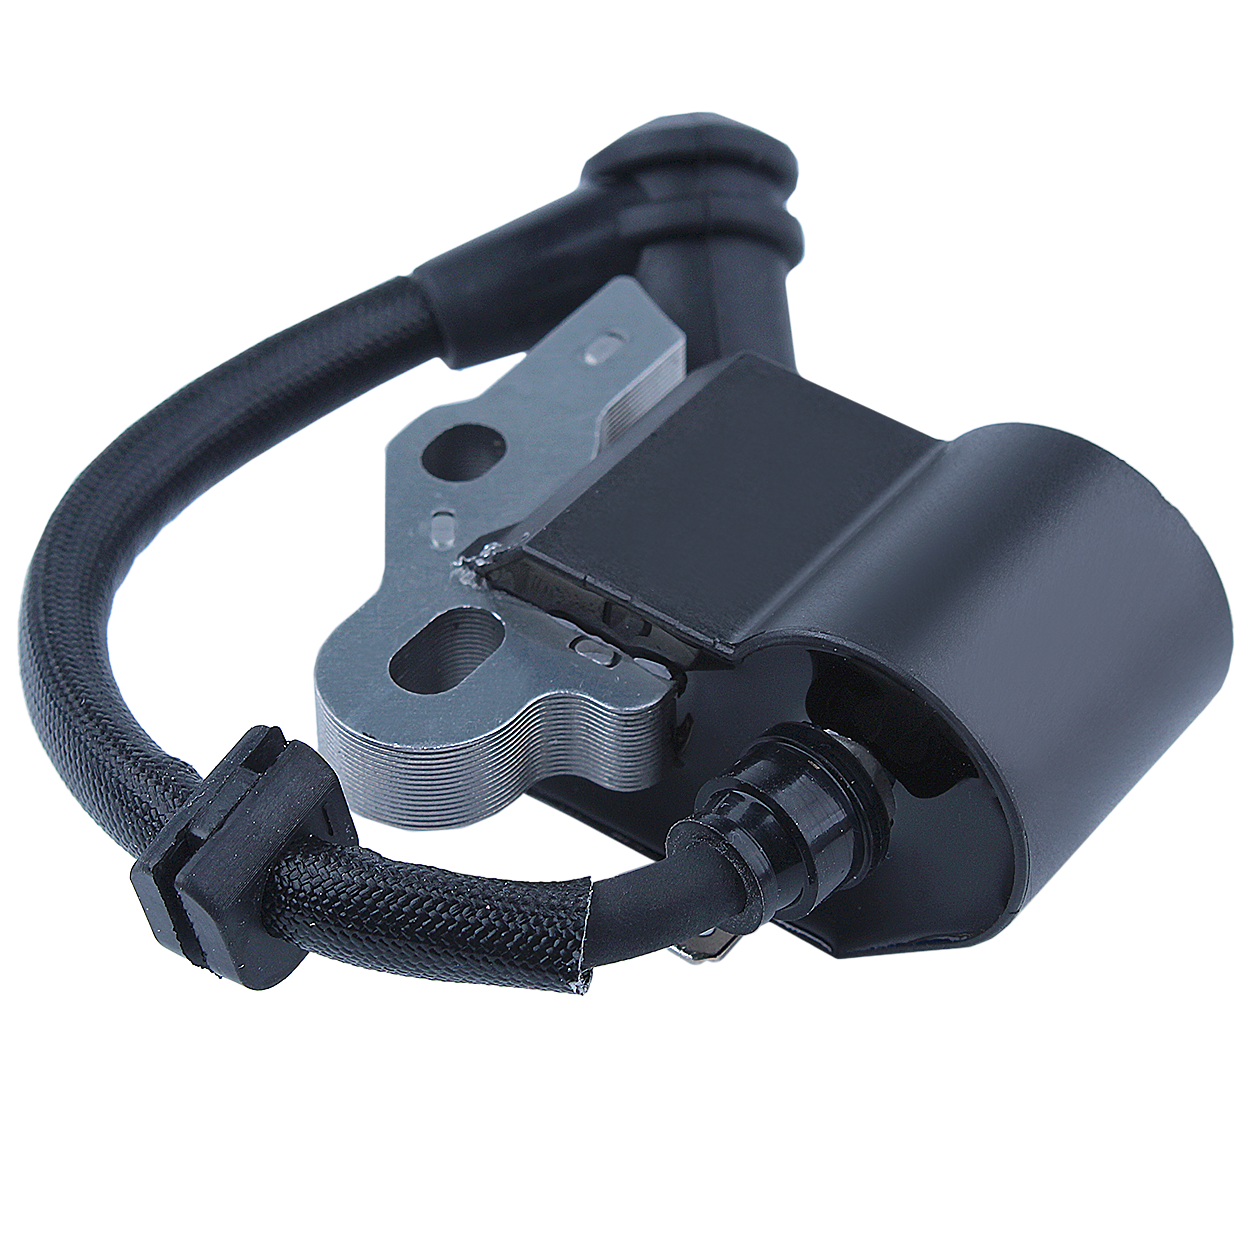
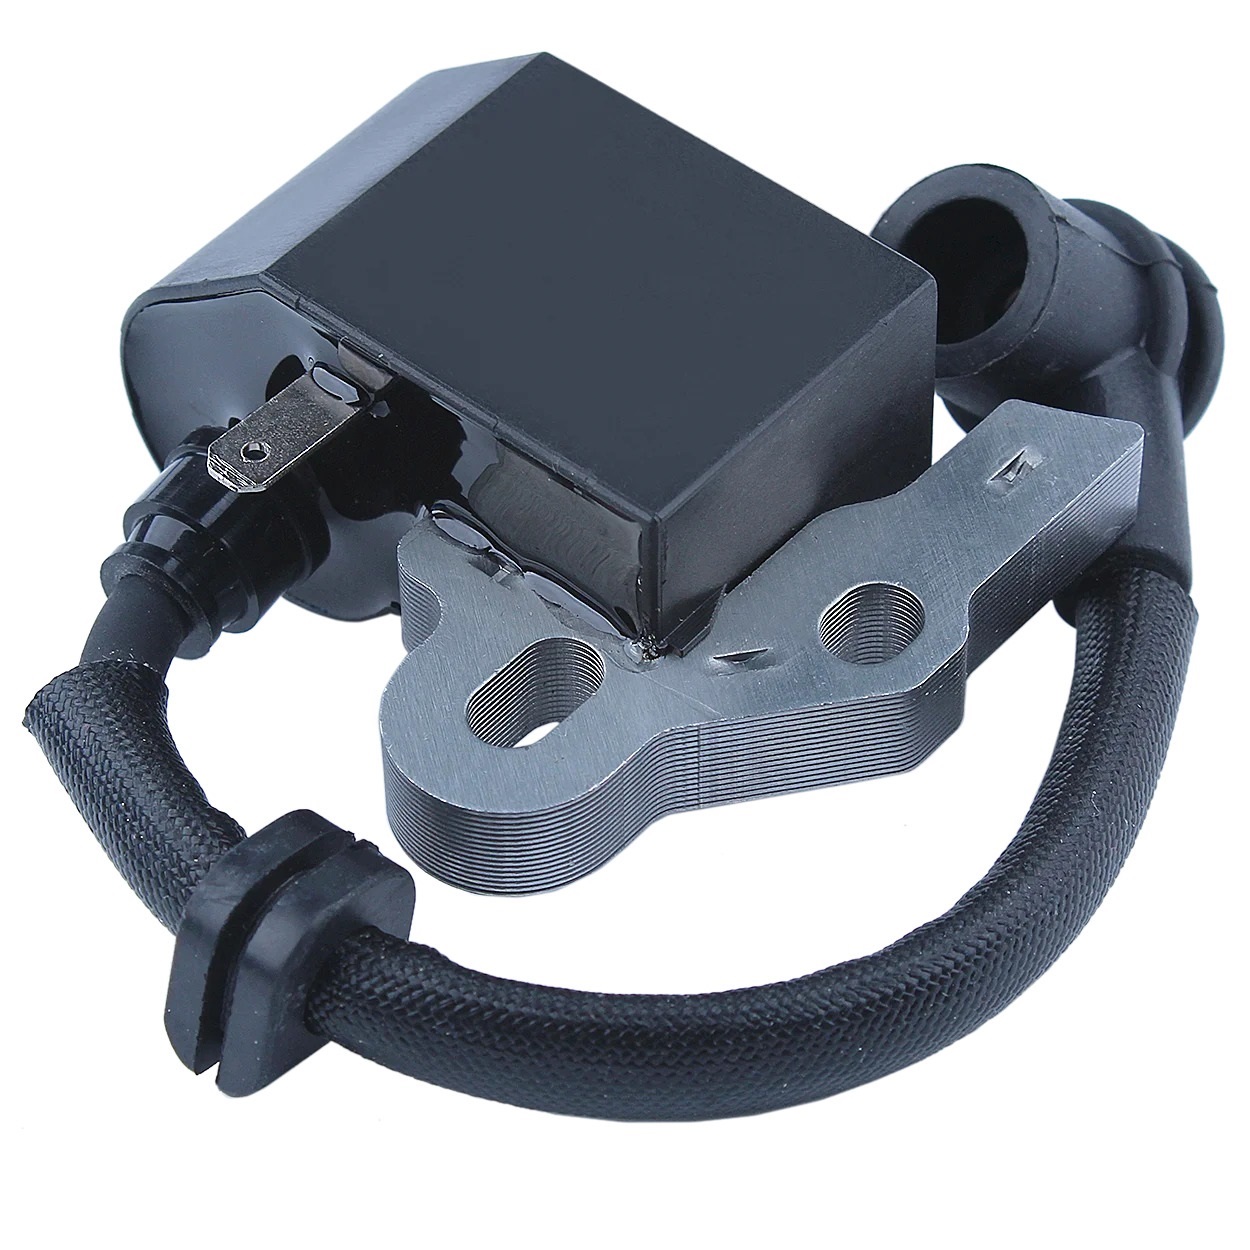
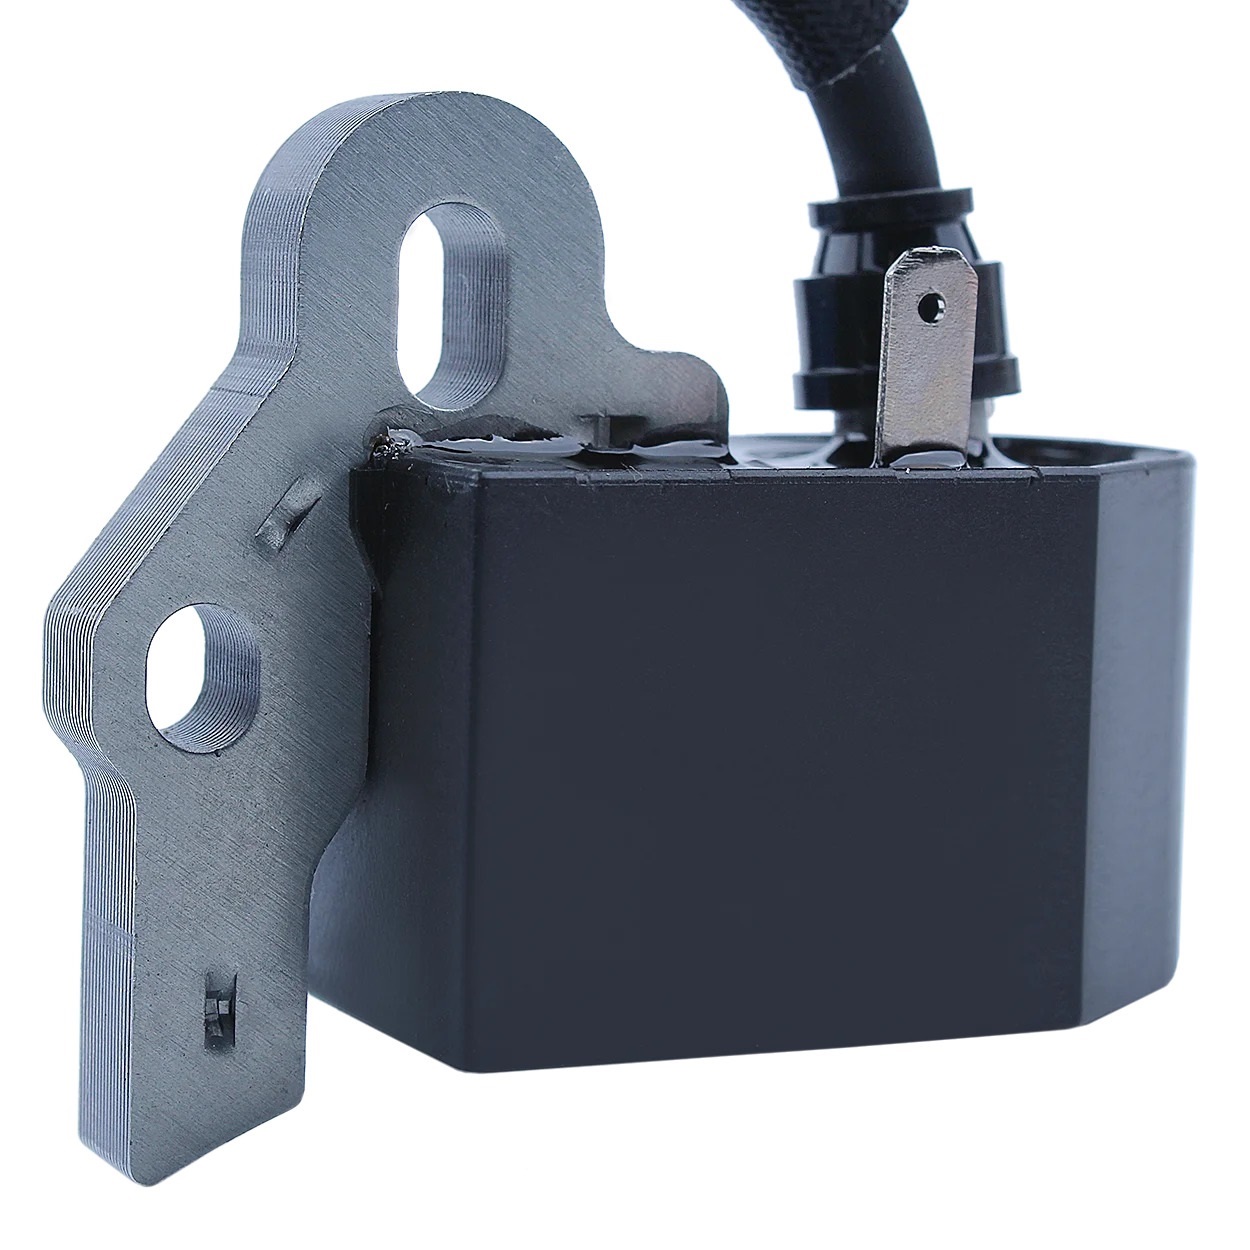
ignition coil module for B26 T26 T26CSB26PS trimmers replacement part 585565501
62 Sold
USD 30.41USD31.32
97% Limited Time
About This Item
Compatible, this ignition coil module fits B26, T26, T26CS and B26PS trimmer models, ensuring perfect fit and functionality.
Reliable performance, designed to provide efficient ignition to help your trimmer stay in top working order.
Easy to install and equipped with simple and clear instructions, allowing users to quickly complete the replacement without the need for professional tools.
Durable material, made of high-quality materials, enhances durability and anti-aging properties, and extends service life.
Economical and affordable, as a replacement part, it can effectively reduce maintenance costs and improve the overall performance and efficiency of the trimmer.
Sold To
United States
USD 10.00
Delivery: 7-15 Business Days
Fast Delivery
Refund If Package Lost
Refund If Items Damaged
Refund If No Delivery in 30 Days
Quantity
1
Installation Instructions

Installation Instructions for Ignition Coil Module (Part Number: 585565501)
Compatibility
This Ignition Coil Module is compatible with the following trimmer models:
- B26
-T26
-T26CS - B26PS
Tools Needed
Before you begin the installation process, please ensure you have the following tools ready:
- Screwdriver (Phillips head)
-Torque wrench - Wire cutters/strippers
- Safety goggles
- Gloves
-Cleaning cloth
Installation Steps
-
Safety Precautions
- Ensure the trimmer is turned off and is not connected to any power source.
- Wear safety goggles and gloves to protect yourself.
-
Remove the Trimmer Cover
- Using the screwdriver, carefully remove the screws securing the trimmer cover.
- Place the screws in a safe location for reinstallation.
-
Disconnect the Old Ignition Coil
- Locate the old ignition coil module.
- Gently disconnect the wiring harness from the old ignition coil. If needed, use wire cutters to cut any zip ties securing the wires.
-
Install the New Ignition Coil
- Align the new ignition coil module with the mounting holes.
- Secure the module using the screws you previously removed.
- Reconnect the wiring harness to the new coil, ensuring a snug fit.
-
Reassemble the Trimmer Cover
- Once the new ignition coil is securely installed, place the trimmer cover back on.
- Use the screwdriver to reinstall the screws, ensuring they are tightened properly.
-
Final Checks
- Inspect all connections and confirm that everything is securely fastened.
- Clean any debris from the trimmer using a cleaning cloth.
-
Test the Trimmer
- Once reassembled, test the trimmer to ensure it operates smoothly and effectively.
##Conclusion
Following these new steps will ensure a successful installation of your new Ignition Coil Module and help maintain the optimal performance of your trimmer. Enjoy the efficiency and reliability of your installed part!
Description
Package Include: 1 x Ignition Coil
Manufacturer Part Number: 585 56 55-01
Interchange Part Number: 585 56 55-01
TAG:
Automotive accessories
ignition and electrical systems
ignition coils (COP modules)
Related Items

