
Gexpress Is a Startup Dedicated to You. Shop With Confidence—Refunds Are Easy Through !

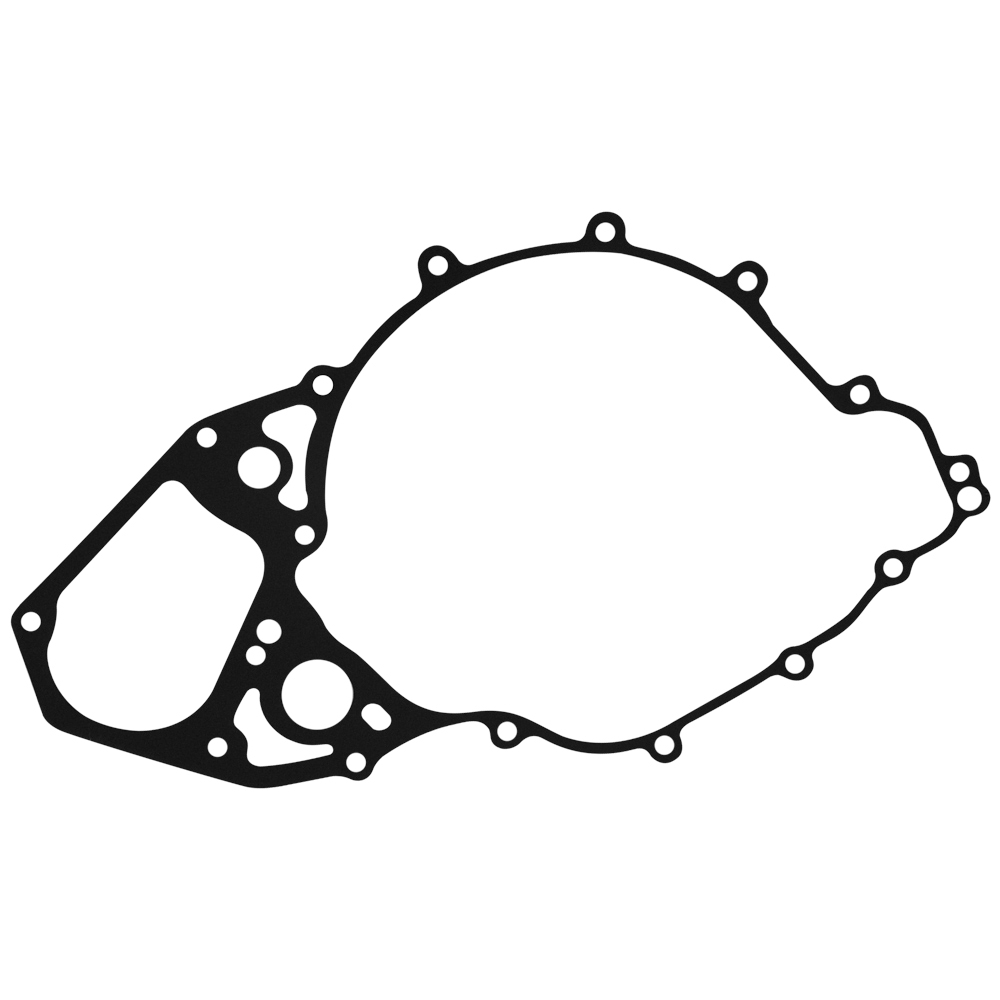
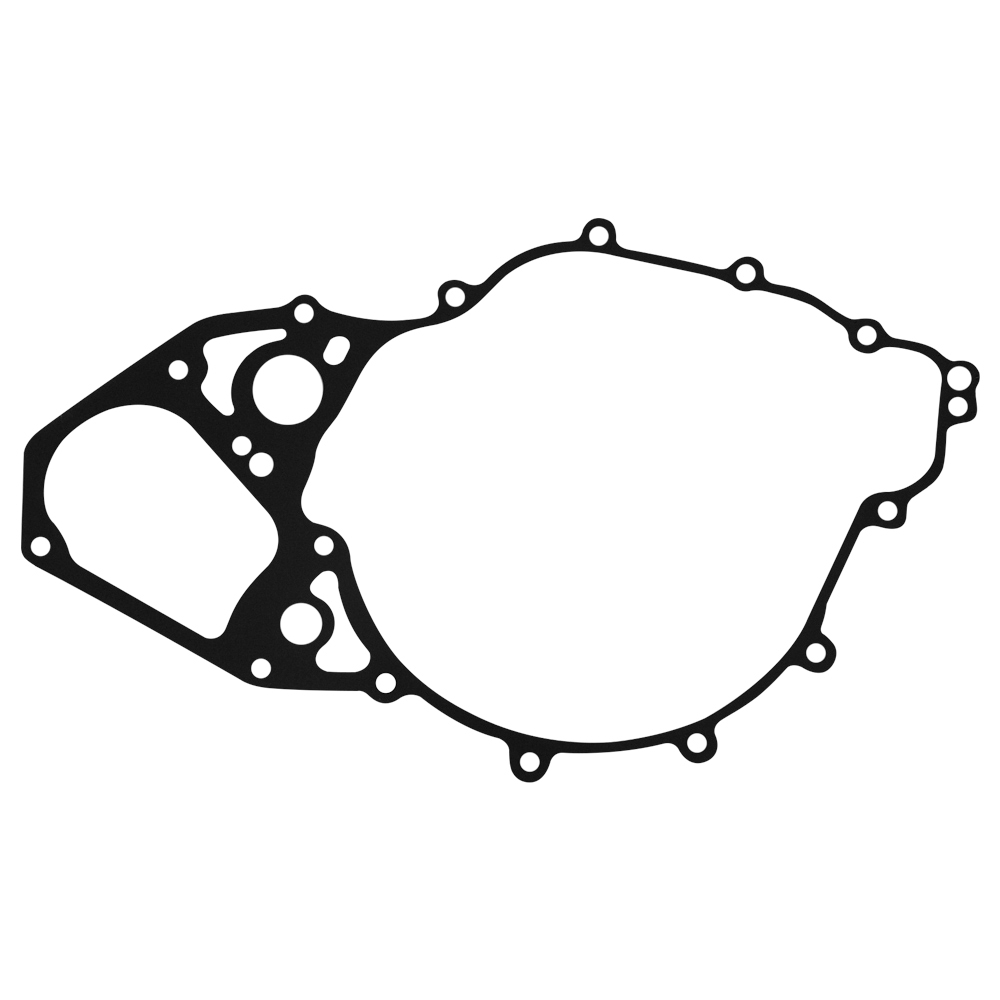
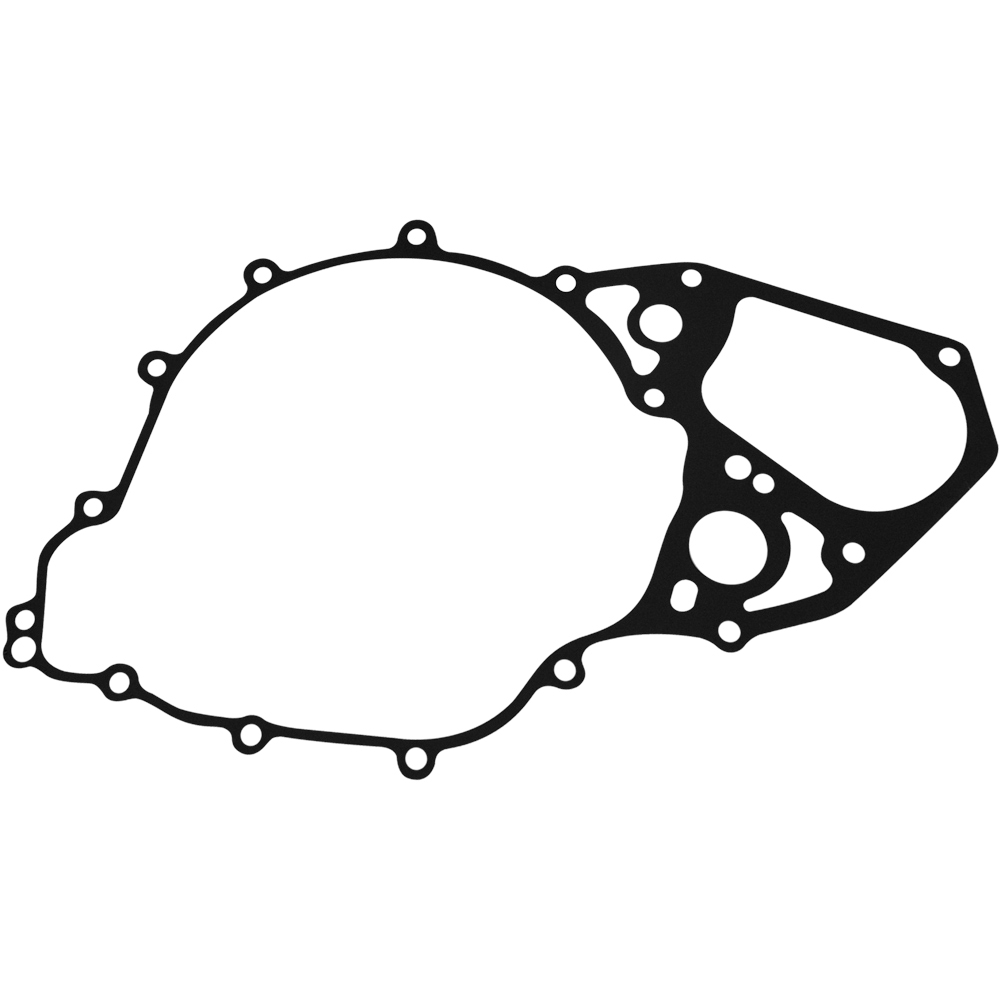
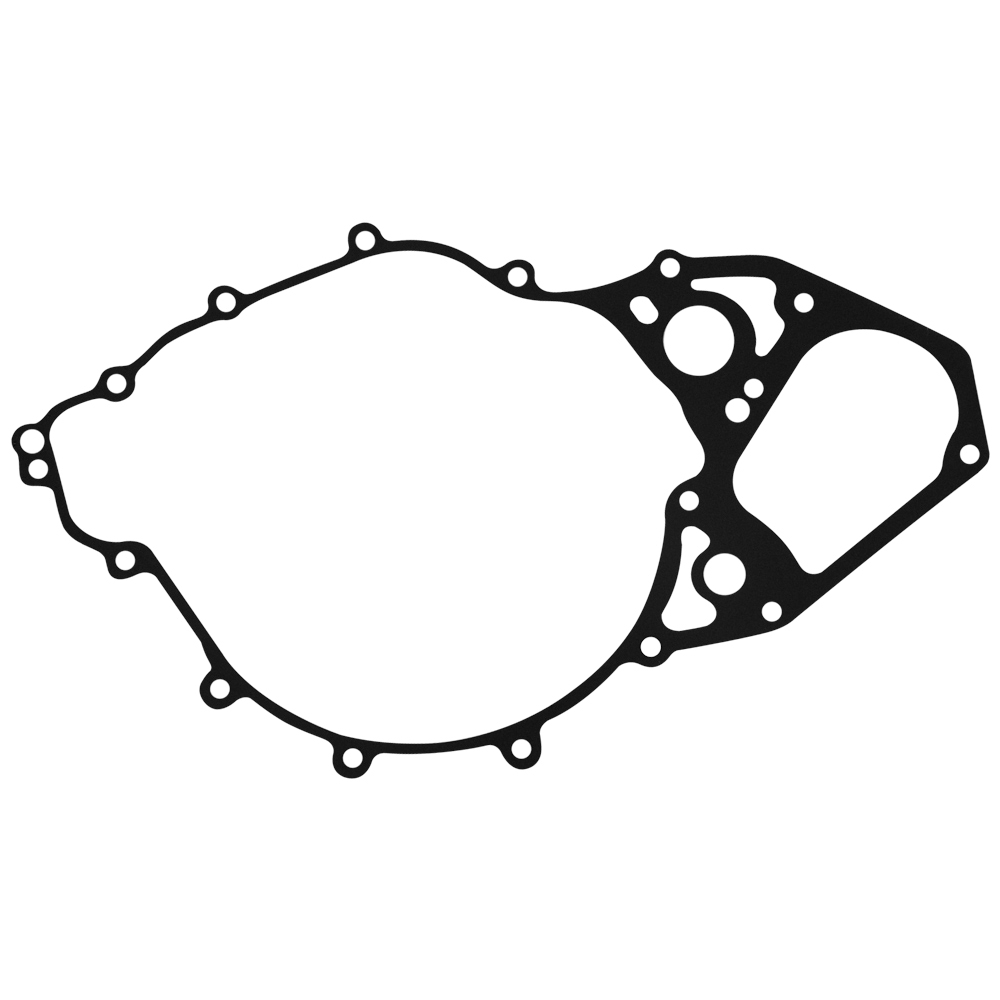
Product Installation Instructions for Motorcycle Clutch Cover Gasket
Tools Required:
- Socket and Ratchet Set - For removing and tightening the bolts that secure the clutch cover.
- Torque Wrench - To ensure that the bolts are tightened to the manufacturer’s specifications.
- Screwdriver Set - A flathead and Phillips screwdriver may be needed for any additional screws or fasteners.
- Gasket Scraper or Razor Blade - To carefully remove the old gasket material from the clutch cover and engine surface.
- Clean Cloth or Paper Towels - For cleaning the surfaces and removing any debris or oil.
- Engine Oil - To apply a thin layer to the new gasket before installation, which can help create a better seal.
- Safety Goggles - To protect your eyes while working on your motorcycle.
- Gloves - To keep your hands clean and protected during the installation.
Installation Steps:
-
Preparation: Ensure the motorcycle is on a stable surface and the engine is cool. Disconnect the battery to prevent any electrical issues during installation.
-
Remove Clutch Cover: Using the socket and ratchet, carefully remove the bolts securing the clutch cover. Keep track of the bolts and their locations for easy reinstallation.
-
Clean the Surfaces: Use a gasket scraper or razor blade to remove any remnants of the old gasket from both the clutch cover and the engine surface. Clean the area with a cloth or paper towel to remove any oil or debris .
-
Install the New Gasket: Place the new Motorcycle Clutch Cover Gasket onto the clutch cover, ensuring it is properly aligned with all bolt holes. You may apply a thin layer of engine oil to the gasket for better sealing.
-
Reattach the Clutch Cover: Position the clutch cover back onto the engine. Use the socket wrench to hand-tighten the bolts in a crisscross pattern to ensure even pressure.
-
Torque the Bolts: Use a torque wrench to tighten the bolts to the manufacturer’s specifications. This step is crucial to prevent leaks.
-
Reconnect Battery: Once everything is tightened and secure, reconnect the motorcycle battery.
-
Test the Installation: Start the engine and check for any leaks around the cover. Allow the engine to run for a few minutes and monitor the gasket for proper clutch sealing.
Final Tips: Always refer to your motorcycle’s manual for specific instructions and torque specifications. Regularly inspect the gasket for wear and tear during maintenance to ensure optimal performance of your motorcycle.
Enjoy your improved riding experience with your new Motorcycle Clutch Cover Gasket!

