
Gexpress Is a Startup Dedicated to You. Shop With Confidence—Refunds Are Easy Through !

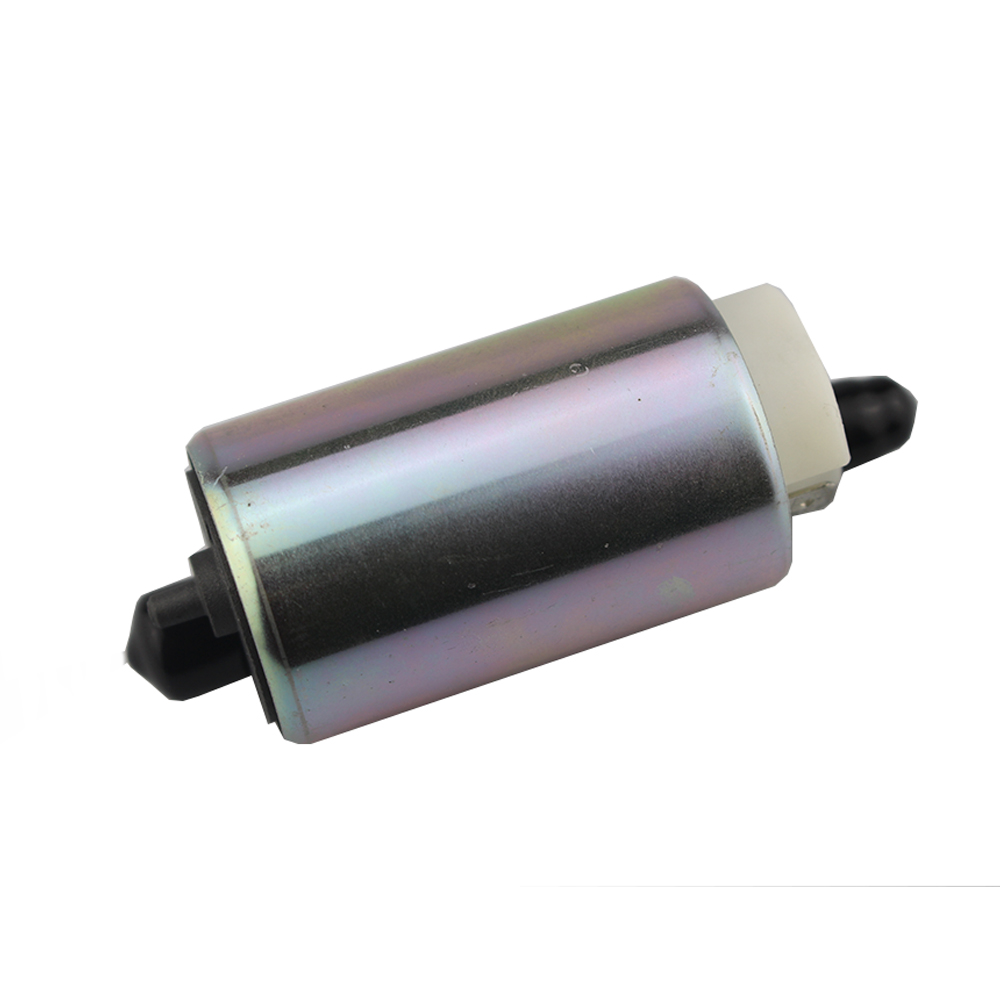
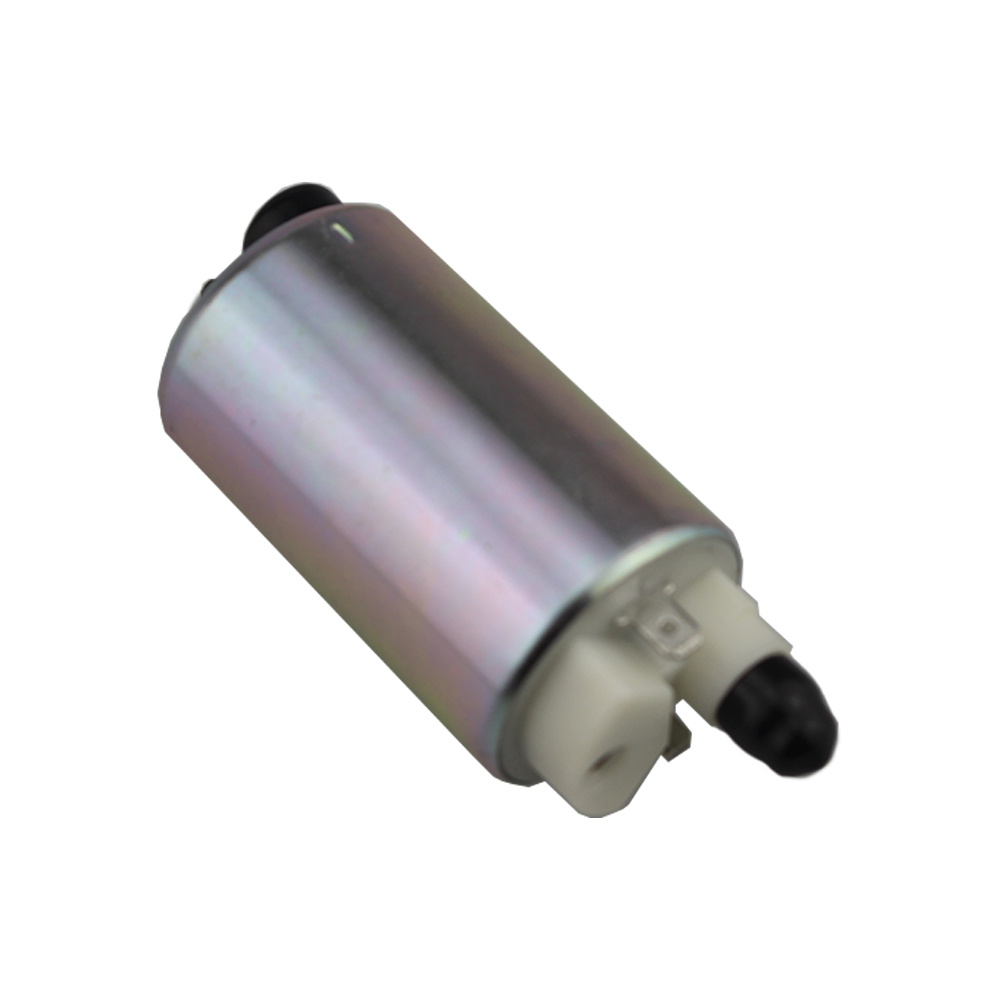

Product Installation Instructions for Compatible Motorcycle Fuel Pump
Preparation: Tools Needed
Before starting the installation of the compatible motorcycle fuel pump, ensure you have the following tools on hand:
- Socket Set: Including various sizes of sockets to remove bolts and screws easily.
- Wrench Set: For loosening and tightening nuts.
- Screwdriver Set: Both flathead and Phillips screwdrivers will be necessary for different types of screws.
- Pliers: For gripping and holding onto small components.
- Fuel Line Disconnect Tool: To safely disconnect the fuel lines without damaging them.
- Torque Wrench: To ensure all bolts and screws are tightened to the manufacturer’s specifications.
- Container or Drain Pan: To catch any fuel that might spill during the removal of the old pump.
- Rags or Towels: For cleaning up any fuel spills and handling tools.
- Gloves and Safety Goggles: For personal protection during the installation process.
- Service Manual: Refer to the specific motorcycle model service manual for detailed instructions and specifications.
Installation Steps
-
Safety First: Ensure the motorcycle is on a stable surface, and disconnect the battery to prevent any electrical issues.
-
Drain the Fuel: Use the drain pan to catch any fuel that may leak when you remove the old fuel pump.
-
Remove the Old Fuel Pump: Use the socket set and wrench to remove any screws or bolts securing the old pump. Safely disconnect the fuel lines using the fuel line disconnect tool.
-
Install the New Fuel Pump: Position the new compatible fuel pump in place. Make sure it aligns correctly with the mounting holes.
-
Reconnect Fuel Lines: Securely attach the fuel lines to the new pump, ensuring there are no leaks.
-
Secure the Pump: Use the socket set and wrench to tighten the screws or bolts, following the torque specifications in your service manual.
-
Reconnect the Battery: Once everything is in place, reconnect the battery and turn on the ignition (do not start the engine) to prime the fuel system.
-
Check for Leaks: Inspect all connections to ensure there are no leaks. If you see any signs of leakage, carefully re-tighten the connections.
-
Start the Motorcycle: If everything appears secure, start the motorcycle and allow it to run for a few minutes. Monitor the pump’s performance and check for any unusual sounds.
Conclusion
By following these instructions and using the appropriate tools, you can successfully install your compatible motorcycle fuel pump. Enjoy improved engine performance and a smooth riding experience. If you encounter any issues or have questions during installation, consult with a professional mechanic or refer to the service manual for further assistance.

