
Gexpress Is a Startup Dedicated to You. Shop With Confidence—Refunds Are Easy Through !

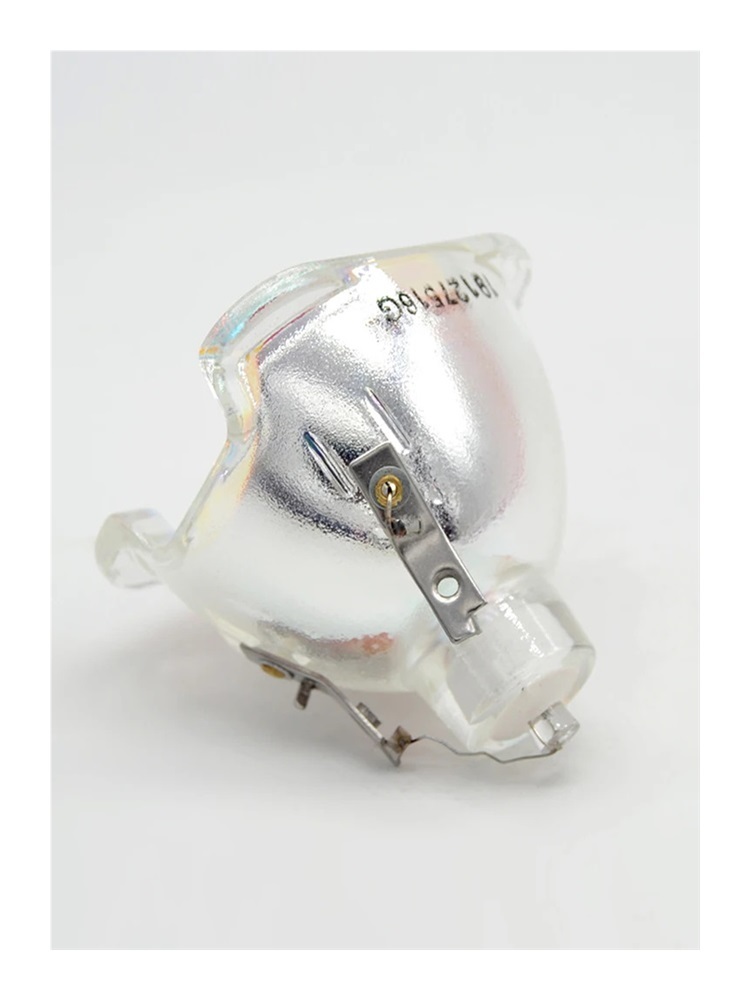
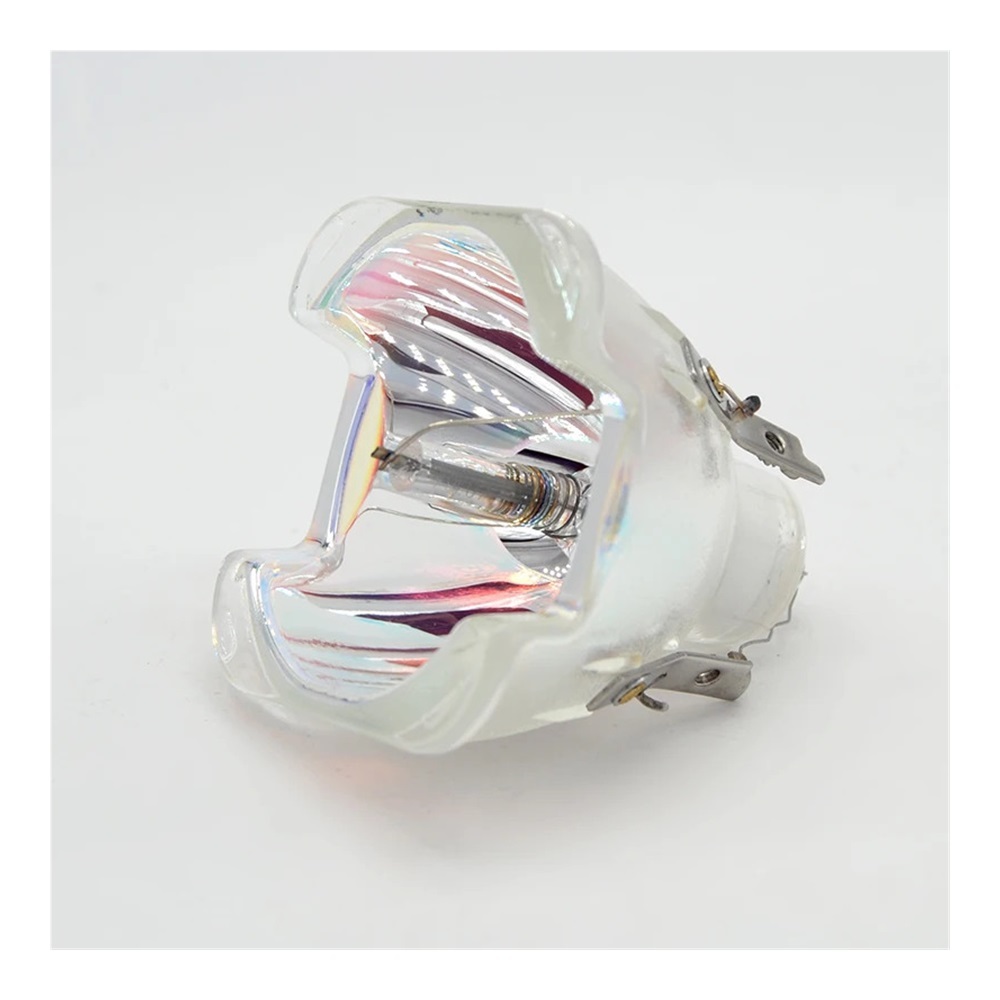
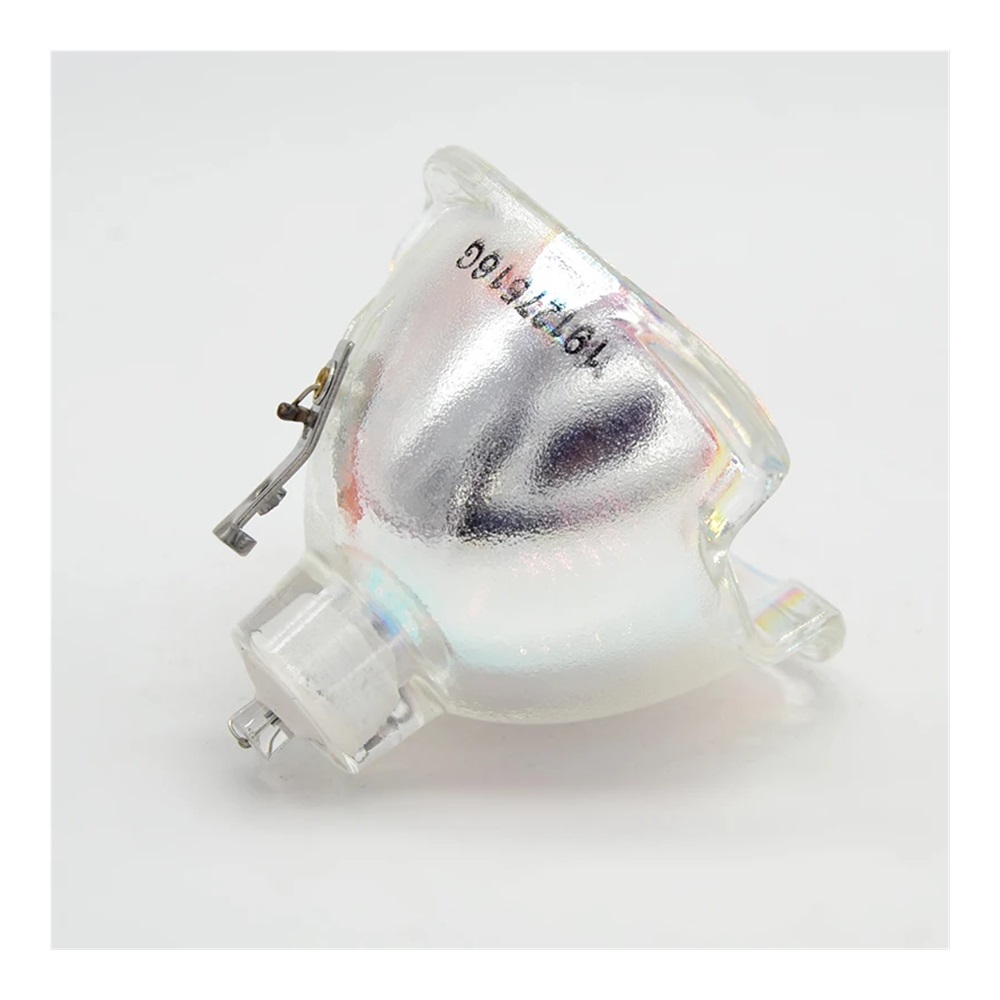
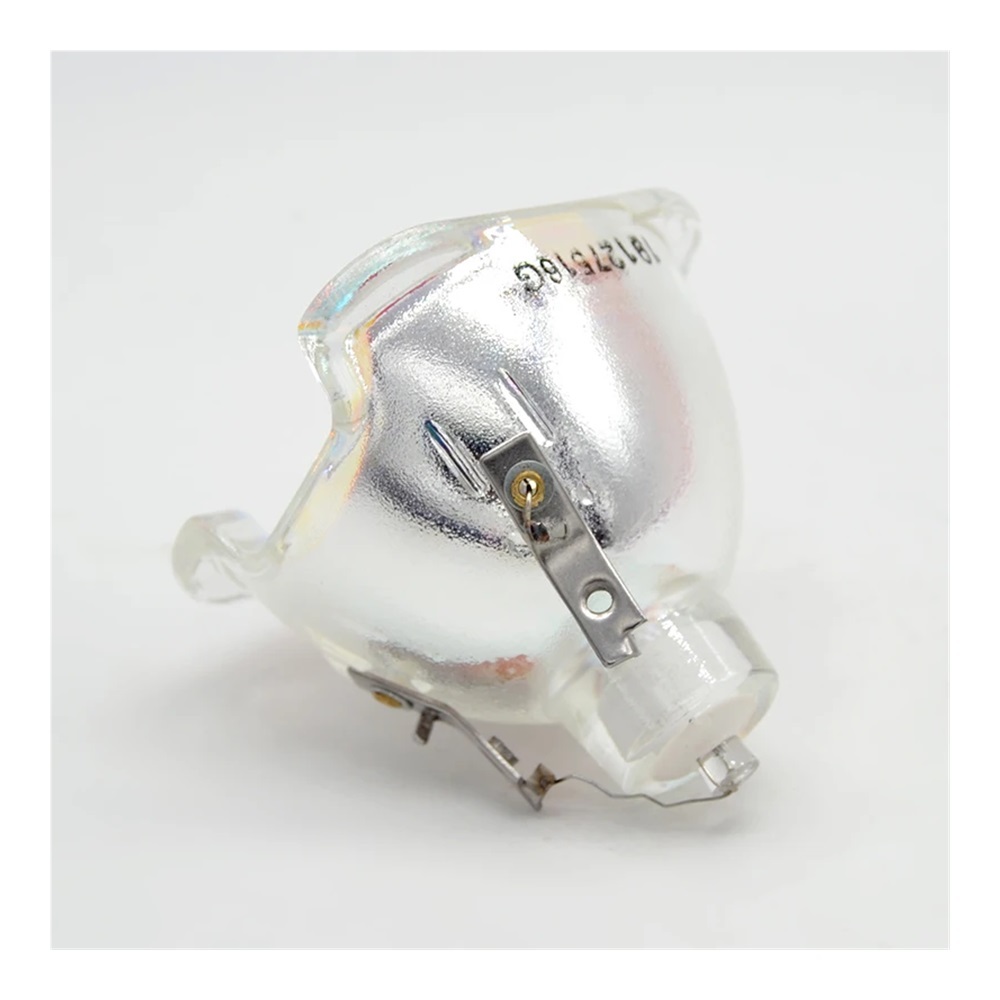
Installation Instructions for Replacement Projection Lamp Compatible with Projectors MX717, MX663, MX764
Tools Required:
- Philips screwdriver
- Flathead screwdriver
- Soft cloth or microfiber cloth (for cleaning)
- Anti-static wrist strap (optional, for safety)
Preparation Steps:
-
Power Off the Projector:
Ensure that the projector is completely powered off and unplugged from the electrical outlet to prevent any electrical hazards. -
Cool Down:
Allow the projector to cool down for at least 30 minutes if it has been in use, as the interior components can become very hot. -
Gather Tools:
Collect all the required tools listed above in a clean working area to avoid losing any screws or components during installation.
Installation Steps:
-
Remove the Projector Cover:
Use the Philips screwdriver to remove any screws securing the projector cover. Carefully lift off the cover to expose the lamp assembly. -
Disconnect the Old Lamp:
Locate the old lamp unit and gently disconnect any wiring or fasteners holding it in place. Take care not to touch the lamp glass with your fingers; use a cloth if necessary. -
Clean the Area:
Use a soft cloth to clean the lamp compartment of any dust or debris to ensure optimal performance of the new lamp. -
Install the New Lamp:
Take the replacement projection lamp and carefully align it with the lamp compartment. Make sure it fits securely and reconnect any wiring or fasteners. -
Replace the Projector Cover:
Reattach the projector cover and secure it with the screws using the Philips screwdriver. Ensure that it is tightly closed to avoid any dust ingress. -
Power On the Projector:
Plug the projector back into the power outlet. Turn it on and follow any on-screen prompts to reset the lamp timer if necessary. -
Test the Installation:
Run a test projection to ensure that the new lamp is functioning properly. Check for brightness and clarity to verify optimal performance.
Important Tips:
- Always handle the lamp with care and avoid touching the glass with bare hands.
- Dispose of the old lamp according to your local regulations as it may contain hazardous materials.
- If you encounter any issues during installation, consult the projector’s user manual for troubleshooting guidance.
By following these instructions, you can successfully install your Replacement Projection Lamp and enjoy an enhanced viewing experience with your compatible projectors.

