
Gexpress Is a Startup Dedicated to You. Shop With Confidence—Refunds Are Easy Through !

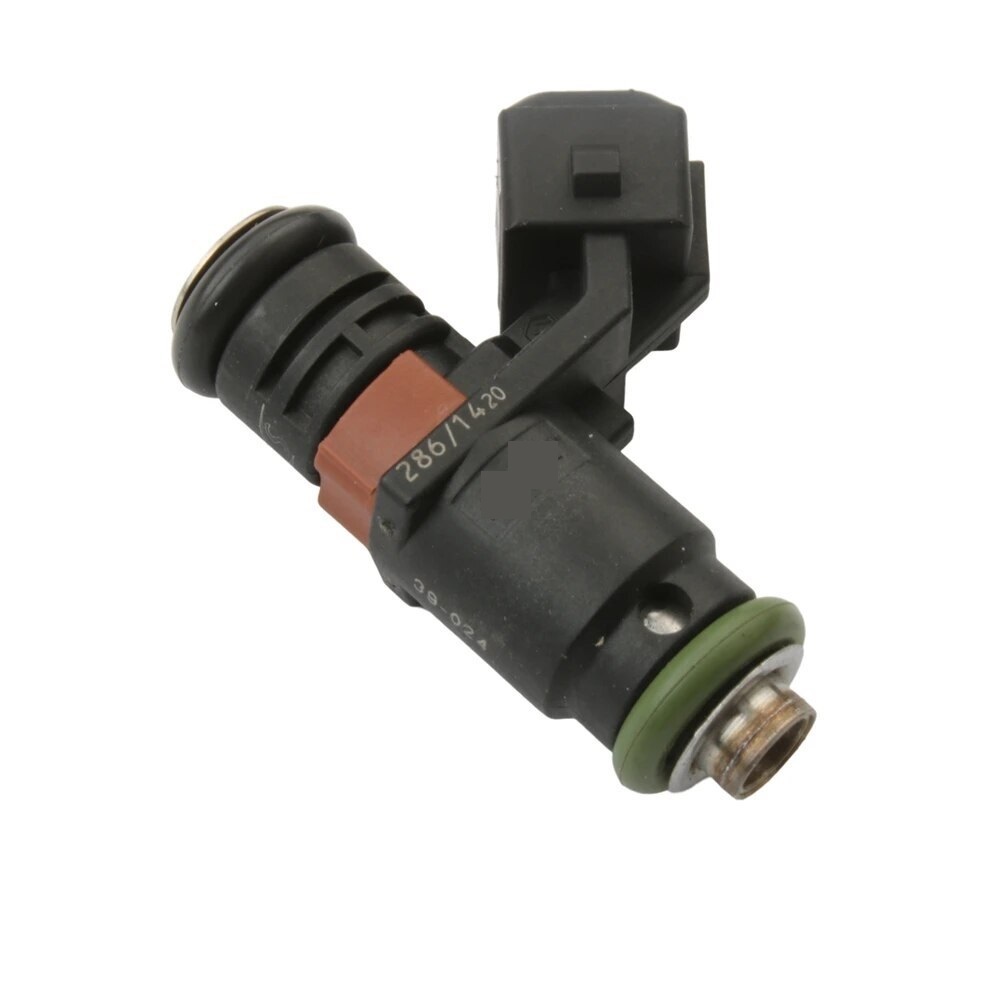
Product Installation Instructions for Universal Fuel Injector for 200cc Scooter Models
Tools Required:
- Socket Wrench Set - A set of socket wrenches to remove and tighten bolts securely.
- Screwdriver Set - Both flat-head and Phillips screwdrivers to handle various fasteners.
- Pliers - For gripping and removing any stubborn connectors or hoses.
- Fuel Line Wrench - To safely disconnect fuel lines without causing damage.
- Torque Wrench - To ensure bolts are tightened to the manufacturer's specifications.
- Cleaning Cloth - To wipe any spills or debris before and after installation.
- Safety Goggles - To protect your eyes from fuel or debris during the installation process.
- Gloves - To protect your hands from fuel and sharp components.
Installation Steps:
-
Preparation: Ensure the scooter is parked on a stable surface. Turn off the ignition and disconnect the battery to prevent any electrical issues.
-
Access the Injector: Depending on your scooter model, you may need to remove the seat or side panels to access the fuel injector.
-
Disconnect Fuel Lines: Use the fuel line wrench to carefully disconnect the fuel line from the injector. Be prepared for fuel spillage—use the cleaning cloth to clean up any spills immediately.
-
Remove Old Injector: Locate and unscrew the old fuel injector using the socket wrench. Carefully remove it from its place.
-
Install the New Injector: Position the new fuel injector in place. Secure it with the bolts and tighten them using the torque wrench to ensure a snug fit.
-
Reconnect Fuel Lines: Reattach the fuel lines to the new injector, ensuring that they are secure.
-
Final Checks: Double-check all connections and fittings, ensuring there are no leaks or loose components.
-
Reconnect Battery: Reconnect the battery and start the scooter to test the new injector functionality.
-
Clean Up: Wipe any spilled fuel and replace any panels or the seat that were removed during the installation.
Note:
Always refer to your scooter’s service manual for specific instructions and torque specifications related to your model. If you are uncertain about any step, consider consulting a professional mechanic.
Make sure to follow safety protocols when handling fuel and working on mechanical components. Enjoy the enhanced performance of your scooter with the new fuel injector!

