
Gexpress Is a Startup Dedicated to You. Shop With Confidence—Refunds Are Easy Through !

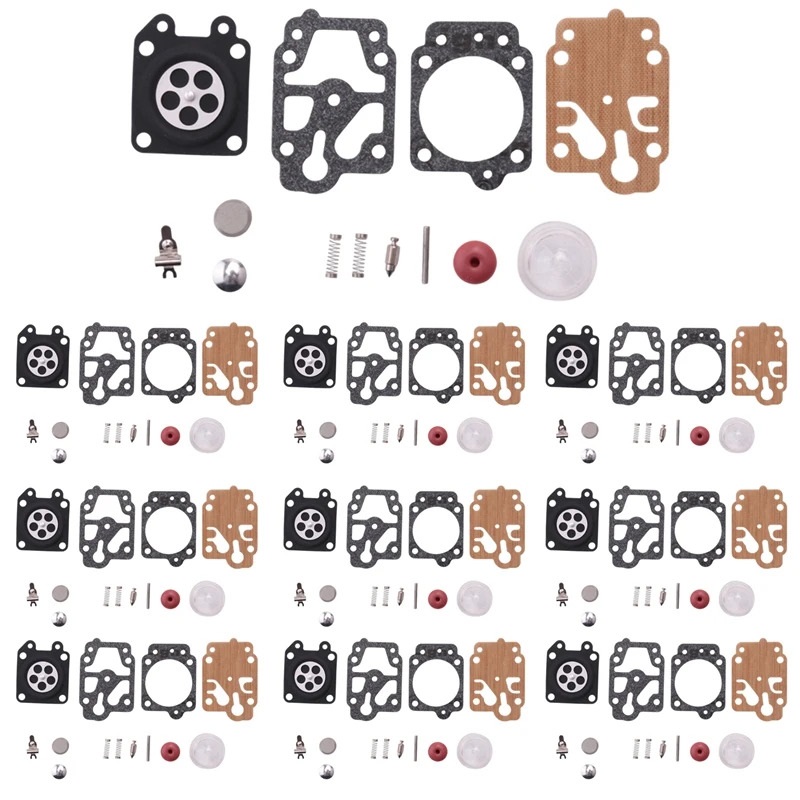

Product Installation Instructions for Compatible Carburetor Repair Kits for Brush Cutter Trimmer Models 40, 5, 44, 5, 32, 34, 26
Tools Needed:
-
Screwdriver Set
- Flat-head screwdriver
- Phillips screwdriver
-
Wrench Set
- Adjustable wrench
-Socket wrench
- Adjustable wrench
-
Pliers
- Needle-nose pliers
- Standard pliers
-
Fuel Line Cutter
- For cutting fuel lines accurately (if applicable)
-
Clean Cloth
- For wiping down components and ensuring cleanliness during installation
-
Safety Goggles
-To protect your eyes while working -
Work Gloves
- To keep your hands safe and clean
Installation Steps:
-
Preparation:
Begin by ensuring that the brush cutter or trimmer is turned off and completely cool. Disconnect the spark plug to avoid accidental starts. -
Remove the Old Carburetor:
Use the screwdriver and wrench to remove any screws or bolts securing the carburetor. Carefully detach the carburetor from the engine following your model’s specific instructions. -
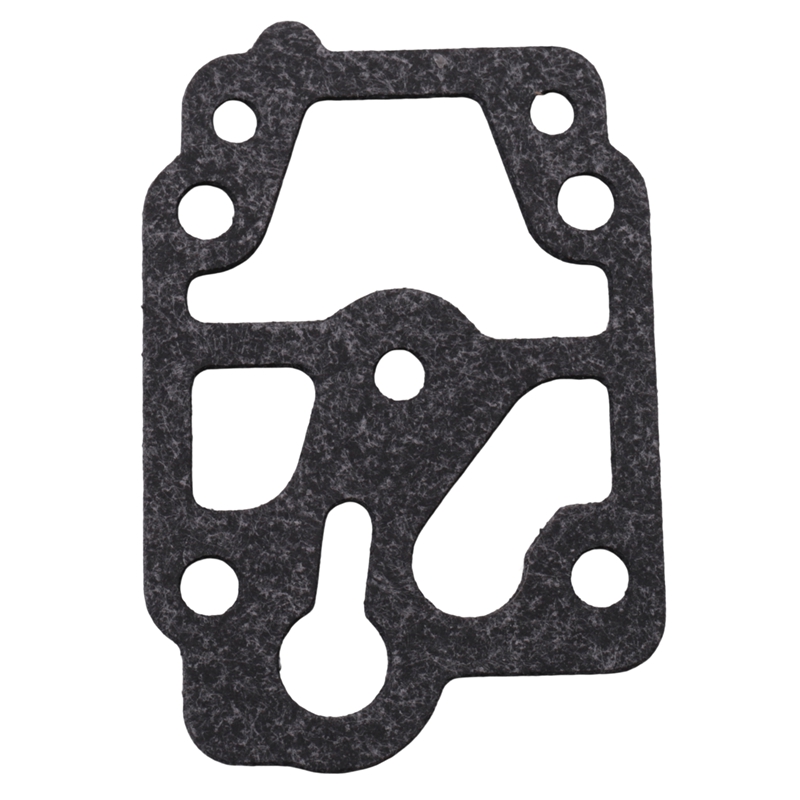
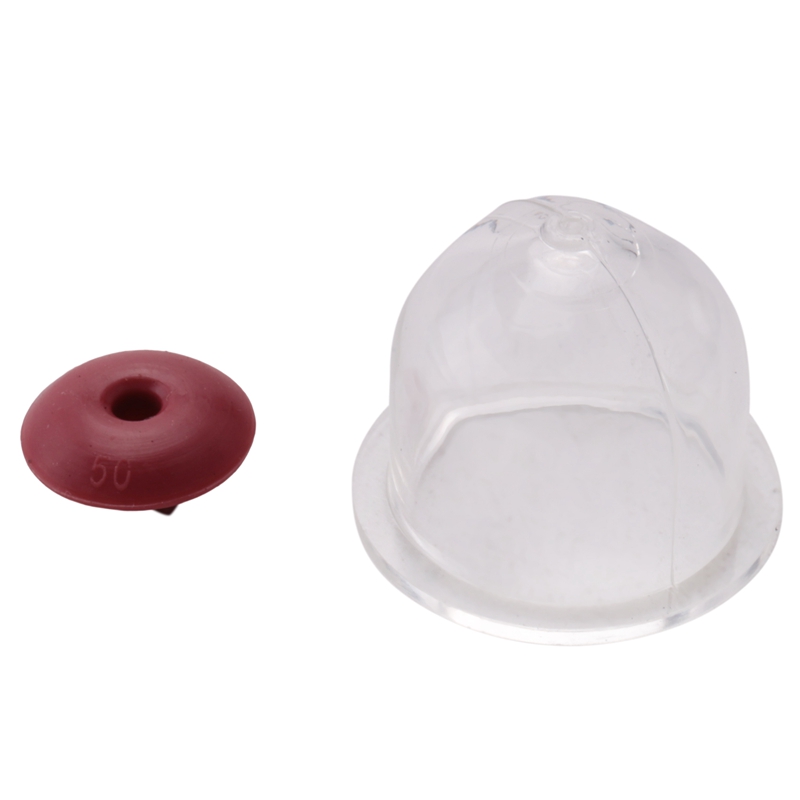
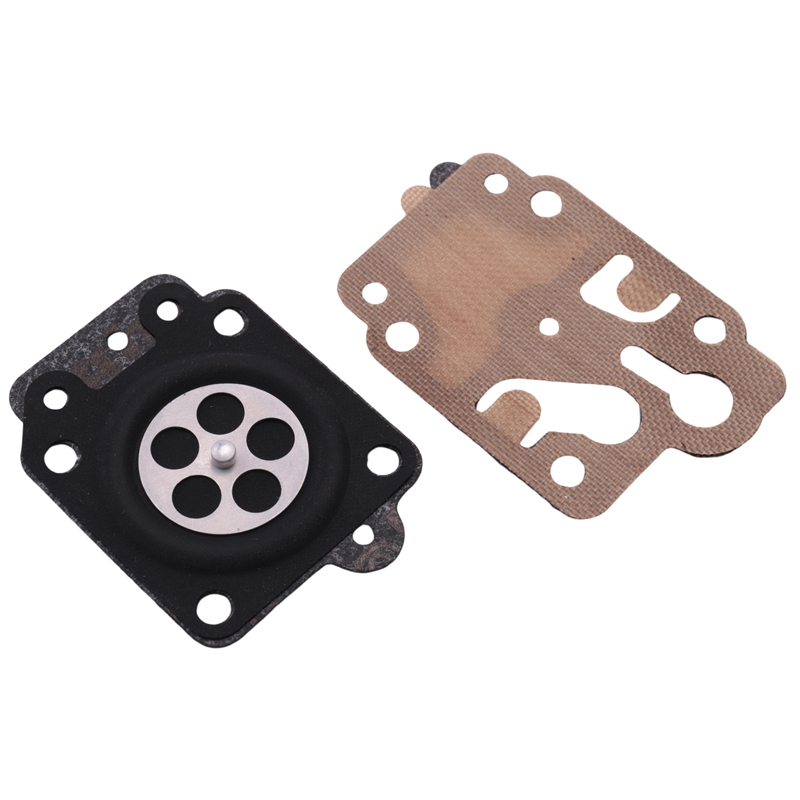
Install New Parts:
Open your repair kit and identify all components. Follow the included guide to replace the necessary parts such as gaskets, diaphragms, or jets. Ensure everything is installed correctly and securely. -
Reattach Carburetor:
Reattach the carburetor to the engine, making sure all screws and bolts are tightened properly. -
Reconnect Fuel Lines:
If your kit includes fuel lines, use the fuel line cutter to achieve the right lengths and attach them to the carburetor as needed. -
Final Check:
Inspect all connections, ensuring there are no leaks or loose parts. Wipe down any spills with the clean cloth. -
Reconnect Spark Plug:
Once everything is securely in place and appears correct, reconnect the spark plug. -
Test the Equipment:
Start the brush cutter or trimmer to ensure it runs smoothly, adjusting the carburetor settings if necessary for optimal performance.
Important: Always refer to the specific user manual for your brush cutter or trimmer model for any unique instructions or precautions.
By following these steps and using the listed tools, you can efficiently install the repair kit and improve the performance of your garden equipment.

