
Gexpress Is a Startup Dedicated to You. Shop With Confidence—Refunds Are Easy Through !

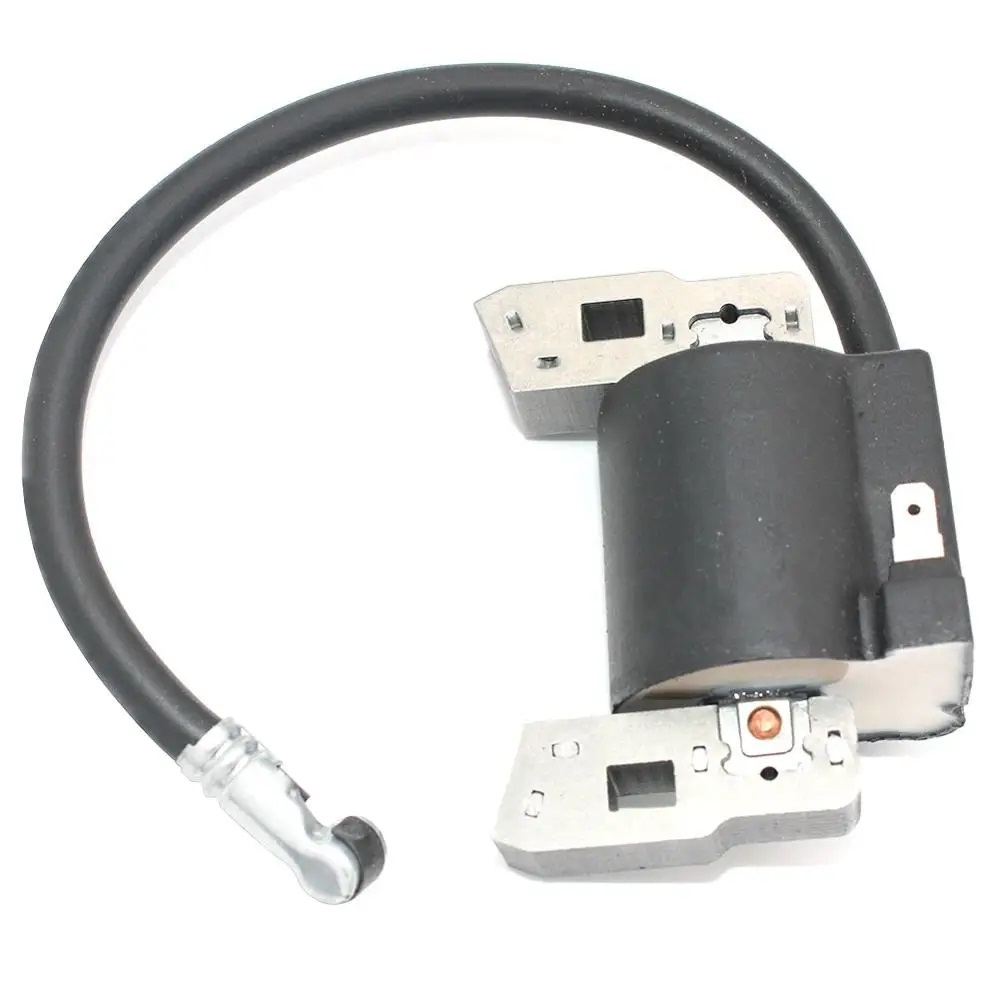
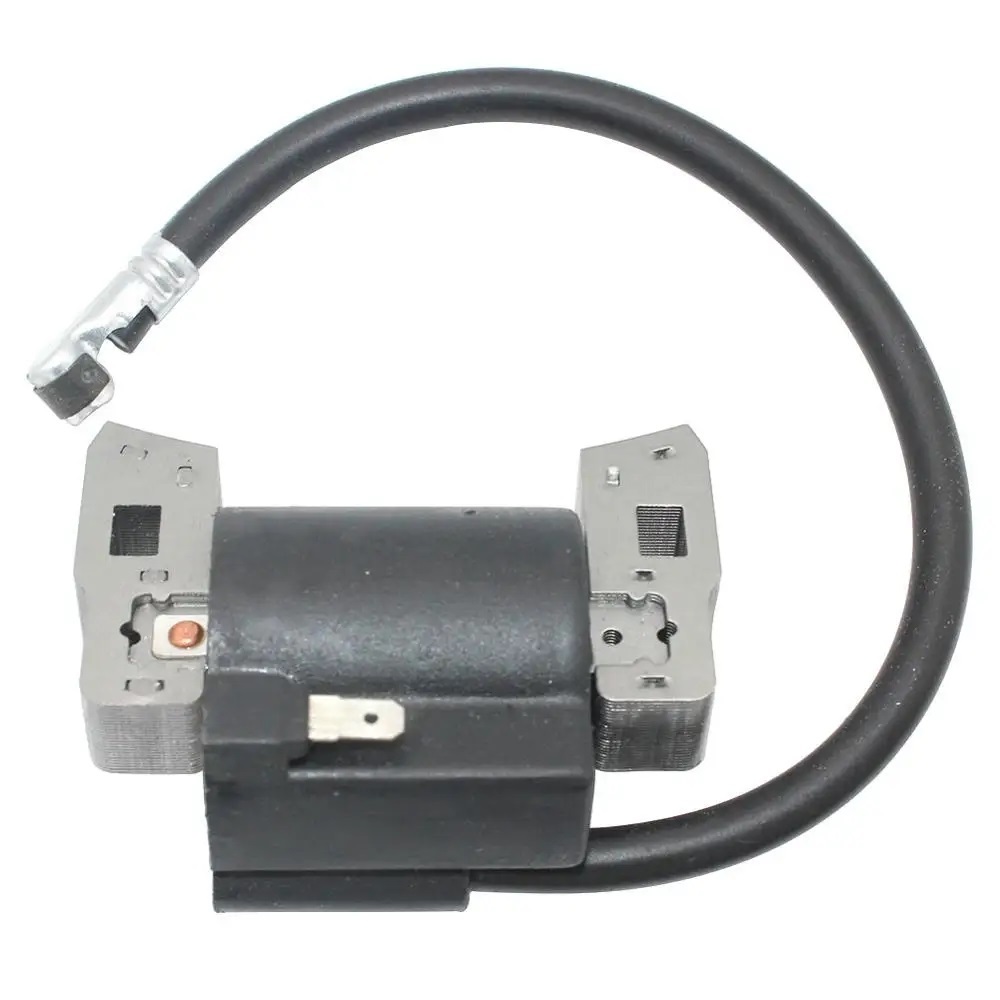
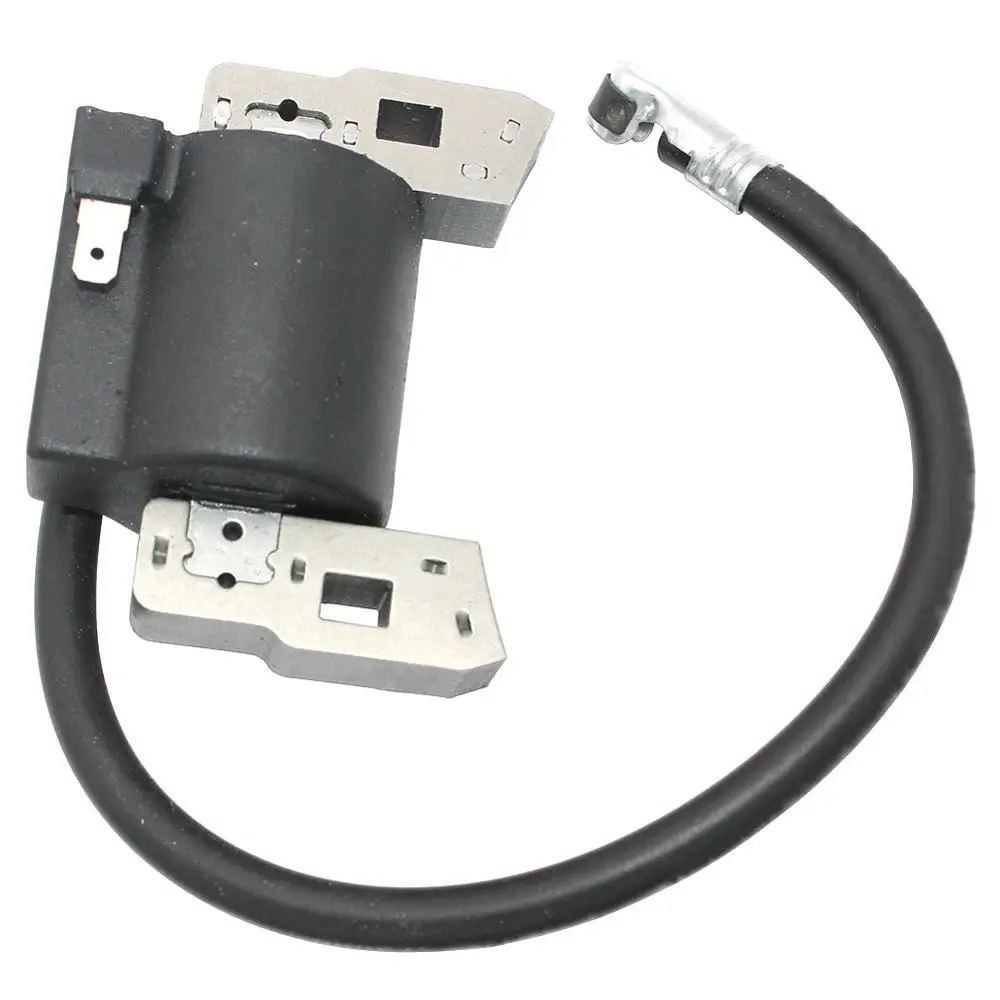
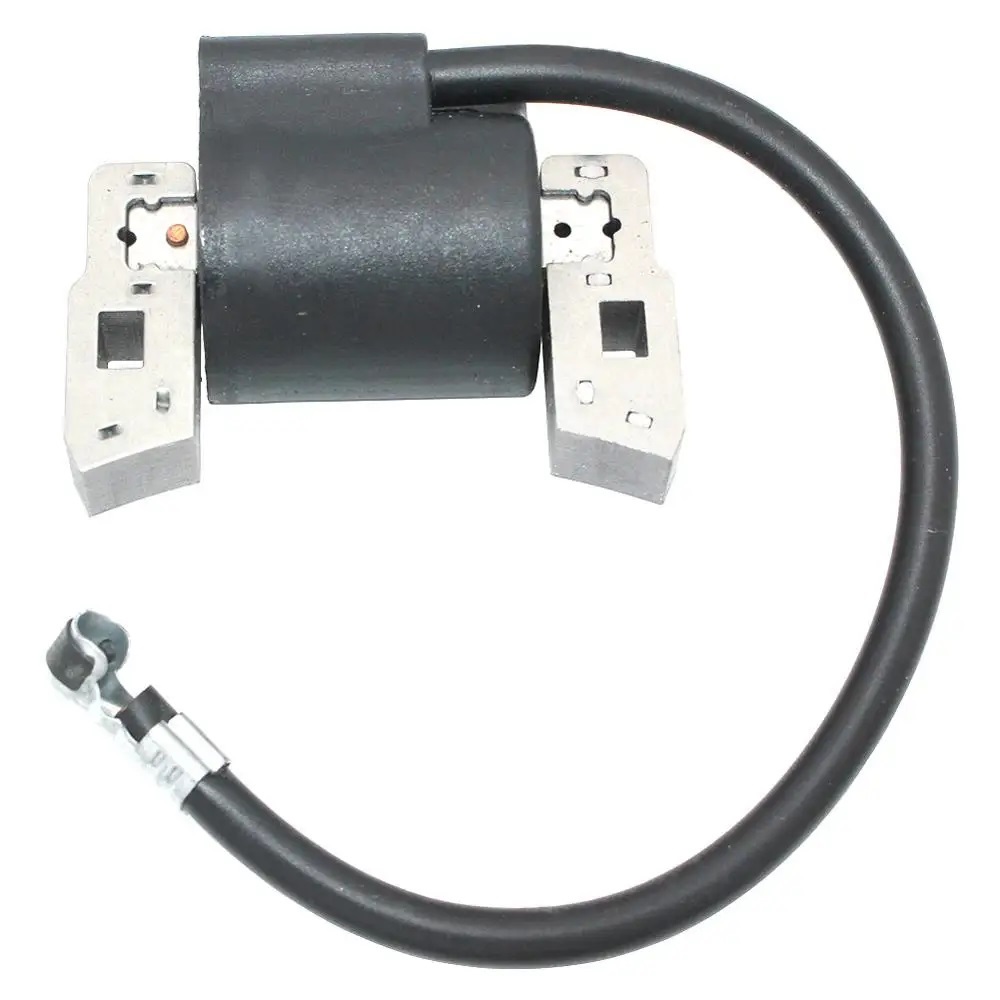
Product Installation Instructions for Compatible Ignition Coil
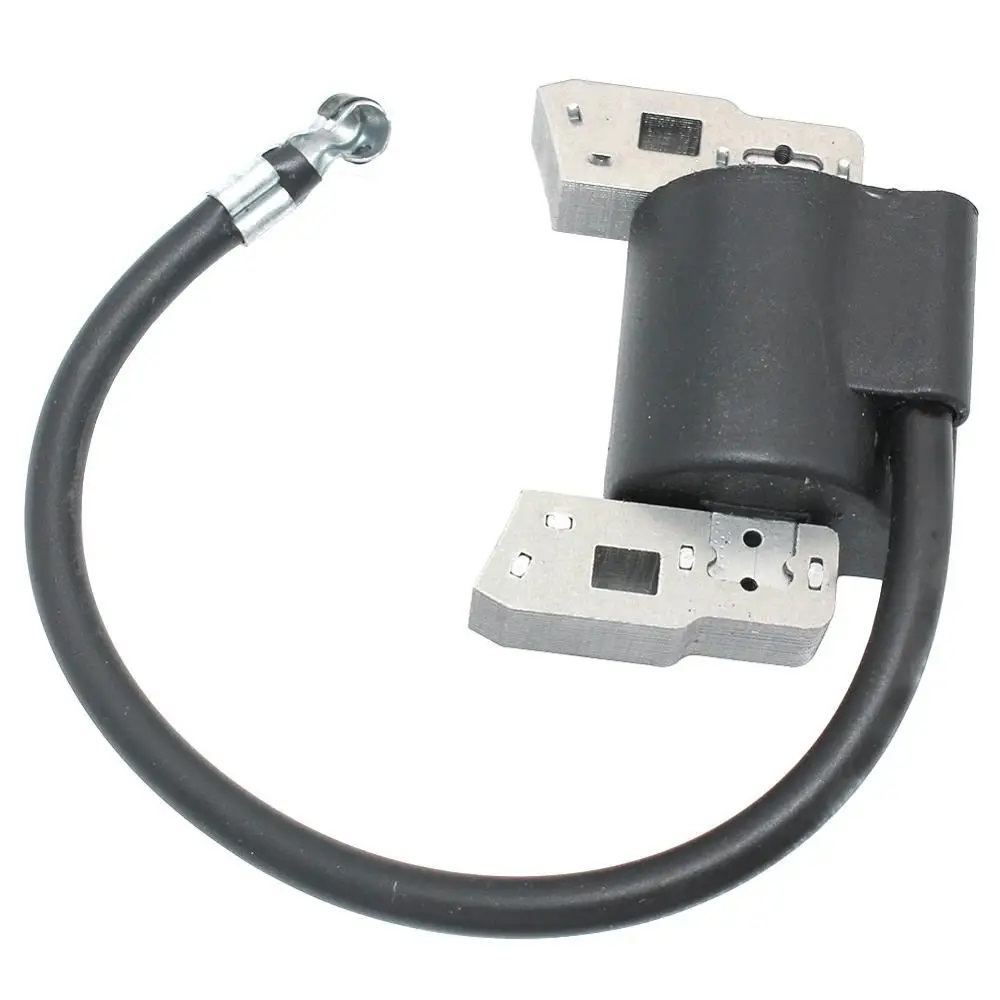
Compatibility:
This ignition coil is compatible with various models, including 100200, 100900, 130220-132900, ensuring a perfect match for your equipment.
Installation Instructions:
-
Preparation:
Before commencing installation, gather the necessary tools and materials. -
Tools Needed:
- Screwdriver (Phillips and flat-head)
-Socket set
-Torque wrench
-Pliers - Wire cutters/strippers
- Safety goggles
- Gloves
-Cleaning cloth
- Screwdriver (Phillips and flat-head)
-
Installation Steps:
a. Safety First:
Ensure the engine is turned off and cool before starting. Put on safety goggles and gloves.b. Access the Ignition Coil:
Locate the ignition coil in your engine compartment. You may need to remove covers or other components for better access.c. Disconnect the Battery:
Disconnect the negative terminal of the battery to prevent any electrical short circuits during installation.d. Remove the Old Ignition Coil:
Unplug the wire connectors from the old ignition coil. Use the screwdriver and socket set to remove the screws or bolts securing the coil in place.e. Install the New Ignition Coil:
Position the new ignition coil in place and secure it using the screws or bolts. Make sure it is firmly attached.f. Reconnect the Wiring:
Plug the wire connectors back into the new ignition coil, ensuring a secure connection.g. Reconnect the Battery:
Reconnect the negative terminal of the battery.h. Final Checks:
Before starting the engine, double-check that all tools are removed from the engine compartment and that connections are secure. -
Testing:
Start the engine to test the new ignition coil. Monitor for any irregularities in engine performance.
Note:
This ignition coil is designed for easy installation, and following these instructions will help improve your engine's performance and fuel efficiency. If you encounter any issues, consult a professional.
Thank you for choosing our ignition coil!

